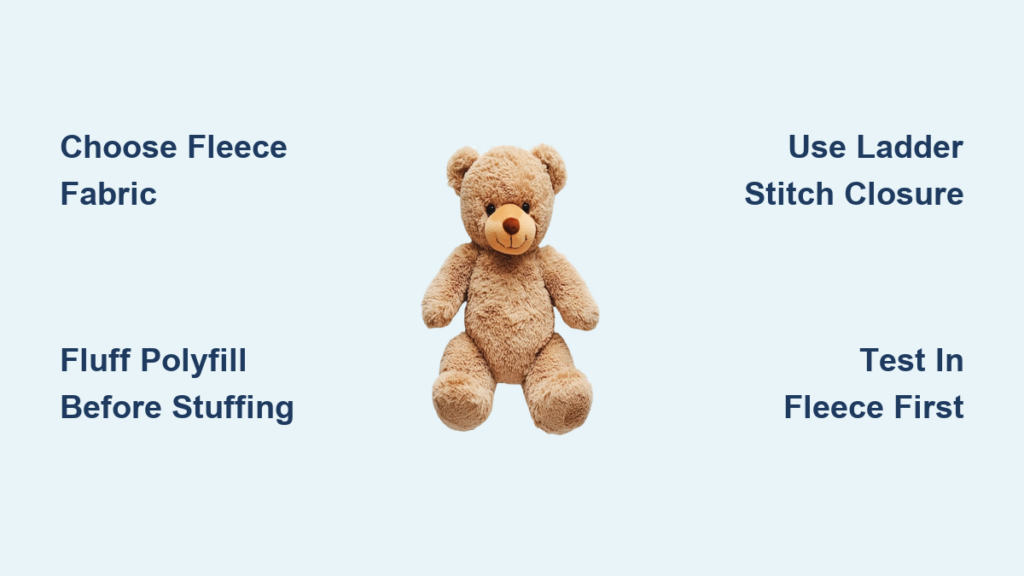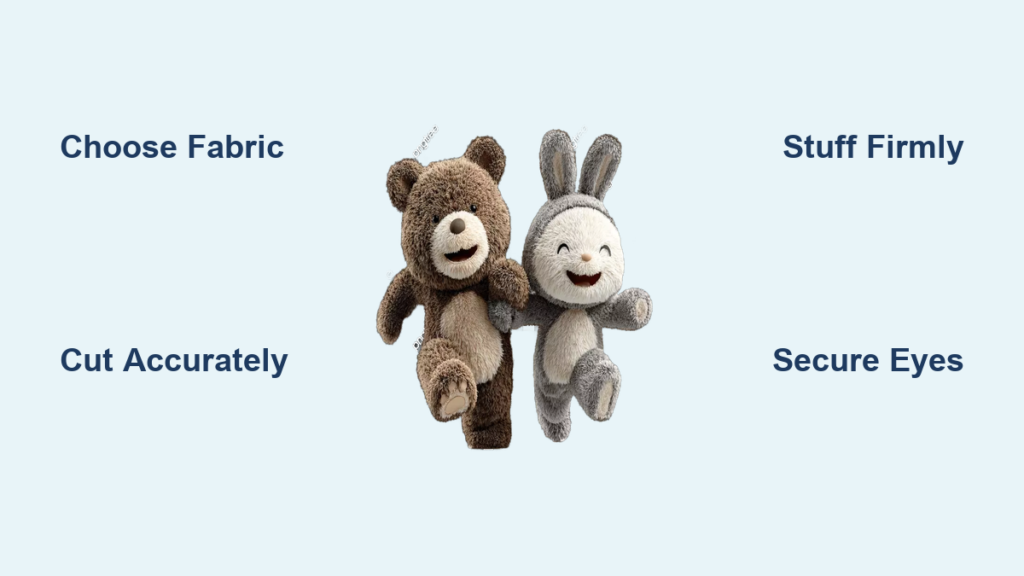
Imagine turning a soft piece of fabric into a cuddly bear or a floppy-eared bunny that a child will clutch at bedtime or a keepsake made from a loved one’s old shirt. Making your own toy bear or bunny isn’t just crafty; it’s meaningful. Whether you’re sewing a memory bear from baby clothes or a bright Easter bunny for a gift, this guide walks you through every step. You’ll need only basic sewing skills, common tools, and a bit of creativity. From choosing fabric to stuffing and finishing, we’ll cover how to make a toy bear or bunny that’s safe, soft, and uniquely yours.
Choose Your Pattern and Size
Use a Digital Pattern or Draw Freehand
You have two main approaches for how to make a toy bear or bunny. First, you can use a multi-size digital pattern offering professionally designed templates ranging from 12″ to 30″. These patterns include body, ear, and vest pieces with video tutorials for beginners. Simply print at home on A4 or US Letter paper. The same body works for both animals, so you can swap ear styles to convert between bear and bunny.
Alternatively, draw a freehand shape directly on the wrong side of fabric. Sketch a gingerbread man shape about 18″ tall and 12.5″ wide at the arms. Keep limb bases at least 2.5″ wide for easy turning. This method builds confidence and embraces handmade charm, perfect for last-minute gifts or kids’ crafts.
Select the Right Size for Your Project
For a standard plush toy, aim for 15″ to 18″. Smaller sizes around 12″ suit ornaments or baby gifts, while larger ones above 24″ make statement pieces. Remember that limb width matters more than height for durability. Wider bases prevent tearing when you turn the toy right side out.
Gather Materials and Tools

Select Safe, Soft Fabrics
Use medium- to heavy-weight fabrics like velour, corduroy, denim, or velvet. These hold shape well and resist fraying. For memory bears, upcycle sentimental clothing such as old shirts, uniforms, or baby clothes. Always pre-wash fabrics to prevent shrinkage later.
Prepare Accent Fabrics and Stuffing
Cut two 9.5″ × 3.5″ pieces for ears using main and contrasting fabrics. Use a 5″ × 5″ square for the tummy appliqué, cut into an egg shape for bunnies. For stuffing, poly-fil is the go-to choice, but you can also use shredded quilt batting, old pillow stuffing, or cut-up fleece. Chop stuffing into small, uniform pieces to avoid lumps. For firmer ears, pre-fill them halfway with poly-fil before sewing.
Assemble Essential Tools
You’ll need a sewing machine, hand needle and thread, fabric scissors, pins or clips, a chopstick or blunt tool for turning, a stiletto for eye and nose holes, and fusible web for optional appliqués.
Cut Fabric Pieces Accurately
Trace and Cut the Body
With right sides together, cut two identical body shapes. If freehanding, use your first piece as a template for the second. Mark seam lines lightly with chalk if needed. Ensure arms and legs are wide enough because under 2″ width can tear when turned.
Cut and Label Ear Pieces
Each ear needs two layers: one main fabric and one accent. Cut four total ear pieces for two ears. Label them to avoid mix-ups during assembly. A slight curve at the tip helps with natural shaping.
Prepare the Tummy Appliqué
Cut a 5″ × 5″ square into an egg shape. Iron on double-sided fusible web to the back to keep it in place during sewing. Place the appliqué centered on the front body piece, about halfway down the torso.
Attach Appliqués and Facial Features

Fuse and Stitch the Tummy
Press the appliqué onto the front body piece with a hot iron. Then secure with a zigzag or blanket stitch to prevent shifting when sewing the full body. Use contrasting thread for a decorative effect.
Install Eyes and Nose
Decide on safety eyes, buttons, or embroidered features. For infants, embroider eyes and nose for safety. Use a stiletto to poke small holes, then insert components. Secure safety eyes with washers on the back.
Add Embroidered Details
Enhance the face with simple stitches. Use pink embroidery floss to stitch a straight line below the nose for the mouth and add two curved whiskers on each side. Slight asymmetry adds character, so don’t aim for perfection.
Sew and Stuff the Ears
Sew Ear Layers Together
Place main and accent fabric right sides together. Pin and sew around the edge with a ½” seam, leaving the base open. Clip the curved tip to reduce bulk.
Turn and Shape Ears
Use a chopstick to push the ear right side out. Smooth the tip fully. For upright ears, stuff halfway with poly-fil before folding the base. For floppy ears, leave empty.
Fold and Pin for Attachment
Fold the raw edge of the base inward about ¼” to ½” so it’s hidden when sewn. Pin the ear to the front body piece, about 1″ apart at the top of the head. Make sure the accent side faces outward.
Assemble the Body and Ears
Pin Front and Back Together
Place body pieces right sides together. Tuck the folded ear bases between them, aligning raw edges. The ears should overhang the head edge by about ½” so they’re fully enclosed when sewn.
Sew with Proper Seam Allowance
Use a ½” seam allowance and sew around the entire body. Leave a 2 to 3″ gap on the lower side for turning. Backstitch at start and end for strength.
Clip Curves for Smooth Turning
Snip small notches into curved areas, especially arm and leg corners. This reduces fabric bulk and helps the toy lie flat when turned right side out.
Turn, Stuff, and Close
Turn the Toy Right Side Out
Reach through the gap and pull the entire toy through. Use a chopstick to push out fingers, toes, and ear tips. Be gentle with seams.
Stuff from Limbs Inward
Begin stuffing arms and legs first, then work toward the body. Use small handfuls of poly-fil or upcycled stuffing. Pack firmly for a plush feel but not so tight it distorts seams.
Close the Gap Neatly
Fold the raw edges of the opening inward. Use a ladder stitch to hand-sew the gap closed. Pull tight between stitches to hide the seam.
Add Final Touches
Attach a Pom-Pom Tail
For bunnies, tie a small white pom-pom between the legs on the back. Use strong thread, knot securely, and weave ends into the body. This mimics a classic cotton tail.
Embellish with a Vest
Some patterns include a vest with its own tutorial. Sew and attach it after the body is complete. This works great for personalizing with holiday fabrics or monograms.
Trim Loose Threads
Inspect seams and trim any stray threads. Lightly fluff the fur if using velour or fleece with a soft brush.
Convert Between Bear and Bunny
Swap Ear Styles
The same body works for both animals. Use short, rounded ears for bears and long, tapered ears for bunnies. This lets you make matching pairs with one pattern.
Adjust Facial Details
Bunnies often have longer noses and whiskers. Add a stitched mouth line and floss whiskers. Bears can have flatter faces with button eyes closer together.
Use Thematic Fabrics
Choose brown corduroy for a teddy bear, pastel velour for an Easter bunny. Mix and match to suit the season or recipient.
Customize for Keepsakes and Gifts
Make a Memory Bear
Turn old clothes into a lasting memento. Use a child’s outgrown shirt, a grandparent’s sweater, or military uniform. Practice first on scrap fabric because sentimental materials are irreplaceable.
Involve Kids in the Process
Let children choose fabrics or draw the body shape. They can help stuff or tie off the tail. Simple steps mean quick success, building confidence.
Create Holiday-Themed Toys
Use red and green fabric for Christmas bears, pastel cotton for Easter bunnies. Add ribbon bows or fabric flowers for extra charm.
Ensure Safety and Longevity
Avoid Hazards for Young Kids
For babies and toddlers, skip safety eyes and buttons. Use embroidered features instead. All parts must be securely attached, and double-stitch where needed.
Reinforce Seams
Use a backstitch at stress points like limbs and ears. Double-stitch around eyes and nose if using buttons. No joints mean fewer weak spots.
Clean Without Damage
Do not machine wash. Spot clean with a damp cloth and mild soap. Air dry away from direct heat. If necessary, use a delicate cycle inside a pillowcase.
Troubleshoot Common Issues
Handle Common Problems
Lopsided limbs are normal and add character. Focus on even stuffing instead. For lumpy stuffing, cut filler into smaller, uniform pieces and stuff in layers. If ears won’t stay up, fill them halfway with poly-fil before folding the base. Unfilled ears will flop, which works great for bunnies but less so for bears.
Fix Turning Difficulties
If fabric won’t turn right side out, widen the turning gap slightly. Use a blunt tool to gently push out tight corners. Clip curves more if fabric bunches. If an appliqué peels off, always fuse and stitch. Use a tight zigzag stitch, and finish edges with fray check before fusing if fabric frays.
Expert Tips for Better Results
Get Professional-Quality Results
Always test the pattern on scrap fabric, especially with sentimental materials. Learn the steps without risk. This isn’t couture, so embrace imperfections. A slightly crooked ear gives charm, and speed keeps motivation high.
Repurpose Smartly
Use old cushions, curtains, or fabric samples. Remove paper backings from upholstery samples. Cut usable sections from worn clothes. Keep a sewing cheat sheet with key steps like seam allowance, turning gap size, and stuffing tips. Test stuffing firmness by squeezing the toy as you go. Too soft means add more, too stiff means remove some. Ideal firmness lets the toy sit upright but still cuddle easily.
Frequently Asked Questions About Making Toy Bears and Bunnies
What Materials Do I Need to Make a Toy Bear or Bunny?
You’ll need fabric for the body and ears, poly-fil or upcycled stuffing, a sewing machine or needle and thread, fabric scissors, pins, a chopstick for turning, and optional fusible web for appliqués. Medium- to heavy-weight fabrics like velour, corduroy, denim, or velvet work best.
Can I Make a Toy Bear or Bunny Without a Pattern?
Yes. Draw a freehand gingerbread man shape directly onto fabric. Make it about 18″ tall with arms and legs at least 2.5″ wide at the base. This approach works well for beginners and creates unique, charming results.
How Do I Convert a Bear Pattern to a Bunny?
Use the same body pattern but change the ear style. For bears, use short, rounded ears. For bunnies, use long, tapered ears around 7.25″ long and 3″ wide. You can also adjust facial details like adding whiskers for bunnies.
Is This Project Suitable for Beginners?
Yes. This project requires only basic sewing skills: straight seams, turning, stuffing, and hand finishing. It’s perfect for confident beginners and makes a great first sewing project for children with adult supervision.
How Do I Clean a Handmade Stuffed Toy?
Spot clean with a damp cloth and mild soap. Do not machine wash unless absolutely necessary, and if you must, use a delicate cycle inside a pillowcase. Air dry away from direct heat.
Key Takeaways for Making Toy Bears and Bunnies
Making a toy bear or bunny blends heart and hand. Whether you follow a digital pattern or draw freehand, the result is more than fabric and fluff. It’s a keepsake, a gift, a memory. The key steps are choosing the right fabric, cutting accurate pieces, stuffing firmly but not too tight, and securing all features safely. With the right tools, safe materials, and simple steps, anyone can create a plush friend that lasts. Start small, sew with joy, and let imperfection be part of the charm. Your first toy might not be perfect, but it will be perfectly meaningful.