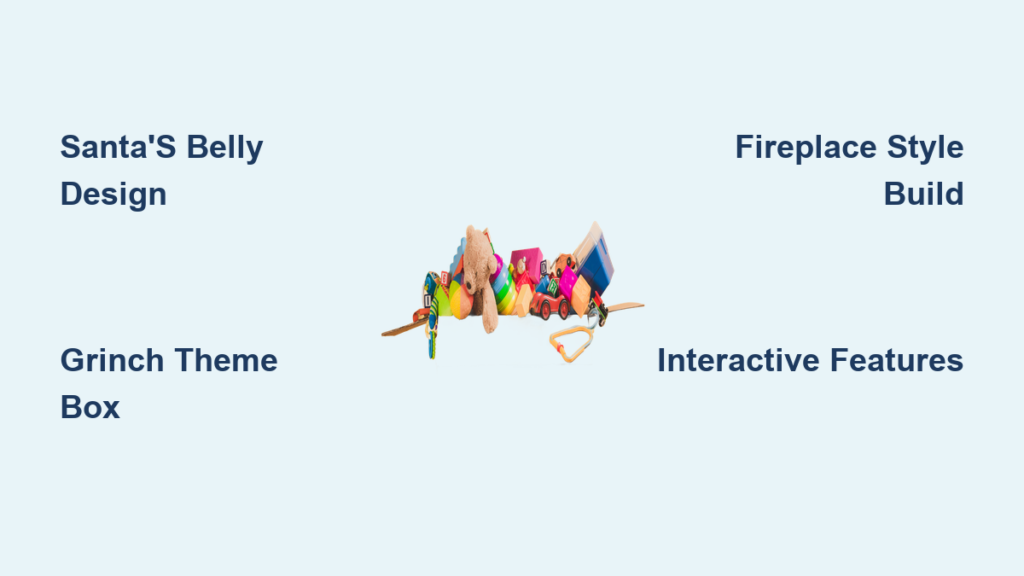
A creatively decorated toy drive box does more than hold gifts. It captures attention, sparks conversation, and motivates people to give. Whether you’re partnering with Toys for Tots, organizing a school fundraiser, or running a community outreach program, the right design turns a simple cardboard container into a powerful symbol of holiday magic. Themed boxes like Santa’s sleigh, the Grinch’s train, or a cozy fireplace create emotional connections that encourage participation from children and adults alike. This guide delivers actionable toy drive box decorating ideas that combine visual appeal, durability, and real donor engagement.
You will learn how to choose high-impact themes, build structurally sound containers, add interactive features, and position your box for maximum donations. Each section provides step-by-step instructions, material lists, and pro tips from real-world toy drive organizers.
Choose a High-Impact Theme for Your Toy Drive Box
Themed donation boxes increase engagement by telling a story. A compelling narrative makes the act of giving feel magical and meaningful. Choose a theme that matches your event, audience, and storage capabilities.
Santa’s Belly Donation Box Build
Transform a large appliance box into Santa Claus himself. This design works exceptionally well for family-friendly venues like malls and schools.
Gather these materials first. You will need a large appliance box, red and white acrylic paint, cotton balls, black belt material, googly eyes, hot glue gun, and a craft knife. Paint the box red and add white trim around edges. Cut an oval opening in the center for the belly donation slot. Attach cotton balls for the beard and belly using hot glue. Add black details for boots and belt. Glue on googly eyes or paint a friendly face.
Label it with phrases like “Feed Santa’s Belly with Toys!” or “Ho Ho Ho, Drop a Gift Here!” Attach jingle bells that ring when a toy is dropped for added sound feedback.
The Grinch Who Stole and Gives Toys
Paint a large box bright green and add wild white hair and a mischievous Grinch face. Build tiny Whoville houses from foam or cardboard and glue them around the base. Use quotes from the classic tale such as “He stole toys, now he wants to give them back!”
This theme works well for pharmacy drives and office collections. Signage options include “Don’t Be a Grinch, Give a Toy” or “The Grinch Gave, So Can You!”
Polar Express Train Design
Connect multiple cardboard boxes into a train formation. Paint each car festive blue or red. Add reindeer cutouts to the front using foam board or cardboard. Wrap edges with faux fur or red ribbon. String battery-powered LED lights along the roofline for a magical glow.
Label the cars “Toy Car,” “Gift Car,” and “North Pole Express.” Add a cardboard smokestack and a conductor hat cutout. Include a small bell donors can ring to celebrate their contribution.
Build a Realistic Fireplace Donation Box

One of the most visually striking designs comes from the Crafty Lumberjacks build. This fireplace-style box mimics Santa’s entry point into homes and becomes a photo-worthy centerpiece.
Apply Brick Contact Paper
Wrap the entire box exterior with brick-pattern contact paper. Score and fold around corners for clean edges. Cut a rounded arch in the front to mimic a firebox opening. Press back the scored pieces and hot glue them to the inside for a polished look.
Add Cozy Interior Details
Line the inside of the arch with plaid flannel fabric to simulate a hearth. Behind the opening, glue foam board painted with white bricks and hand-drawn black soot marks for realism.
Create 3D Flames and Logs
Cut flames from orange, yellow, and red cardstock and layer them for depth. Roll cardboard or toilet paper tubes into logs and paint them brown. Arrange them in front of the flames.
Attach holiday garland just below the top edge using floral wire threaded through small holes drilled around the perimeter.
Use Precision Signage
Create professional labels with a Cricut Maker or vinyl cutter. Include “Drop Your Gift in Santa’s Fireplace,” event name, date range, age group needs, and contact information.
Select Sturdy Base Materials for Your Box

The foundation of your toy drive box must support weight and handle foot traffic. Choose materials based on your location and expected use.
Cardboard Boxes for Indoor Use
Large appliance or moving boxes work best indoors. Reinforce seams with duct tape or hot glue. Double-layer the bottom if heavy toys are expected. Cardboard degrades quickly outdoors, so avoid this option in rain or snow.
Wooden Crates for Durability and Reuse
Wine, produce, or furniture crates offer a rustic, professional look. Sand rough edges and paint with weather-resistant spray paint. These are ideal for long-term drives or outdoor placement.
Plastic Storage Bins for Weatherproof Needs
Use large clear or colored plastic bins for outdoor placement. Decorate with vinyl stickers or waterproof tape. They are harder to paint but highly secure and easy to clean.
Repurposed Furniture for Vintage Appeal
Old trunks, suitcases, or dressers add charm. These work well for church drives or boutique storefronts. Capacity is limited, but visual impact is maximized.
Add Interactive Features That Engage Donors
Turn donation into an experience with gamified elements that appeal to children and adults.
Motion-Activated Sound Module
Install a battery-powered, motion-sensing speaker inside the box. Program it to play holiday jingles, voice messages like “Thank you! You’ve made a child holiday brighter!” or Santa’s laugh. These modules are available online for under ten dollars.
Pull-String Surprise Mechanism
Attach a ribbon that donors pull to reveal a hidden thank you note, trigger a bell, or open a small door. Route floral wire or string through drilled holes for smooth operation.
Progress Thermometer for Goal Tracking
Attach a giant paper thermometer to the side. Color it in weekly as donations grow. Example messaging includes “Goal: 500 Toys, We’re at 320!” Update with stickers or tape. This feature works especially well for classroom competitions.
Wish List and Pledge Wall
Add a side panel listing needed items like dolls, board games, STEM kits, and art supplies. Note which age groups are especially needed. Include blank cards and pens for donors to write messages like “I donated because…” or “Toys change lives.”
Optimize Box Visibility and Placement
Even the best-designed box fails if no one sees it. Strategic placement maximizes donations.
Best Locations for Maximum Impact
Shopping malls work because high foot traffic and families shopping for gifts are present. Toy stores and supermarkets target shoppers already in gift mode. Schools and libraries provide access to parents and children. Churches and community centers offer strong community trust. Office lobbies support employee giving campaigns.
Positioning Tips for Success
Place boxes at eye level or slightly lower so children can interact. Position near entrances, checkouts, or event stages. Avoid dark corners or areas behind pillars.
Follow Safety and Donation Guidelines
Ensure your box is safe, hygienic, and aligned with program rules.
Display Clear Donation Rules
Post signs stating “New, Unwrapped Toys Only,” “No Used or Broken Items,” “Avoid small parts for children under three,” and “Battery-operated toys, please include batteries.”
Maintain Clean and Secure Collections
Line the interior with a trash bag for easy emptying. Check the box daily during the drive. Wear gloves when handling donations. Use zip ties or locks for outdoor bins.
Comply with Official Programs
If partnering with Toys for Tots, use their logo only with permission. Keep branding prominent and add local sponsor tags. In diverse communities, include bilingual signs in English and Spanish.
Inspire Community Involvement in Your Drive
The best toy drive boxes are co-created, building ownership and excitement across your community.
Host a Box-Building Party
Invite students, employees, or church members to decorate together. Provide supplies like glue guns, paint, stickers, and stencils. This collaborative approach increases personal investment in the drive’s success.
Run Classroom or Team Challenges
Each class or team designs a box. The most creative or generous group wins a prize like a pizza party. Themes like “Superhero Toy Rescue” or “Dinosaur Toy Dig” generate enthusiasm.
Promote on Social Media
Post time-lapse videos of the build. Share before-and-after photos using hashtags like #ToyDrive, #ToysForTots, and #CommunityGiving. Tag local businesses and community influencers to expand reach.
Frequently Asked Questions About Toy Drive Box Decorating Ideas
What is the best material for an outdoor toy drive box?
Plastic storage bins offer the best weather resistance for outdoor use. Wooden crates treated with weather-resistant spray paint also work well. Avoid cardboard outdoors as it degrades quickly in moisture.
How big should the donation slot be?
The donation slot should be at least six inches by nine inches to accommodate common toy sizes like board games, stuffed animals, and art supply boxes. Larger items may require a separate drop-off arrangement.
Can I use the Toys for Tots logo on my decorated box?
You may use the Toys for Tots logo only with official permission. Contact your local coordinator to obtain proper authorization. Include local sponsor tags while keeping official branding prominent.
How do I make my toy drive box kid-friendly?
Use bright colors, character themes like Olaf or Minions, and interactive elements like bells or sound modules. Place the box at child-friendly heights and include simple signage that children can understand.
What interactive features work best for increasing donations?
Motion-activated sound modules, pull-string surprises, and progress thermometers engage donors emotionally. Wish list walls and pledge boards create personal connections to the cause.
Key Takeaways for Successful Toy Drive Box Decorating

Creative toy drive box decorating ideas transform simple containers into powerful community engagement tools. Choose themes that resonate with your audience, whether Santa’s belly, the Grinch train, or a cozy fireplace. Prioritize sturdy materials like wooden crates or plastic bins for durability, especially for outdoor use.
Add interactive features like sound modules, progress thermometers, and wish list displays to create memorable donation experiences. Position your box in high-traffic areas like malls, schools, and churches for maximum visibility. Always display clear donation rules and maintain hygiene throughout the drive.
Start your box-building project two to three weeks before the drive begins. Involve your community through building parties and social media promotion. A well-decorated toy drive box does not just collect gifts. It spreads holiday magic and transforms passive observers into active givers. Begin planning today and make this year’s toy drive unforgettable.