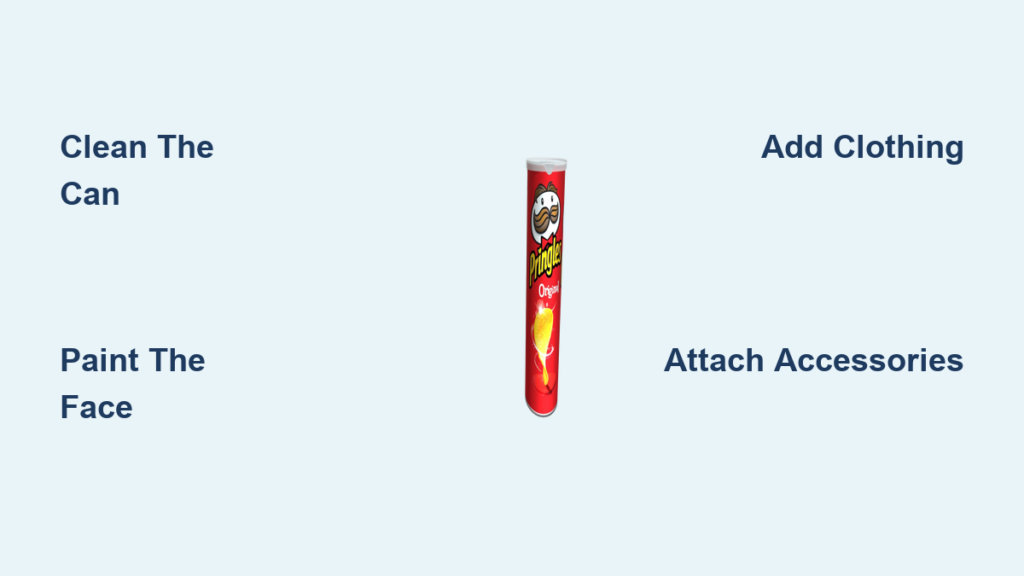
Have you ever stared at an empty Pringles can and wondered if it could be more than just trash? With a little creativity, that metal cylinder can become a charming, one-of-a-kind toy. Making a Pringles can toy is a fun, eco-friendly craft that turns everyday recycling into imaginative play. Whether you’re crafting with kids at home, leading a classroom activity, or looking for a nostalgic DIY project, this guide shows you how to transform a simple chip can into a personalized character doll, storage jar, or themed figure. You’ll use basic craft supplies to paint, dress, and accessorize your creation. No advanced skills needed. By the end, you’ll have a durable, customizable toy that sparks joy and keeps waste out of landfills.
Prepare the Can for Decorating
Before decorating, your Pringles can must be clean and safe to handle. This step removes oils and chip residue that could ruin your paint job.
Remove Labels and Residue
Most Pringles cans come with a paper label wrapped around the metal body. To remove it:
• Gently peel the label from the can.
• If glue residue remains, rub it with a cotton ball soaked in rubbing alcohol or vinegar.
• Wipe the entire surface with a dry cloth to ensure a smooth base for painting.
Warning: Do not soak the can in water. The metal can rust if moisture gets trapped between layers.
Clean the Interior
Even after eating the chips, oil and crumbs often linger inside.
• Spray the inside with white vinegar to break down grease.
• Wipe thoroughly with a paper towel until no residue remains.
• Let the can air dry upright for 10 to 15 minutes.
Pro tip: If the vinegar smell lingers, place a cotton ball with a drop of vanilla extract inside for a few minutes to neutralize odors.
Paint the Face Area

The upper third of the can becomes the toy’s head. This is where you’ll add skin tone and facial features that bring your character to life.
Apply Base Skin Color
• Use acrylic craft paint to create a 3- to 4-inch band around the top of the can.
• Choose a flesh tone that matches your character’s design. Mix red, yellow, and white paints if needed.
• Use a medium-sized brush for even coverage.
• Let the paint dry completely before adding details. Drying time is typically 15 to 30 minutes.
Visual cue: The painted section should look smooth and opaque with no metal showing through.
Add Facial Features
Once dry, personalize the face with eyes, nose, and mouth.
• Eyes: Paint with black or brown, or glue on googly eyes or buttons for a 3D effect.
• Nose: A small dot or triangle works for cartoon styles.
• Mouth: Paint a smile, frown, or surprised “O” shape depending on personality.
Creative shortcut: Use permanent markers for quick facial details. This approach works great for younger kids who want immediate results.
Design the Clothing
Clothing gives your toy identity. Is it a superhero, a princess, or a chef? Fabric brings the character to life and makes it uniquely yours.
Cut and Wrap Fabric
• Measure a strip of fabric scrap long enough to wrap around the can.
• Cut it 2 to 4 inches tall, depending on desired outfit length.
• Use kitchen shears for clean cuts. This tool handles thick or woven fabrics much better than standard scissors.
Safety note: Supervise children when using sharp scissors. Pre-cut fabric for ages 5 to 7.
Glue the Outfit in Place
• Apply a thin line of white craft glue around the can where clothing will sit.
• Press the fabric strip into place, smoothing out wrinkles as you go.
• Hold for 10 seconds to prevent slipping.
• Let dry 20 to 30 minutes before handling.
Variation: Use themed fabric like red and blue for a superhero, polka dots for a clown, or flannel for a lumberjack character.
Create the Hair
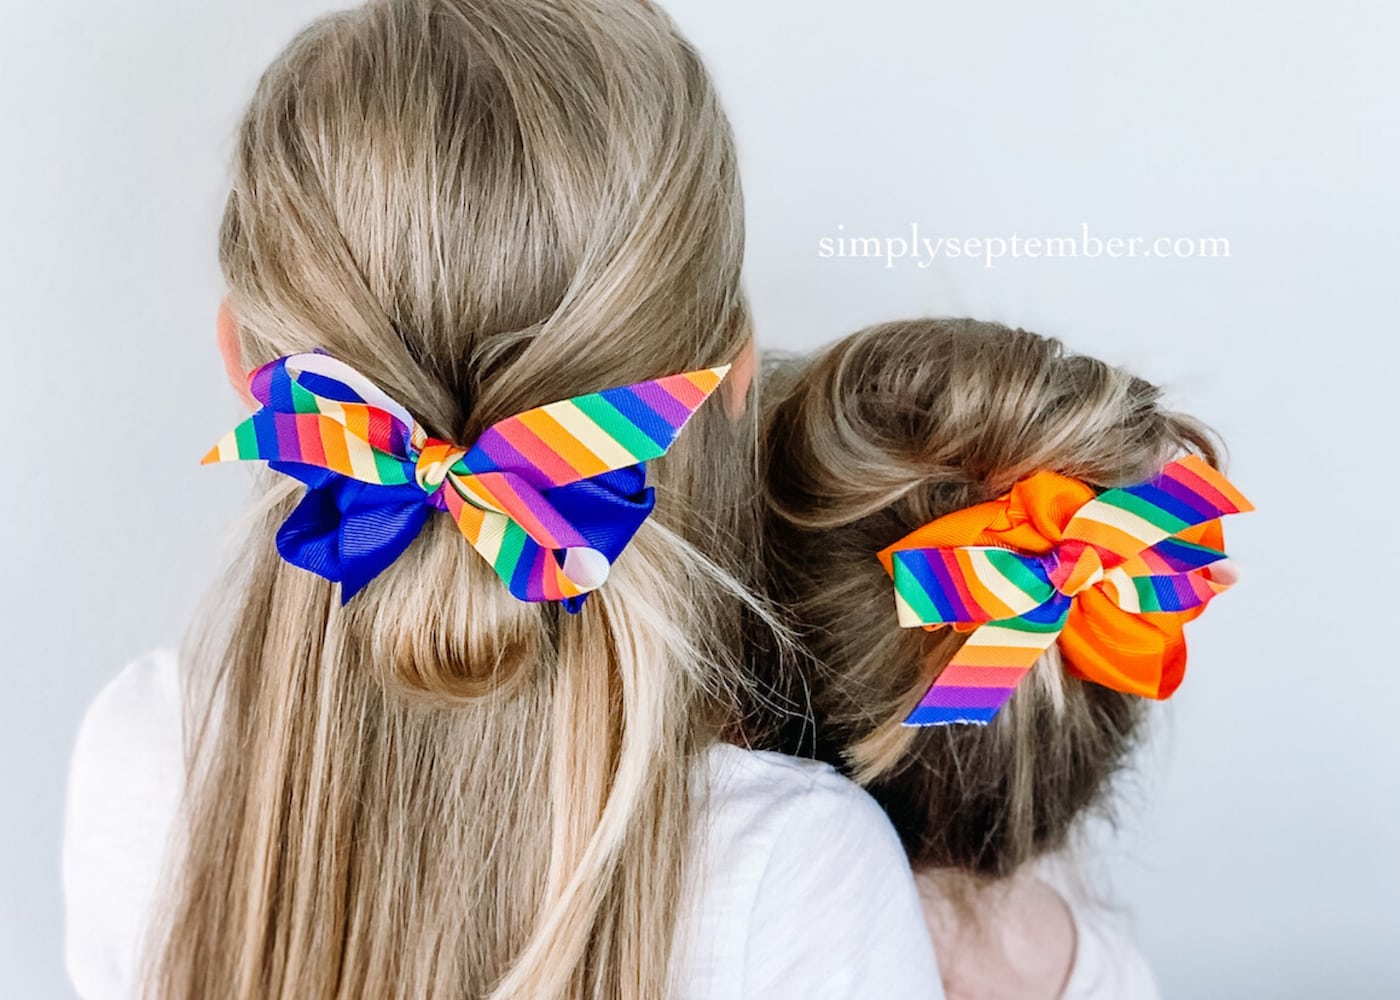
Hair adds flair and helps define your toy’s personality. The right hair style can transform a simple cylinder into a recognizable character.
Use Ribbon for Easy Styling
• Cut ribbon into 6- to 8-inch strips.
• Glue vertically along the top rim of the can for straight hair.
• For bangs, add shorter horizontal pieces across the front.
Success story: One child used brown ribbon for hair. Others copied the idea, proving how craft ideas spread quickly in group settings.
Try Alternative Hair Materials
• Yarn: Curl it in warm water for bouncy curls, then let it dry before attaching.
• Felt strips: Cut into fringe for short, spiky styles.
• Raffia or synthetic hair: Great for wild, textured looks.
Pro tip: Layer different lengths for a more realistic hairstyle. Start with longer pieces as the base, then add shorter pieces on top.
Add Accessories and Details
This is where your toy becomes unique. Accessories turn a basic figure into a character with personality and style.
Attach Earrings and Jewelry
• Glue dollar-store jewels or small buttons to the sides of the head for earrings.
• Use sequins or stickers for nose rings or temporary tattoos.
Make Belts, Scarves, and Sashes
• Cut ribbon or fabric strips to wrap around the waist or neck.
• Glue a button on the front as a belt buckle.
• Add lace around the collar for a fancy look.
Decorate with Extra Flair
• Glue on cotton balls for pom-pom hats or fluffy collars.
• Use pipe cleaners for glasses, antennas, or arms.
• Add stickons or felt cutouts for logos or emblems.
Expert note: Let kids lead the design process. Their choices reflect their imagination and build confidence.
Turn It Into a Treasure Jar
Your Pringles can toy is not just decorative. It is functional too. The removable lid makes it perfect for storage.
Use the Lid for Storage
• The plastic lid snaps on and off easily.
• Fill the can with small items like crayons, pencils, stickers, erasers, hair clips, jewelry, LEGO minifigs, or toy cars.
• Teachers love these as classroom supply holders.
Storage tip: Keep contents dry to prevent mold or rust inside the can.
Label for Personalization
• Write the child’s name on a sticker or tag.
• Glue it to the side or lid for ownership identification.
• Add thematic stickers that match the character design.
Explore Creative Variations
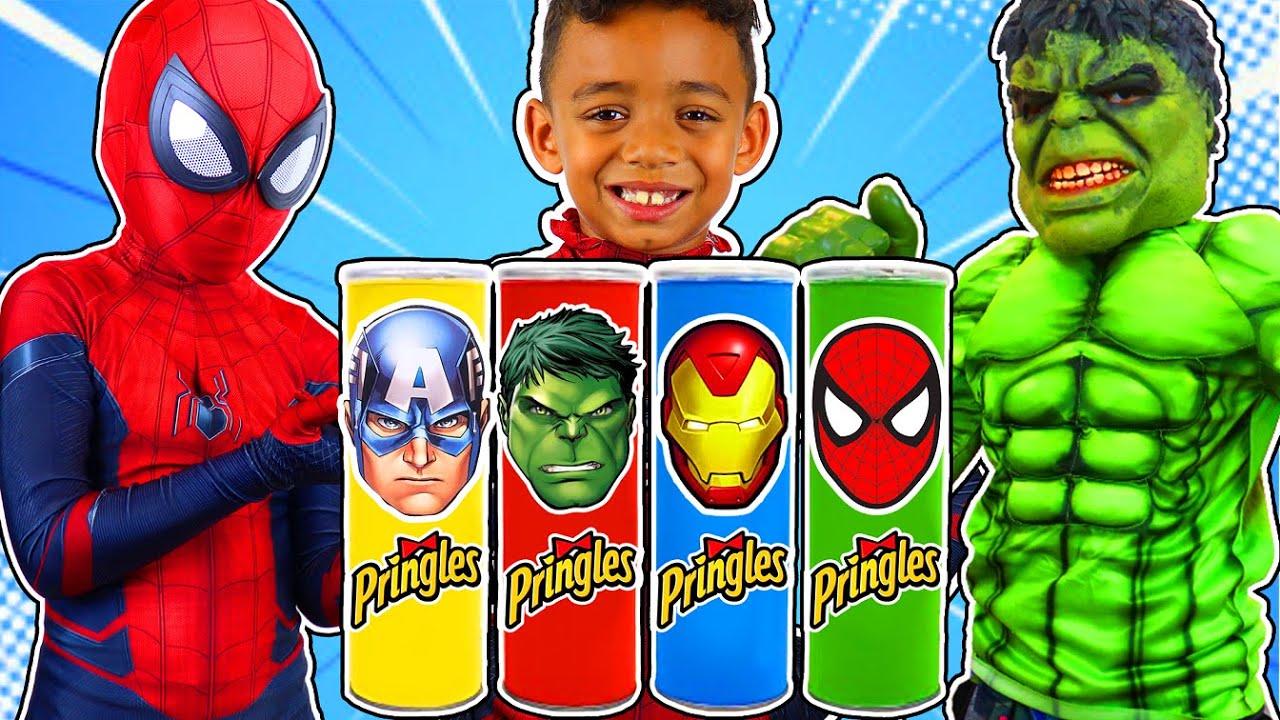
Do not stop at dolls. Turn your can into any character you can imagine.
Superheroes and Villains
• Use red and blue fabric for a Superman-style hero.
• Add a cape made from ribbon glued to the back.
• Paint a mask around the eyes.
Fantasy Characters
• Wizard: Glue a pointed hat cut from felt. Use a glitter pen for magic sparks.
• Pirate: Paint an eye patch and glue on a tiny hat. Add a yarn beard.
• Robot: Use silver paint and glue on buttons as control panels.
Seasonal Themes
• Santa: Red fabric, white cotton beard, black belt with button buckle.
• Witch: Black hat, green face paint, yarn braid.
• Bunny: Pink ears cut from felt, cotton ball tail.
Idea boost: Let kids pick characters from their favorite books or shows. This increases engagement and personal meaning.
Follow Safety and Craft Tips
Keep the project safe and successful with these best practices.
Supervise Young Crafters
• Scissors, glue, and small parts are hazards for kids under 6.
• Pre-cut materials for younger children.
• Use washable glue and non-toxic paint.
Work in a Ventilated Area
• Acrylic paints and glues release fumes.
• Open a window or work near a fan.
• Take breaks if anyone feels dizzy.
Prevent Smudging and Warping
• Let each layer dry fully before adding the next.
• Use thin glue layers. Too much can soak through fabric.
• Seal the final piece with clear acrylic spray (optional) to protect paint and decorations.
Durability tip: Avoid dropping the can. Metal dents easily and can no longer stand upright.
Boost Development Through Crafting
This project does more than entertain. It builds important skills.
Improve Fine Motor Control
• Cutting fabric, painting details, and gluing small items strengthen hand-eye coordination.
• These activities prepare children for writing and other precision tasks.
Encourage Creative Thinking
• Choosing colors, outfits, and characters fosters imagination and self-expression.
• Problem-solving during assembly builds critical thinking.
Teach Sustainability
• Reusing a chip can shows kids how recycling can be fun and useful.
• This project creates a tangible connection between environmental action and creative outcome.
Build Social Skills
• Group crafting encourages sharing, collaboration, and idea exchange.
• Children learn to give and receive feedback respectfully.
Observed benefit: One child’s ribbon hair inspired three others to copy the style. This proves peer learning happens naturally during craft activities.
Keep Costs Low
This craft is budget-friendly, especially with reused supplies.
Estimated Costs Per Toy
| Item | Cost |
|---|---|
| Pringles can | Free (recycled) |
| Acrylic paint | $0.50 to $2 per color |
| Craft glue | $1 to $3 per bottle |
| Fabric scraps | Free (from old clothes) |
| Buttons, ribbon, jewels | $1 to $3 per pack |
| Total | Under $5 |
Money-saving hack: Host a craft supply swap with friends or use leftovers from other projects. Many families have half-used paint sets and scrap fabric gathering dust.
Real User Feedback
People love making Pringles can toys, and for good reason.
• Engagement: Kids stay focused through all steps. Painting, gluing, and decorating hold their attention for hours.
• Uniqueness: No two toys look alike. Each reflects the maker’s personality and creative choices.
• Emotional value: Many keep their creations as treasured keepsakes for years.
• Parent review: “What a fun way to reuse empty Pringles cans!”
Teacher insight: “It is a hit during craft time. Students love showing off their characters to classmates.”
Frequently Asked Questions About Pringles Can Toys
What age is appropriate for making a Pringles can toy?
Children age 5 and up can participate with adult supervision. Younger kids can help with painting and decorating while adults handle cutting and gluing. Children under 6 should not handle small parts like buttons or jewels due to choking hazards.
How do I prevent the can from rusting?
Keep the can dry. Do not submerge it in water. Wipe up any spills immediately. If you live in a humid climate, consider sealing the exterior with clear acrylic spray after decoration is complete.
Can I use other chip cans besides Pringles?
Yes. Any cylindrical chip can with a removable lid works. The process remains the same. Just ensure the can is clean and dry before starting.
How long does the project take to complete?
Plan for 1 to 2 hours total. This includes drying time between steps. You can spread the project across two days if needed. Let paint and glue dry fully between sessions.
What if my child wants to make a character I cannot help with?
Let creativity lead the way. Encourage your child to describe their vision, then work together to find materials that match. Search online for character ideas or let them invent something entirely new.
Key Takeaways for Making Pringles Can Toys
The Pringles can toy is more than a craft. It is a blend of art, play, and eco-conscious thinking. With minimal supplies and simple steps, you can create a durable, imaginative figure that doubles as a storage container. Whether you are making a doll, superhero, or seasonal character, the process builds creativity, fine motor skills, and environmental awareness. Perfect for home, school, or group activities, this project proves that something ordinary can become extraordinary with a little imagination.
Remember: A chip can does not belong in the trash. It belongs in the hands of a creator. Gather your supplies, round up your little artists, and start transforming empty cans into beloved toys today.