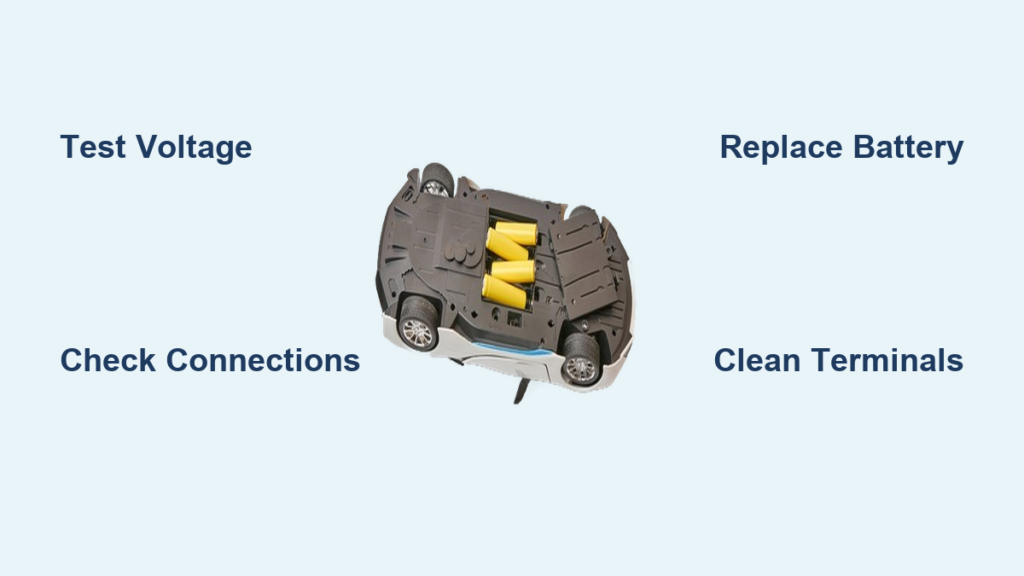
Nothing kills a child’s fun faster than a ride-on toy car that won’t start. More often than not, the culprit is a faulty or degraded battery, but before you shell out $100+ for a new vehicle, try fixing it yourself. With just a few basic tools and systematic troubleshooting, you can diagnose and resolve most toy car battery problems in under an hour. This guide walks you through every step, from testing voltage to replacing components, and shows you how to bring dead ride-ons back to life.
Check Battery Voltage With a Multimeter

Start every diagnosis by measuring the battery’s resting voltage. This tells you if the problem is the battery or something else in the electrical system.
Remove the battery from the vehicle, usually located under the seat or in the hood compartment. Set your digital multimeter to DC voltage mode. Touch the red probe to the positive terminal and the black probe to the negative terminal. Read the display and compare it to healthy benchmarks.
For a 6V battery, a healthy reading ranges from 6.2 to 6.5V, and you should replace it if voltage drops below 5.5V. For a 12V battery, expect 12.6 to 13V when fully charged, and replace if readings fall below 11.8V. A 24V system should read 24 to 28V, with failure indicated below 23V.
If you get no reading at all, the battery may be completely dead or internally shorted. Charge the battery for 6 to 8 hours and retest. If it still won’t hold charge, move to replacement.
Diagnose Why the Car Charges But Won’t Run
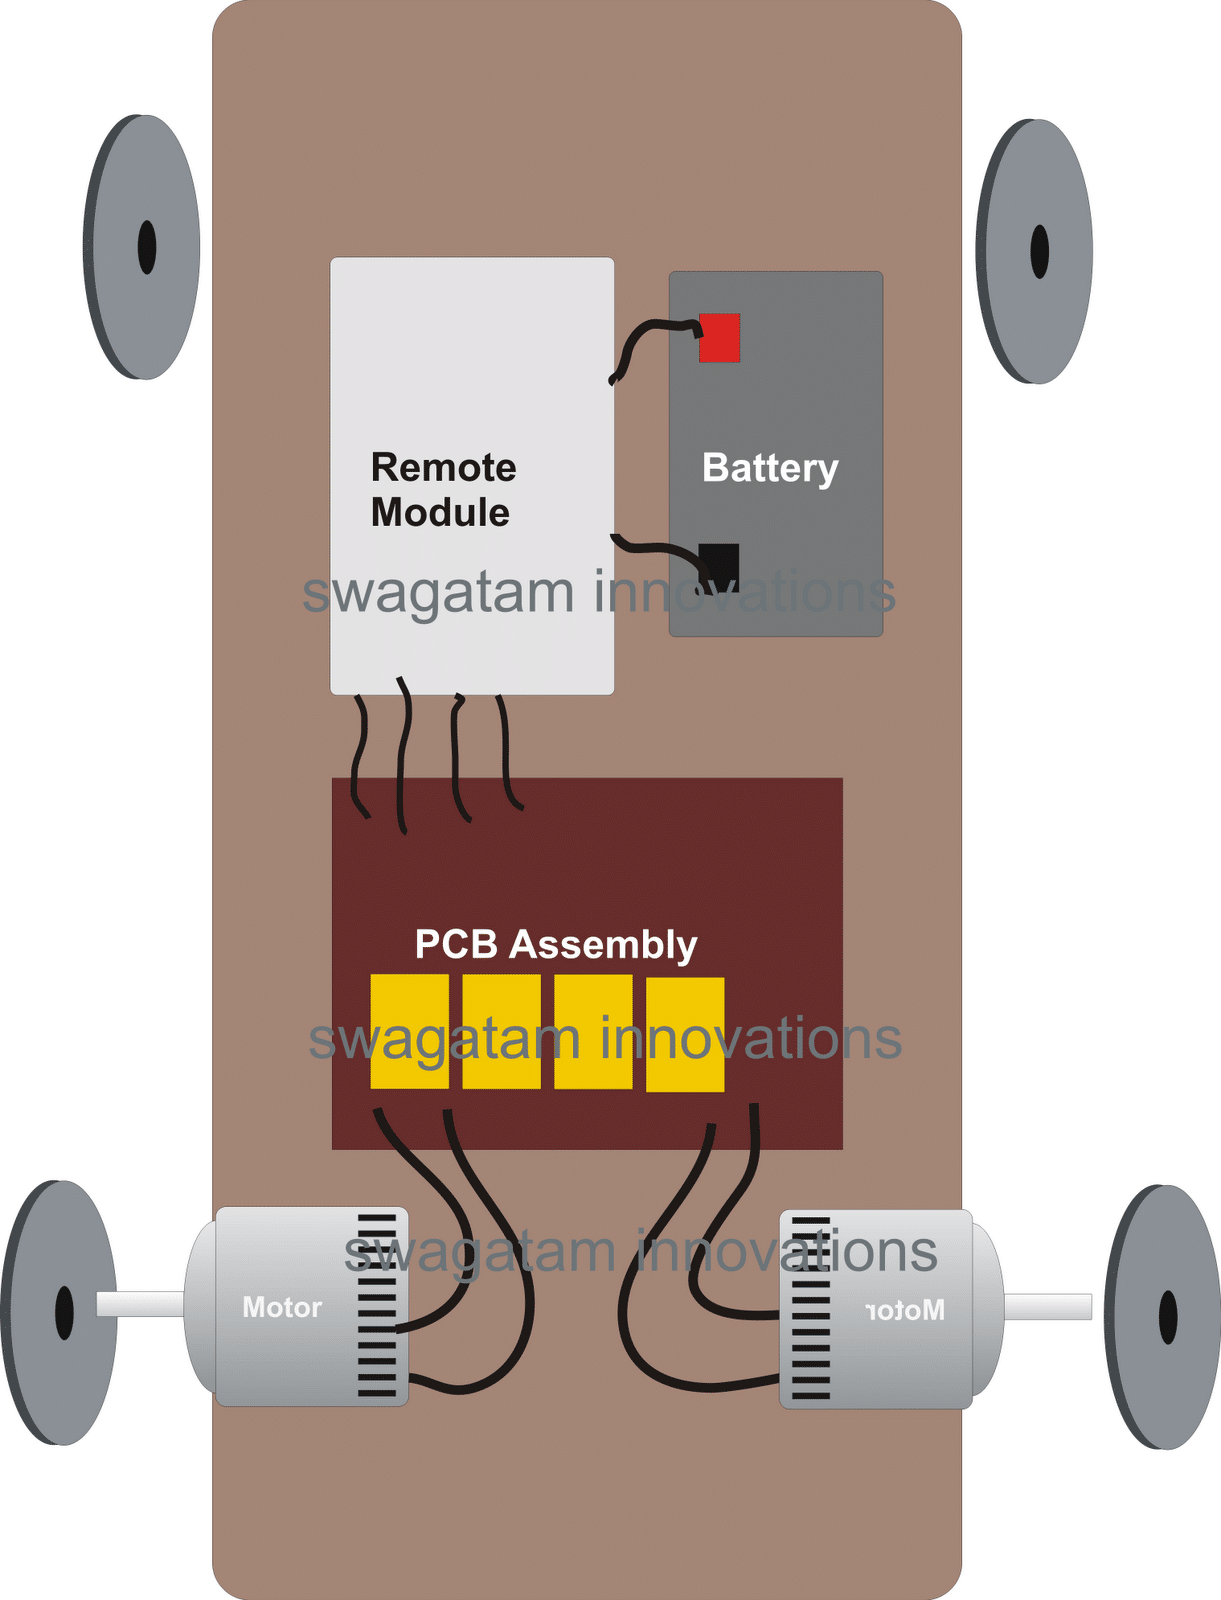
Even with a full charge, the car might not respond when the pedal is pressed. This indicates an issue in the electrical path between the battery and the motor.
Check the polarity first. Ensure the red wire connects to the red terminal, as reverse polarity can damage circuits. Inspect all plugs between the battery, PCB, and motor for loose connections. Look for white or green crust on terminals or connectors, which indicates corrosion. Examine solder joints on the circuit board for cracks that can break power flow.
Clean terminals with a baking soda paste or isopropyl alcohol. Use a wire brush or fine sandpaper to remove oxidation. Reconnect securely and apply dielectric grease to prevent future corrosion. Re-solder any cracked joints on the PCB. Label all wires before disconnecting to avoid miswiring.
Fix a Battery That Won’t Hold Charge
Rapid draining or failure to accept a charge usually means internal degradation. Several factors cause this problem.
Sulfation occurs from long-term undercharging. Deep discharge happens when the battery is drained below 10.5V. Cold weather exposure damages cells. Physical damage includes bulging cases or leaks.
For sealed lead-acid batteries, you may be able to revive them using a smart charger with desulfation mode. Charge slowly over 24 to 48 hours, then retest voltage. If voltage doesn’t improve, the battery is beyond repair and you must replace it.
Never throw old batteries in the trash. Recycle them at Home Depot, Lowe’s, or a local hazardous waste facility.
Repair Hissing Noises and No Movement
A buzzing or hissing sound when pressing the pedal means the controller is trying to send power, but voltage is too low. This typically indicates a weak battery unable to deliver current under load.
Voltage drops below 5.4V in a 6V system or below 10.5V in a 12V system cause this symptom. Recharge fully for 6 to 8 hours, then retest voltage at rest and while pressing the pedal. If voltage plummets under load, the battery is failing and needs replacement.
Also check wiring resistance between battery and motor. Inspect for blown fuses or damaged traces on the master PCB.
Replace the Battery Step by Step
Turn off the ignition and unplug the connector. Remove screws, clips, or brackets securing the battery. Wear gloves because SLA batteries contain sulfuric acid. Lift out gently to avoid rupturing the casing.
Install the new battery by matching specifications exactly. Voltage must match, as must the amp-hour rating and physical size. Connect wires with correct polarity. Secure in place with original hardware. Charge for 6 to 8 hours before first use.
Consider upgrading from lead-acid to lithium-ion for longer life and lighter weight.
Test the Pedal Switch If the Car Won’t Respond
Symptoms include the car running with the remote but not with the pedal. The pedal uses two metal contacts that close when pressed, and dirt, misalignment, or broken wires prevent contact.
Disassemble the pedal housing. Clean contacts with isopropyl alcohol. Realign and reattach wires. Ensure the spring returns the pedal smoothly. Reassemble and test.
Check the Remote Control for Failure
Symptoms include the pedal working but the remote doing nothing. Replace the 9V or AA battery in the remote. Check wiring from the PCB to the receiver module. Ensure line of sight within 30 to 50 feet.
If the receiver still fails, replace the remote control kit, which costs around $20.
Test the Ignition and Shifter Switches
For ignition problems, broken internal springs or dirty contacts cause failure. Clean with electrical contact cleaner or replace the switch.
For shifter failure, two microswitches control gear selection, and worn switches cause no engagement. Remove the shift knob and ball cup. Unbolt the shifter and open the cover. Release old switches via side tabs. Insert new ones. Grease bushings before reassembly.
Test the Charger Output
A bad charger is often mistaken for a dead battery. Plug the charger into the wall. Set the multimeter to DC voltage. Touch probes to the charger tip, red to center pin and black to outer sleeve.
Expected readings are 7 to 8V for a 6V system and 13 to 15V for a 12V system. No voltage indicates a faulty charger. Voltage present but battery not charging means the battery is dead.
Replacing a $15 charger saves $60 or more in unnecessary battery replacements.
Fix Signal Wire Problems
Some controllers think the charger is always plugged in due to a faulty signal wire. Symptoms include the car not running even with a full battery and the charging LED staying on constantly.
Unplug the charger and measure signal wire voltage. A healthy reading is 0V. A faulty reading shows greater than 0.5V, such as 0.8V creating a false charging signal.
Replace the charging module or PCB. Alternatively, install a remote-enabled controller for around $20 that bypasses the issue.
Test the Motor Directly
When everything else checks out, test the motor independently. Disconnect the motor from the controller. Connect directly to a known-good 6V power source. Observe whether the motor spins freely.
If the motor spins, the motor is good and the issue is upstream, involving the switch, wiring, or PCB. If there is no movement or jerky spin, the motor is bad and needs replacement.
Remove wheels and the gearbox cover. Disconnect wires and unscrew mounting hardware. Install a new motor matching shaft size and gear teeth. Reconnect and test. Consider upgrading to metal gears if increasing battery voltage.
Maintain the Battery to Prevent Future Failures
Follow best practices to avoid repeat issues. Charge after every use, even short rides. Never fully drain the battery. Store at 50% charge during off-seasons. Recharge every 4 to 6 weeks if unused. Keep in a cool, dry place, not garages or attics.
Avoid overcharging by never leaving the battery on the charger more than 12 to 14 hours.
Perform a monthly inspection routine. Check battery voltage. Inspect wiring for frays or corrosion. Test pedal, remote, and switches. Lubricate moving parts like the shifter and axles. Tighten screws by hand, avoiding power tools. Rotate tires monthly to prevent flat spots.
Use a digital voltmeter as your most important tool, which costs around $10 at hardware stores.
Recycle Old Batteries Responsibly
Wear gloves when handling SLA batteries. Work in a ventilated area. Never short terminals, as sparks can ignite hydrogen gas. Keep batteries away from kids and pets.
Recycle at Home Depot, Lowe’s, or local hazardous waste facilities. Lithium-ion batteries also require special recycling, so check local regulations.
Avoid Common Repair Mistakes
Prevent these top errors. Never assume the battery is bad without testing first. Avoid replacing multiple parts at once; isolate the fault step by step. Never use the wrong voltage battery, as putting a 12V battery in a 6V car can fry the system. Don’t ignore the signal wire, as this leads to recurring failures. Skip dielectric grease and corrosion returns quickly.
Use a troubleshooting flowchart to stay on track.
Final Thoughts on Fixing Your Toy Car Battery
Most electric ride-on problems start with the battery but rarely end there. By testing voltage, checking connections, and upgrading key parts, you can restore full function quickly. Typical repairs cost $40 to $60, compared to $100 to $300 for a new ride-on car.
Use this guide to diagnose, repair, and even enhance your child’s toy car. Turn a broken-down vehicle into a long-lasting playtime favorite while teaching kids valuable STEM skills. If the chassis, wheels, and seat are intact and repair costs stay under $60, fixing is almost always cheaper and more sustainable than replacement.
Frequently Asked Questions About Toy Car Battery Repair
Why won’t my electric toy car turn on?
The most common causes are a dead battery, loose or corroded wires, a faulty pedal or ignition switch, a blown fuse, or over-tightened wheel retainers. Start with a voltmeter test of the battery and charger to identify the issue.
Can I repair a battery instead of replacing it?
You can replace corroded connectors or wires without buying a new battery. Clean terminals and recondition an SLA battery with a smart charger. If internal cells are damaged, replacement is required.
How long do ride-on car batteries last?
With proper care, toy car batteries typically last 2 to 3 years. Lifespan reduces with cold weather exposure, improper storage, or infrequent use without maintenance charging.
What tools do I need for toy car battery repairs?
A digital voltmeter is essential. You’ll also need screwdrivers (Phillips and flathead), pliers, and wire cutters or strippers. Avoid power tools to prevent stripping plastic screws.
When should I replace the motor?
Replace the motor if it fails to run when connected directly to a known-good battery. Look for symptoms like clicking sounds, no movement, a burning smell, or overheating.
Is it worth repairing an old ride-on toy car?
Yes. Typical repair costs range from $40 to $60, far below the $100 to $300 price of a new unit. Repair also offers educational value for children and sustainability benefits.