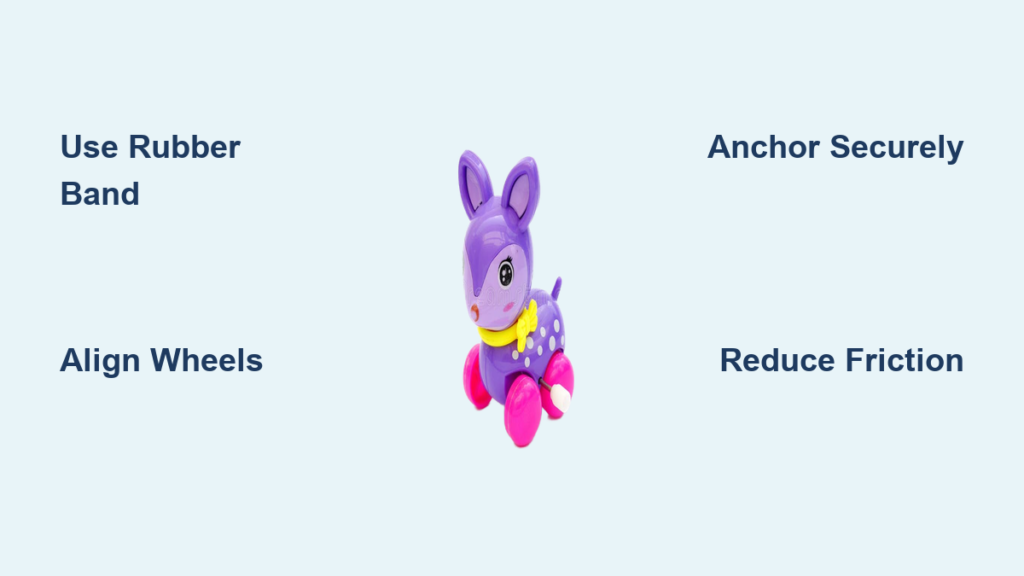
You’ve probably seen a wind-up toy zip across the floor after a few quick twists of a key. The simple, mesmerizing movement is full of charm. But did you know you can make one yourself with just a few household items or a 3D printer? Whether you’re crafting with kids, teaching physics, or building kinetic art, learning how to make a wind up toy unlocks hands-on understanding of energy, motion, and mechanics.
This guide walks you through three proven methods. You’ll start with a rubber band-powered cardboard racer, move to a clay creature driven by a real spring motor, and finish with a precision 3D-printed model. Each approach uses the same core principle: storing elastic potential energy through winding, then releasing it as movement. You’ll learn what materials to use, how to avoid common failures, and how to customize your design for maximum fun and function.
Rubber Band-Powered Cardboard Toy
This beginner-friendly build teaches energy transformation using everyday supplies. It’s perfect for classrooms or weekend crafts with children.
Cut and Prepare Wheels
Use cardboard to cut two identical wheels, about 2 to 3 inches in diameter. Trace a cup or compass for even circles. Punch a hole in the center of each with a hole punch or sharp tool. Make sure holes are centered because misaligned wheels cause wobbling and drag.
Build the Axle System
Insert a wooden skewer or pencil through both wheel holes to form an axle. Slide the axle through a hole punched in the bottom of a cardboard cup. The body should be the cup. The axle must rotate freely, so add a bead on each end as a bushing to reduce friction between wheel and cup.
Pro tip: If the hole is too loose, wrap tape around the axle ends. If too tight, enlarge the cup hole slightly.
Install the Rubber Band Drive
Thread a thick rubber band through one wheel, then through the cup’s base hole, and out through the second wheel. Inside the cup, secure one end of the rubber band with a bent paper clip. This anchors it so winding twists the band instead of pulling it through.
Outside the cup, slide a bead onto the free end of the rubber band to prevent wear. Then tie or loop it around a short stick. This stick acts as your winding crank.
Warning: Don’t skip the bead. Without it, friction can snap the rubber band during release.
Test and Troubleshoot Motion
Wind the stick 10 to 20 times clockwise. Place the toy on a smooth floor and release. If it doesn’t move, check these common issues:
• Check the anchor: Ensure the paper clip holds the rubber band firmly inside the cup.
• Verify alignment: Wheels must spin freely without rubbing the cup.
• Boost traction: Wrap rubber bands around wheel edges for grip on slick floors.
Most failures come from slipping rubber bands or misaligned axles. Reinforce weak points with tape or glue if needed.
Pre-Made Motor with Clay Body

Step up your design with a real wind-up mechanism and a sculptable body. This method is ideal for creative builds and kinetic art projects.
Choose a Wind-Up Motor
Buy a blank wind-up motor unit from specialty retailers. These small plastic housings contain a metal coil spring, gear train, and crank. They drive a rotating foot or cam that creates waddling or walking motion when weighted properly. These motors are durable, reusable, and perfect for prototyping.
Sculpt with Modeling Clay
Mold pliable modeling clay around the motor body to form your creature. Keep the winding key and foot mechanism completely exposed. Add limbs, heads, or antennae with toothpicks and pipe cleaners for structure.
Pro tip: Balance is key. Keep the center of gravity low. Top-heavy clay monsters tip over when they move.
Customize with Decorations
Press in googly eyes, feathers, or fabric scraps. Use wire for tails or arms. Test movement early. Wind the key 5 to 10 full turns and place on a hard surface.
If the toy wobbles or stalls, try these fixes:
• Reduce weight on long limbs.
• Adjust foot angle: Slightly bent feet improve walking motion.
• Smooth the surface: Clay lumps can drag and stop movement.
Expert note: Store clay-covered motors in airtight containers when not in use to prevent drying.
3D-Printed Wind-Up Toy
For advanced makers, 3D printing allows precision, repeatability, and custom shapes around commercial motors. This method requires access to a 3D printer and basic CAD knowledge.
Design the Motor Housing
Use FreeCAD or similar software to model a cavity that fits your wind-up motor. Start by measuring the motor’s dimensions. Then create a housing with 0.5 mm total clearance to prevent binding. Add 0.25 mm per side.
Pro tip: Why clearance matters: 3D-printed parts expand slightly when warm and need space to move without friction.
Simplify for Boolean Operations
Create a simplified version of the motor to use as a negative shape. Scale it up uniformly. Import it into your toy model and perform a boolean difference operation to carve out the exact motor compartment. Replace complex crank details with a single cylinder to avoid mesh errors during printing.
This method saves hours of manual fitting and ensures consistent results across multiple prints.
Print and Assemble
Use PLA or ABS filament. After printing, insert the motor and secure it with clips or screws if needed. Attach custom wheels or legs designed to match the motor’s output shaft.
Pro tip: Print test brackets first to verify fit before committing to full model.
Optimize for Motion
Tune performance by adjusting these factors:
• Wheel size: Larger wheels cover more distance per rotation.
• Weight distribution: Add small clay or metal counterweights if needed.
• Surface grip: Print rubber-like TPU wheels or glue silicone strips.
These models can be reused across projects. Save your motor cavity as a template.
Energy and Motion Principles

Understanding how wind-up toys work helps you fix and improve any design. The physics behind the movement applies to all methods.
How Elastic Energy Powers Movement
When you turn the crank, you apply kinetic energy. This twists the rubber band or compresses the spring, storing energy as elastic potential energy. Upon release, the spring or band unwinds, converting stored energy back into motion.
Key point: No energy means no movement. Under-winding is the most common reason toys don’t go.
Rubber Band vs. Metal Spring
Choose your elastic element based on your project needs:
• Rubber band: Moderate energy storage, degrades over time, delivers irregular force. Best for simple cardboard builds.
• Metal spring: High energy storage, long-lasting, delivers smooth consistent force. Best for precision or artistic toys.
Replace rubber bands every few months because they lose elasticity.
Design for Performance
Even small tweaks can make your toy go farther and last longer. Focus on these three areas.
Minimize Friction
Friction eats energy. Use beads or bushings on axles. Use smooth finishes on contact points. Avoid tight fits because everything should move freely.
Balance the Body
For walking toys, an uneven body causes tipping. Keep decorations lightweight and centered. Test balance by placing the toy on a flat edge. If it tilts, redistribute weight.
Choose the Right Surface
Wind-up toys work best on hardwood, tile, or linoleum. Avoid carpet or gravel. If you must use high-friction floors, increase wheel grip with rubber edging.
Common Problems and Fixes
Even well-built toys can fail. Here’s how to troubleshoot the most frequent issues.
Toy Doesn’t Move
Causes include: Rubber band slipped off axle, anchor pulled through cardboard, or motor jammed from overwinding.
Solutions: Knot the rubber band securely. Reinforce anchor with tape or washer. Never force the crank past resistance. Stop winding when it feels tight.
Wheels Spin But Toy Stalls
This is likely due to poor traction. Wrap rubber bands around wheels or use silicone tape. Ensure wheels are perpendicular to the axle.
Clay Creature Tips Over
Redesign with a wider base, shorter legs, and lower center of gravity. Try a squat, wide body instead of a tall, narrow one.
Creative Customization Ideas
Make your wind-up toy stand out with these creative approaches.
Turn It Into Art
Build kinetic sculptures like waddling clay aliens, marching robots, or flapping birds. Use contrasting colors and exaggerated features. Artists use these in galleries to explore motion and whimsy.
Add Themes
Build around ideas like animals such as penguins, dinosaurs, or crabs. Or try vehicles such as race cars, tanks, or rockets. Fantasy themes like walking castles or mechanical dragons also work well.
Let kids name and personalize their creations.
Use Recycled Materials
Turn bottle caps into wheels, straws into axles, or old toys into hybrid builds. Sustainability meets STEM in these projects.
Educational Benefits
Building wind-up toys teaches real science through hands-on play.
Physics Concepts Learned
• Energy transformation: Kinetic to elastic potential and back
• Newton’s Third Law: The foot pushes back, propelling the toy forward
• Friction and motion: How surface and material affect speed
• Gear mechanics: In pre-made motors, gears multiply force
This projects are ideal for ages 5 and up with adult help.
Classroom Integration
Use in STEM labs to explore engineering design. Use in art classes for kinetic sculpture projects. Use in special education to develop fine motor skills.
Pair building with discussion questions like “Where is energy stored?” or “Why does it stop?”
Maintenance and Longevity
Keep your toy running smoothly with proper care.
Replace Worn Parts
• Rubber bands: Swap out when stretched or cracked
• Clay: Reshape or replace if dried or dirty
• 3D-printed gears: Check for wear if motor struggles
Store Properly
Don’t leave the toy wound. Store with spring relaxed to prevent fatigue. Keep dry because moisture warps cardboard and degrades rubber. Label parts if disassembling for repair.
Most DIY wind-up toys last months with proper care.
Frequently Asked Questions About Making Wind Up Toys
What is the easiest wind-up toy to make as a beginner?
The rubber band-powered cardboard toy is the easiest beginner project. It uses basic household materials like cardboard cups, rubber bands, and wooden skewers. The assembly takes about 30 minutes and teaches the fundamental principles of elastic energy storage.
How does a wind-up toy store energy?
Wind-up toys store energy through elastic potential energy. When you turn the crank, you apply kinetic energy that twists a rubber band or compresses a metal spring. This stores the energy. When released, the elastic element unwinds and converts the stored energy back into kinetic motion.
How long does a wind-up toy run after winding?
Most wind-up toys run for 5 to 15 seconds after a full wind, depending on spring tension and load. Rubber band models typically run shorter distances while metal spring motors in pre-made mechanisms tend to run longer and more consistently.
Can I use a 3D-printed design with a commercial wind-up motor?
Yes, you can embed commercial wind-up motors in 3D-printed housings. Design the housing with 0.5 mm total clearance to prevent binding. Use boolean operations in your CAD software to carve an exact cavity for the motor.
What surfaces work best for wind-up toys?
Smooth, hard surfaces like hardwood, tile, and linoleum yield the best performance. Avoid carpet or uneven terrain unless your toy is specifically designed for off-road movement. High-friction wheels can help on less ideal surfaces.
How do I fix a wind-up toy that won’t move?
Check three common issues. First, verify the rubber band is properly anchored and not slipped off. Second, ensure wheels spin freely without rubbing the body. Third, confirm there is enough traction on the wheels. Reinforce weak points with tape and add rubber bands around wheel edges for grip.
Key Takeaways for Making Wind Up Toys
Building wind-up toys combines creativity with hands-on engineering. Start with the cardboard and rubber band method to understand how elastic potential energy converts to motion. This simple project reveals the core physics principle that applies to all wind-up mechanisms.
For more creative projects, upgrade to pre-made wind-up motors paired with modeling clay. This approach lets you sculpt unique characters while learning about gear mechanics and weight distribution. The clay body method is especially popular with children and produces charming kinetic art.
Advanced makers can design custom 3D-printed housings for precision results. The CAD process with boolean operations ensures perfect motor fit and opens doors for repeatable designs. Save your motor cavity templates to speed up future projects.
Regardless of your skill level, focus on minimizing friction, balancing the body, and testing early and often. With proper care, your wind-up creations will provide months of fun and learning. Now grab your materials, wind it up, and let it go.