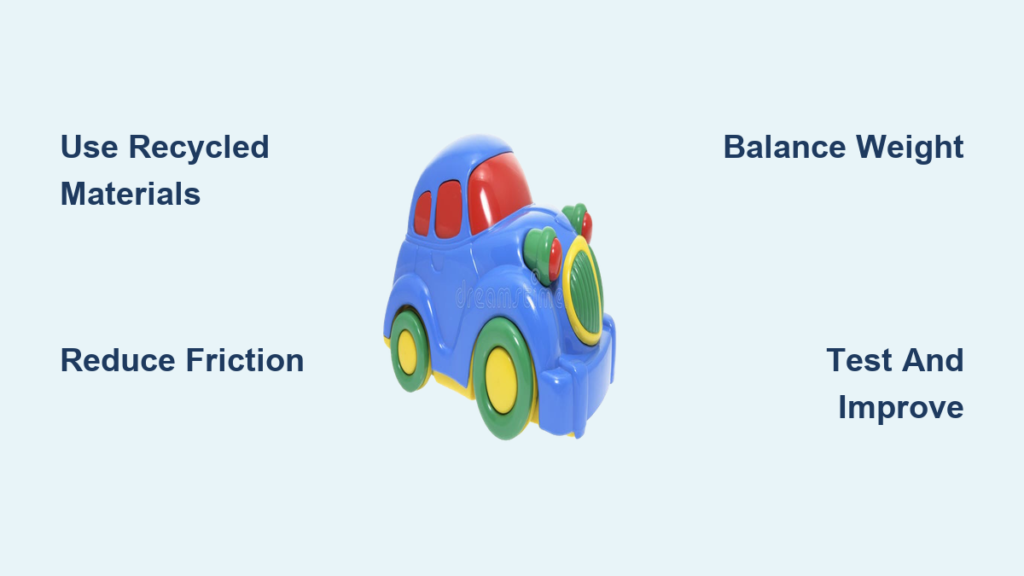
Every child loves the thrill of a moving toy car, especially one they built themselves. Whether you are crafting for fun, teaching science concepts, or sparking creativity, how to make a toy car is a timeless project that blends play with hands-on learning. From simple cardboard box racers to rubber band-powered speedsters, this guide covers every method, material, and trick to build toy vehicles at home using everyday supplies.
You will discover how to turn household items into racing machines, explore the physics behind different propulsion systems, and customize designs for imagination or competition. With clear steps, safety tips, and performance hacks, this is your complete roadmap to building toy cars that roll, race, and inspire.
Choose Your Toy Car Type Based on Age and Skill
Not all toy cars are the same. The best design depends on the builder age, available tools, and purpose whether it is pretend play, learning, or racing competition.
Cardboard Box Ride-On Car for Young Kids
This project is perfect for pretend play and costume fun. Children can climb inside and drive around the house.
Materials needed:
– Large cardboard box
– Markers or paint
– Scissors
– Tape
Build time: 30 to 60 minutes
Best for ages: 3 to 8 years
Steps:
1. Cut out doors, windows, and a windshield from the box.
2. Decorate with racing stripes, headlights, or custom paint.
3. Add cardboard antennas or spoilers for extra style.
4. Let your child wear the car like a costume.
Pro Tip: Tape two boxes together to create a mini truck or fire engine.
Rubber Band-Powered Racer for STEM Learning
This project is a STEM favorite that converts elastic energy into motion. It works great for science fairs and learning physics concepts.
Performance: Can travel 20 or more feet with CD wheels
Core principle: A wound rubber band unwinds and spins the rear axle
Best for ages: 8 to 14 years
Balloon-Powered Car for Physics Exploration
No motors or rubber bands are needed. This build teaches Newton is Third Law in action using only air power.
How it works: When air escapes backward from the balloon, it pushes the car forward.
Materials needed:
– Cardboard or plastic body
– 4 bottle caps or CDs
– 2 skewers
– 2 straws for axle sleeves
– 1 balloon
– 1 plastic straw for airflow
– Tape and glue
Steps:
1. Attach straw halves under the body as axle supports.
2. Insert skewers and add wheels, gluing caps to skewers.
3. Tape a straight plastic straw along the top of the car.
4. Stretch a balloon over one end and tape securely.
5. Blow into the free end to inflate, then release on a flat surface.
Maximize distance: Use a large balloon, ensure no air leaks at the seal, and keep wheels aligned with smooth axles.
Fan-Powered Motor Car for Older Kids
This electric version uses a small motor and propeller to create thrust. It is more advanced and requires adult help with wiring.
Components needed:
– DC motor (3 to 6V)
– Propeller or paper fan
– Battery pack (2xAA)
– Switch (optional)
– Cardstock body
– Wheels and axles
How it works: The rear-facing fan pushes air backward, and the car moves forward.
Safety note: Adult supervision is required for wiring and soldering.
Gather Materials for Your Toy Car Build
Use what you have around the house or recycle smart from your trash.
Best Body Materials from Recycled Items
| Material | Best For | Tips |
|---|---|---|
| Plastic bottle bottom | Mini racers | Sturdy and curved for aerodynamics |
| Cardboard tubes | Space cars and racers | Lightweight and easy to paint |
| Egg cartons | Trucks and monster vehicles | Use individual cups as wheel wells |
| Small boxes | SUVs and vans | Stack for multi-level designs |
| Wood molding | Pinewood Derby style | Sand and paint for professional finish |
Wheel Options for Smooth Rolling
| Wheel Type | Pros | Cons |
|---|---|---|
| CDs and DVDs | Super smooth, very low friction | Large, needs wider chassis |
| Bottle caps | Easy to find | May wobble if uneven |
| Craft plastic wheels | Precise and consistent | Must purchase online |
| Wooden wheels | Natural look | Can split if drilled wrong |
| Spools | Monster truck style | Heavy and may slow the car |
Pro Tip: Wrap rubber bands around wheels for off-road grip.
Build a Rubber Band-Powered Car Step by Step

This classic project demonstrates energy conversion and mechanical motion.
Materials needed:
– Corrugated cardboard (6 by 6 inches)
– 4 plastic bottle caps or CDs
– 2 wooden skewers
– 2 straws cut in half
– 1 rubber band
– 1 empty soda can
– Hot glue and tape
– Drill or push pin
Steps:
1. Cut cardboard into a car shape and decorate it.
2. Tape straw halves under the car for axle sleeves.
3. Slide skewers through straws. These are your axles.
4. Attach wheels by piercing the center of each cap or CD and sliding onto skewer ends. Glue wheels to skewers but never glue the axles to the straws.
5. Build the motor by threading the rubber band through the soda can. Tie one end to the can top center and knot the other end through two bottom holes.
6. Connect to the rear axle by winding the can with a skewer and hooking the rubber band loop to the rear axle.
7. Place on a smooth floor, release, and watch it go.
Troubleshooting Common Problems
| Problem | Solution |
|---|---|
| Car will not move | Check if wheels spin freely and rubber band is tight |
| Car veers to one side | Adjust wheel alignment or balance the weight |
| Car stalls after a few feet | Use a fresh rubber band and ensure the can rotates smoothly |
Optimize Performance for Speed and Distance
Want your car to go farther and faster? Focus on these key areas.
Fix Common Design Problems
Car veers sideways: Align wheels with a ruler and ensure axles are parallel.
Wheels wobble: Balance CDs or sand bottle caps until they sit flat.
Car stalls after short distance: Reduce friction by polishing axles and using smooth wheels like CDs.
Rubber band slips: Use a thick band and knot it securely to the axle.
Balloon leaks air: Seal with tape and use a wider straw for airflow.
Winning Design Hacks
- Weight balance: Keep mass centered between the front and rear axles.
- Aerodynamics: Create a streamlined shape with a pointed front and tapered rear.
- Low friction: Polish axles with sandpaper and use smooth wheels.
- Tight propulsion: Wind the rubber band fully and ensure no slippage.
Competition tip: Test on smooth tile or wood. Carpet kills speed.
Decorate and Customize Your Creation
Make it unique because every racer needs style.
Easy Customization Ideas
- Add flames, racing numbers, or logos with paint or markers.
- Use stickers and decals for printed numbers or sponsor logos.
- Tape tiny battery-powered LEDs for headlights.
- Print and glue custom license plates.
- Create themed builds like fire trucks with red paint and paper ladders, space cars with foil wrap and cardboard fins, or monster trucks with spool wheels and rugged paint.
Pro Tip: Let kids name their car. This boosts ownership and pride.
Essential Tools and Safety Rules
Even simple builds need proper tools and care.
Tools You Will Need
- Scissors
- Ruler
- Push pin or drill
- Hot glue gun
- Sandpaper
- Fretsaw for wood builds
- Clamps
Safety Guidelines
Adult help is required for using hot glue guns, drills and sharp tools, and soldering wires. Wear safety glasses when sanding or drilling. Work in a ventilated area with strong adhesives. Supervise wheel gluing to avoid sealing axles in place.
Why Building Toy Cars Matters for Kids
This is not just craft time. It is real learning in disguise.
STEM Skills Children Learn
- Physics: Force, motion, and energy conversion
- Engineering: Axles, balance, and friction concepts
- Math: Measurement, symmetry, and geometry
- Problem-solving: Fixing veering, stalling, or weak propulsion
Creative and Developmental Benefits
Building toy cars boosts fine motor skills through cutting, gluing, and drilling. It encourages design thinking and aesthetic choices. Children learn about recycling and upcycling. They build confidence through hands-on success.
Final Tips: Build, Test, Improve
The best toy car is not perfect on the first try. It evolves through testing and iteration.
- Build it using your chosen method.
- Test it on a smooth, flat surface.
- Fix what is wrong, whether it is veering, stalling, or propulsion issues.
- Improve it by trying new wheels, a lighter body, or better alignment.
- Race it against friends or family.
Remember: The goal is not perfection. It is fun, learning, and the joy of creation.
Frequently Asked Questions About Making Toy Cars
What is the easiest toy car to make at home?
The cardboard box car is the easiest project. Young children ages 3 to 8 can help with decorating while adults handle the cutting. It requires only a large box, scissors, tape, and markers.
How do I make a toy car that moves without a battery?
Use a rubber band, balloon, or manual push. Rubber band cars store elastic energy. Balloon cars use compressed air for propulsion. Both demonstrate physics principles without needing electricity.
What household items can I use for toy car wheels?
Plastic bottle caps work well and are easy to find. CDs and DVDs roll very smoothly due to low friction. Jar lids, wooden craft wheels, and spools for monster trucks are also good options.
How can I make my toy car go faster?
Reduce friction by polishing axles and using smooth wheels like CDs. Keep the body lightweight and streamline the shape. Ensure the rubber band or balloon provides strong propulsion. Test on smooth surfaces rather than carpet.
What age is appropriate for building rubber band cars?
Rubber band-powered cars work best for children ages 8 to 14. Younger children can help with decorating, but adults should handle the cutting, drilling, and assembly to ensure safety and proper function.
Can toy car building teach STEM concepts?
Yes. Children learn about force and motion, energy conversion, friction, and geometry. They practice measurement, problem-solving, and design thinking. These projects connect science, math, engineering, and creativity.
Key Takeaways for Building Your Own Toy Car

Building toy cars is a rewarding project that combines creativity, science, and hands-on learning. Start with a simple design like the cardboard box car for young children, then progress to rubber band or balloon-powered builds for older kids ready for STEM challenges. Use recycled materials like bottle caps for wheels, cardboard for bodies, and straws for axles to keep costs low and teach environmental awareness.
Focus on reducing friction, balancing weight, and ensuring proper wheel alignment for the best performance. Always prioritize safety with adult supervision for cutting, drilling, and wiring tasks. Most importantly, encourage testing, iteration, and customization. The learning happens in the building and fixing, not in creating a perfect car on the first try.
Now go build. Grab a cardboard box, a rubber band, or a plastic bottle. Let curiosity drive. Whether it rolls 2 feet or 20, it is not just a toy. It is a triumph of imagination and engineering. That is the power of learning how to make a toy car.