Every parent knows the struggle: toys scattered across the floor, tripping hazards everywhere, and no clear place to put it all. A well-built toy box or chest solves that problem, offering durable, safe, and stylish storage that keeps playrooms tidy. Whether you’re a weekend warrior with a circular saw or a seasoned woodworker with a full shop, building your own toy chest lets you customize size, materials, safety features, and aesthetics to match your home and family’s needs.
This guide walks you through three proven build methods, from a 20-minute fence picket project to an heirloom-quality white oak chest. You’ll learn how to choose materials, cut joints, install safety hinges, round edges for child safety, and finish with non-toxic coatings.
Choose Your Build Style Based on Skill Level
Not every toy box requires 20 hours of labor. The right method depends on your skill level, tools, budget, and intended use.
Fast Cedar Picket Build
Perfect for beginners or resellers, this method uses split cedar fence pickets and a plywood base to create a sturdy, attractive toy box in under 30 minutes. Total cost runs around $20.
Materials needed include ½-inch plywood for the base (36 by 18 inches), four 2×2 legs (16 inches long), and cedar pickets split in half. You’ll use a circular saw and drill to attach legs to the base corners, then screw vertical slats to form sides and ends. This build works well for lightweight storage, quick gifts, or market-ready items.
Pro Tip: Split each picket down the middle with a circular saw to double your material and create clean, uniform slats.
Half-Lap Plywood Frame Build
A step up in durability and appearance, this intermediate build uses ¾-inch sanded plywood and 1×4 pine to create a furniture-grade chest with clean joints and a picture-frame top.
Build time ranges from 4 to 8 hours. You’ll need a track saw, table saw, dado blade, router, and clamps. The key feature is half-lap joints that lock legs into the frame for strength and alignment. This method is ideal for modern homes where the toy box doubles as a bench or decor piece.
White Oak Heirloom Build
For lasting quality, nothing beats solid white oak with tongue-and-groove joinery and dowel reinforcement. This advanced build is designed to become a family heirloom.
Time required is 15 to 20 hours. Materials include white oak boards, ¼-inch plywood for the lid, and Rockler torsion hinges. Joinery uses tongue-and-groove with a Freud Shaker router bit, reinforced with dowels for a clean look. Use this method when building a gift for a new baby or custom furniture for a nursery.
Cut and Prepare Materials for Your Build
Precision starts with proper material prep. Accurate cuts ensure a square, stable box regardless of which build method you choose.
Break Down Plywood Panels
Start with rough cuts using a track saw or circular saw. Place a sacrificial foam pad under the sheet to prevent surface damage.
Cut two side panels at 18 inches high by 16 inches deep. Front and back panels measure 18 inches high by 36 inches wide. The bottom panel should be 34.5 by 14.5 inches, adjusted for internal framing. The lid cuts at 34.5 by 14.5 inches, but 1.5 inches smaller than the opening on each side. Transfer panels to a table saw for final sizing and clean edges.
Prepare Solid Wood Boards
For solid wood builds like white oak, prepare boards before cutting joinery.
Joint one face flat, then square one edge on a jointer. Thickness-plane to consistent dimension. Square ends using a miter saw and table saw fence. Book-match adjacent boards by rotating one so grain flows seamlessly, which is ideal for lid surfaces.
Warning: Always remove sapwood for uniform color in high-end builds.
Create Strong Joints for Your Toy Box
:max_bytes(150000):strip_icc()/half20lap-diagram-cd33ebdbf7894af1ad7edb13dfcfb25e.jpg)
The joint type defines your build’s strength and appearance. Choose based on tools and skill level.
Half-Lap Joints for Frame Strength
Used in plywood builds, half-lap joints anchor legs securely into the box frame.
Set up a dado blade at ½-inch wide on a table saw. Cut depth should be 0.75 inches, which is half the thickness of 1×4 material. Cut width at 1.5 inches to match leg width. Cut recesses on inside faces of side panels, then fit legs flush into dadoes to form a rigid corner.
Visual Cue: The joint should sit perfectly flat with no gaps or overhang.
Tongue-and-Groove for Solid Wood
Traditional and strong, this method slides panels into a frame for a seamless look.
Use a Freud Shaker router bit set. Cut grooves on frame pieces first. Cut tongues on panel edges. Apply glue and clamp panels into frame. Reinforce with dowels after alignment.
Pro Tip: Use painter’s tape to temporarily clamp mitered corners before gluing.
Assemble the Box Frame
With joints cut, it’s time to assemble the main structure. Accuracy here ensures squareness and proper lid alignment.
Attach Legs and Side Panels
Insert legs into half-lap dadoes on one side panel. Pre-drill pilot holes to prevent splitting pine. Secure with ¾-inch wood screws and wood glue. Repeat for the opposite side. Connect front and back panels the same way.
Use a framing square to check for 90-degree angles at every corner during assembly.
Add Interior Support Members
Install 1×4 cross-members between legs to support the bottom panel.
Position them flush with interior walls. Chamfer edges with a router for a smooth finish. Secure with glue and screws.
These supports prevent sagging and add rigidity to the entire structure.
Install the Bottom Panel
A solid bottom adds stability, hides internal structure, and prevents dust buildup.
Use ¾-inch plywood cut to fit inside the support frame with a ¼-inch overhang on all sides. Attach with glue and nail in place. Trim bottom panel corners if needed to avoid leg interference.
Exception: Omit the bottom only if placing on carpet to reduce noise when toys are dropped inside.
Build and Finish the Lid
The lid is both functional and decorative, especially if it doubles as a seat for children.
Cut and Band the Lid
The core uses ¾-inch plywood cut 1.5 inches smaller than the box opening on each side. Apply solid wood strips from offcuts to cover raw edges. Glue and clamp, then sand flush.
Alternative options include iron-on veneer or PVC edge tape for faster results.
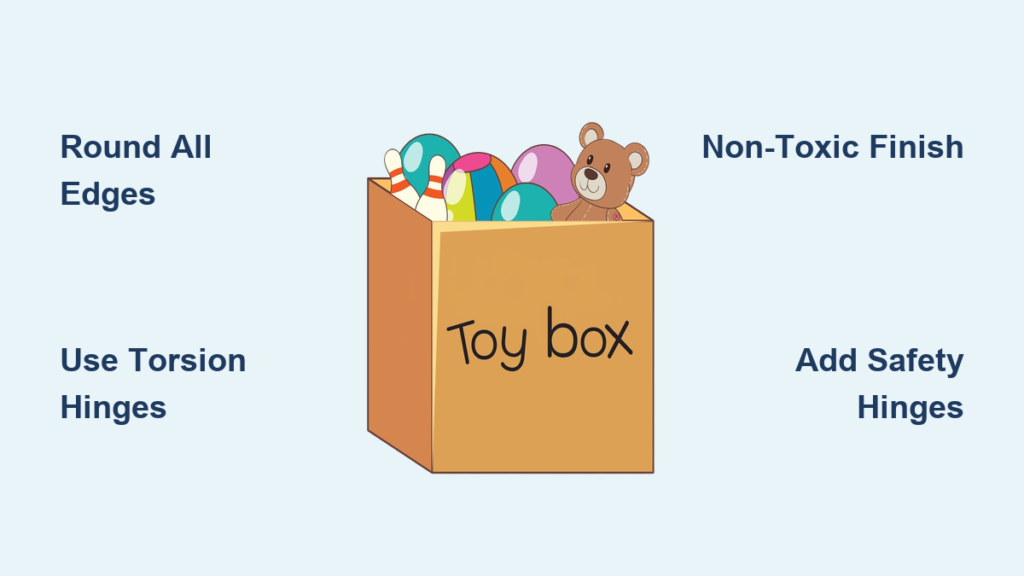
Round All Edges for Child Safety
Child safety is critical. Use a 1/16-inch roundover bit on a router to soften every exposed corner.
Apply to lid edges, box top rim, and all outer corners. Sand smooth with 120 to 220 grit paper.
Pro Tip: Combine rounded edges with mitered trim for maximum safety and polish.
Install Lid Hardware
How the lid opens and closes affects safety, usability, and longevity.
Standard Butt Hinges for Beginners
Attach to back edge of box and lid. Pre-mark screw holes with a pencil. Use double-sided tape to temporarily hold hinges in place before final screwing. This allows full lid swing but requires supervision with heavy lids.
Torsion Hinges for Advanced Safety
Rockler torsion hinges hold the lid open and close slowly, ideal for heavy lids.
Use three hinges if the lid weighs over 40 pounds, such as with white oak. Routing requires a manufacturer jig to cut precise recesses. Clamp scrap wood around the hinge area to prevent tear-out.
Warning: Never skip the third hinge on heavy hardwood lids.
Gas Struts for Soft-Close Option
Internal springs allow smooth opening and closing.
Installation is challenging and requires trial and error. Expect to drill multiple test holes. Ensure clearance when the lid is open by checking for shelf interference. This option works best for lift-off or flip-top lids.
Add Trim and Final Details
Trim elevates the look from DIY to custom furniture.
Picture-Frame Top Trim
Cut 1×4 pine strips to fit around the top opening. Miter corners at 45 degrees. Glue and clamp. Attach with finishing nails. Chamfer the outer edge with a router.
This hides raw plywood edges and adds a polished border.
Front Trim for Visual Appeal
Use 1×3 pine boards. Miter ends at 45 degrees. Attach with 1¼-inch brad nails that will be hidden by stain or paint. This covers end grain and enhances visual appeal.
Apply a Safe, Durable Finish
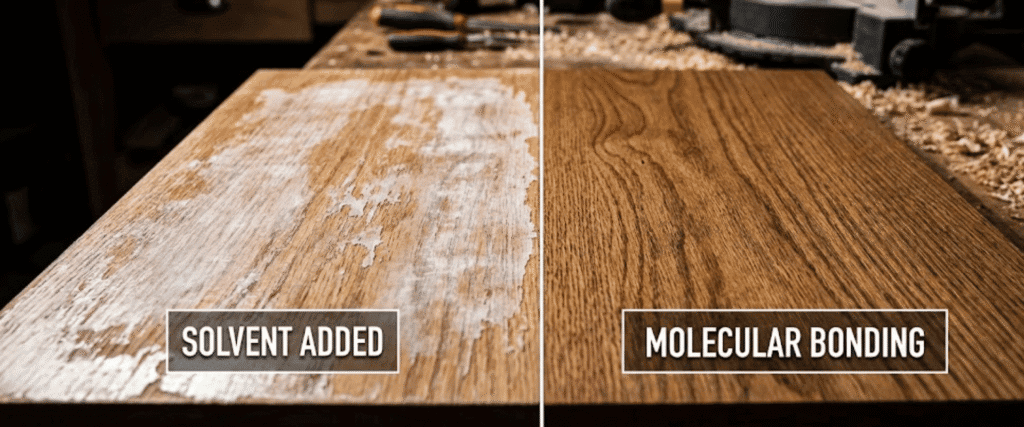
The finish protects the wood and ensures child safety.
Staining Pine for Warmth
Minwax Special Walnut oil-based stain matches existing furniture like beds or shelves.
Application involves wiping on with a rag or brush. Let sit 5 to 10 minutes. Wipe off excess. Dry 24 hours before reassembly.
Tip: Test stain on scrap wood first to check the final color.
Natural Oil Finish for White Oak
Rubio Monocoat Natural enhances grain, is eco-friendly, and has low VOCs.
Apply before assembly to seal joints and grooves. Spread a thin layer. Buff with a white Scotch-Brite pad. Wipe off excess after 10 to 15 minutes.
Maintenance involves reapplication every 1 to 2 years to refresh protection.
Non-Toxic Options for Baby Furniture
For babies or sensitive households, use water-based polyurethane like Bona, milk paint, or child-safe chalk paint. Avoid finishes with strong fumes or high VOCs.
Customize for Function and Fun
Make the toy box work harder with smart upgrades.
Add Mobility with Wheels
Attach caster wheels to base corners. Choose swivel or fixed options. Spray-paint for contrast, such as bright blue wheels. Add handles by cutting recessed grips or attaching wooden or metal pulls.
Thematic Touches
Mount a chalkboard front using ¼-inch plywood scrap spray-painted black. This lets kids draw, label, or play learning games. Wood-burn or paint labels like “Cars” or “Blocks.” Use gender-neutral tones like greys and greens or bold primaries.
Internal Organization
Add a center divider for two compartments. Use a lift-off lid for easier access for little hands. Install a trunk latch to keep the lid closed for travel or storage.
Safety First: Critical Checks
A toy box must be safe for daily use by children.
Prevent Pinch Injuries
Use slow-close or torsion hinges. Avoid standard hinges on heavy lids. Test lid operation with child supervision.
Ensure Stability
The base should be wider than height to prevent tipping. Avoid tall, narrow designs. Anchor to the wall if necessary.
Provide Ventilation
Never create an airtight seal. Drill small ¼-inch holes in the lid or sides if fully enclosed. This prevents suffocation risk.
Maintenance and Longevity
A well-built toy box can last decades with minimal care.
Routine Cleaning
Wipe with a slightly damp cloth. Avoid standing water. Dust regularly.
Hardware Inspection
Check hinges and gas struts annually. Tighten loose screws. Replace worn components.
Refinishing
Oil finishes like Rubio Monocoat can be refreshed with reapplication. Sand and re-stain damaged pine areas as needed.
Frequently Asked Questions About Building a Toy Box/Chest
What is the easiest way to build a toy box for beginners?
The fastest method uses split cedar fence pickets and a plywood base. This beginner-friendly approach takes about 20 to 30 minutes and costs around $20. You’ll need only a circular saw and drill.
How long does it take to build an heirloom-quality toy box?
A premium white oak toy box with tongue-and-groove joinery takes 15 to 20 hours. This method is ideal for building a family heirloom that lasts generations.
What type of hinges are safest for a toy box lid?
Torsion hinges or slow-close gas struts are safest. They prevent the lid from slamming shut and protect little fingers from pinch injuries. Use three hinges for heavy hardwood lids over 40 pounds.
Should I include a bottom panel in my toy box design?
Yes, include a bottom panel for structural rigidity and dust protection. Omit it only if placing the toy box on carpet to reduce noise when toys are dropped inside.
What finish is safe for a toy box used by children?
Use non-toxic finishes like Rubio Monocoat, water-based polyurethane, milk paint, or child-safe chalk paint. Avoid oil-based finishes with strong fumes or high VOCs for nursery furniture.
Key Takeaways for Building Your Toy Box
Building a toy box ranges from a simple 20-minute weekend project to a 20-hour heirloom build. Choose your method based on skill level, budget, and intended use. The fast cedar picket method works for beginners and resellers. The half-lap plywood frame offers furniture-grade results for intermediate builders. The white oak heirloom build provides generational durability for advanced woodworkers.
Regardless of which method you choose, prioritize child safety by rounding all edges, installing slow-close hinges, and using non-toxic finishes. Dry-fit all pieces before gluing, label parts during breakdown, and use clamps for strong joints.
Now grab your saw and start building. Whether you’re creating a $20 weekend project or a $300 family heirloom, the perfect toy box combines function, safety, and style to become a centerpiece of childhood memories.