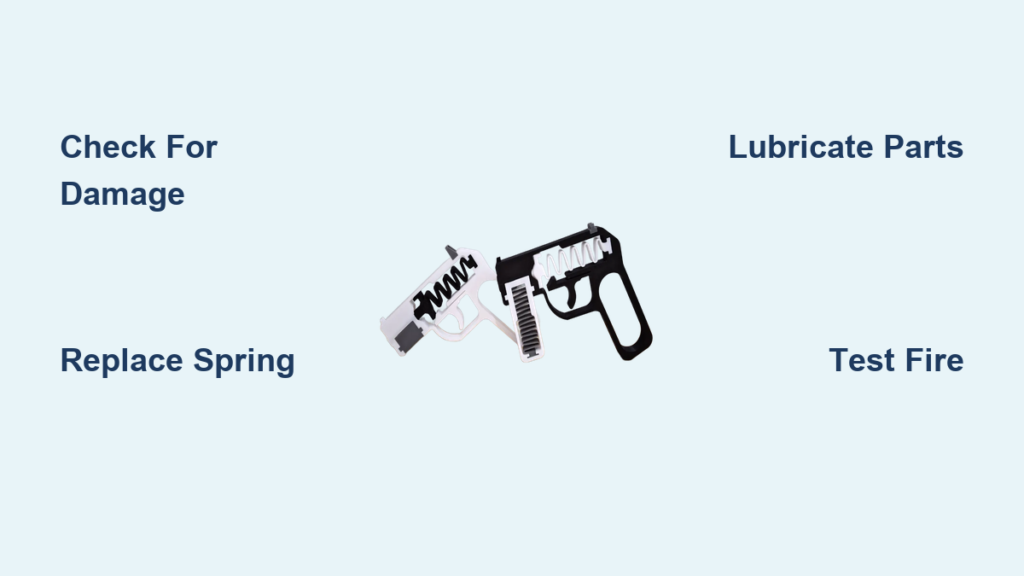
If your toy gun won’t fire, fails to stay cocked, or has lost its punch, the problem likely lies with the spring. Whether it is a spring-action airsoft pistol, a classic cap gun, or a Nerf-style blaster, the core mechanism relies on a properly functioning spring to generate power and consistent performance. Over time, springs weaken, deform, or break, especially after repeated use or improper storage. The good news? Fixing a toy gun spring is often a straightforward DIY repair that requires only basic tools and a little mechanical patience. In this guide, you will learn how to diagnose spring issues, replace damaged components, and restore full function so your toy gun fires strong and reliable once again.
Identify the Failure Signs
Before disassembling your toy gun, confirm the spring is the culprit. Recognizing the symptoms early can save time and prevent unnecessary part swaps.
Common Spring Failure Indicators
Watch for these warning signs that indicate your spring needs attention:
• Gun won’t stay cocked: Pulling the slide or cocking lever does not lock in place, meaning the sear is not catching the spring-loaded plunger properly.
• Weak or no firing power: Darts, BBs, or caps fail to eject properly, signaling a fatigued or broken spring.
• Spring visibly damaged: Look for kinks, uneven coils, or rust on metal springs.
• Plunger does not reset: After firing, the piston stays forward, indicating spring collapse or binding.
• Clicking but no release: The trigger clicks, but the spring does not discharge, often due to sear misalignment or spring misplacement.
Pro Tip: If the gun works intermittently, the issue may be partial spring compression or debris blocking smooth movement.
Gather Essential Repair Tools
Having the right tools on hand ensures a smooth repair without damaging delicate internal parts.
Required Tools and Supplies
You will need these items before starting your repair:
• Precision screwdrivers (Phillips #0, #1, and flathead)
• Needle-nose pliers for gripping small springs and pins
• Replacement spring that matches length, diameter, and tension
• Silicone-based lubricant safe for plastic and rubber parts
• Small parts tray to organize screws and pins
• Clean microfiber cloth
• Magnifying glass for inspecting sear engagement
• Wire cutters only if modifying spring length temporarily
Where to Buy Replacement Springs
Finding the right replacement requires knowing where to look:
• Airsoft specialty sites such as Evike, Airsoft Retail Australia, and Pyramyd Air
• Amazon by searching for your model number or spring specs
• Hardware stores for generic springs, but measure carefully first
• Manufacturer spare parts kits if still available for your model
Never use petroleum-based oils because they degrade rubber O-rings and plastic components in airsoft and Nerf systems.
Disassemble the Toy Gun Safely

Improper disassembly can strip screws or lose small parts. Follow these steps to open the gun without causing damage.
Step-by-Step Disassembly Process
-
Unload and de-cock the gun completely before starting any work.
-
Remove all batteries if your model has electronic trigger assist, and remove all projectiles.
-
Locate hidden screws often found under rubber grips, stickers, or side plates.
-
Use the correct screwdriver size to avoid stripping screw heads.
-
Separate the casing gently. Do not force it open because some models have plastic tabs that snap together.
-
Lay out parts in order on a labeled cloth or tray to make reassembly easier.
Visual Cues to Note During Disassembly:
• Orientation of the plunger assembly
• Spring seating position at front and rear
• Sear engagement point with the piston
For airsoft pistols: The spring is typically inside the slide, connected to a recoil spring guide. In cap guns, it is often linked to the hammer lever.
Inspect the Spring and Mechanism

Now that the gun is open, pinpoint exactly what is wrong with your spring assembly.
Check the Spring Condition
Examine your spring carefully for these issues:
• Compare the spring to a known good example if possible
• Look for bent or collapsed coils indicating fatigue
• Check for rust, especially in vintage metal springs
• Test tension by compressing with pliers. Weak springs offer little resistance.
Examine the Sear and Trigger
The sear is the small latch that holds the spring-loaded piston in place. Here is what to look for:
• Worn or chipped sear means the gun will not stay cocked
• Dry or stiff trigger pivot causes delayed or failed release
• Test without spring by manually pressing the sear to see if it clicks and releases smoothly
Evaluate Plunger and Housing
• Plunger should slide freely. Check for cracks or worn nubs.
• Ensure spring seats flush at both ends because misalignment causes binding.
• Clean debris from the barrel and piston tube.
Quick Fix: A dry or sticky mechanism may just need lubrication. Try oiling pivot points before replacing parts.
Replace the Damaged Spring
If the spring is broken or weak, replacement is the best long-term fix for your toy gun.
How to Install a New Spring
Follow these steps carefully:
-
Remove the old spring from the plunger or slide assembly.
-
Check orientation because some springs have tapered ends or directional guides.
-
Insert the new spring into the housing, ensuring it sits flat at both ends.
-
Reattach spring guide or retainer, which is common in airsoft models.
-
Reassemble the plunger unit and test fit before closing the casing.
Need a Temporary Fix
If you cannot find a replacement immediately:
• Shorten a weak spring by one to two coils using wire cutters.
• Warning: This increases tension and stress. Only use as a stopgap and test carefully.
Spring Specifications to Match
Always match these specifications when buying a replacement:
• Length (relaxed and compressed)
• Wire diameter
• Coil count
• Tension measured in pounds or kilograms
Measure Twice: Use calipers or a ruler. A spring that is too long will not compress, and too short will not engage the sear.
Lubricate and Reassemble Properly
Reassembly is just as critical as disassembly because misalignment can cause new issues.
Lubrication Points
Apply one to two drops of silicone oil to these areas:
• Spring coils to reduce friction and noise
• Plunger rod to ensure smooth travel
• O-rings in airsoft models to keep seals intact
• Trigger pivot and sear contact points
Avoid over-lubricating because excess oil attracts dust and gums up the mechanism.
Reassembly Tips
-
Reinstall the plunger assembly with spring fully seated.
-
Align casing halves carefully. Do not force them closed.
-
Hand-tighten screws because over-tightening cracks plastic housings.
-
Double-check sear engagement before final closure.
Pro Move: Snap a quick photo before disassembly to help during reassembly.
Test Fire and Troubleshoot
Now for the moment of truth: does your repair work?
Post-Repair Testing Steps
-
Cock the gun and check if it locks in place.
-
Pull the trigger and listen for a crisp release.
-
Test fire with safe ammunition such as BBs, darts, or caps.
-
Repeat five to ten times to check consistency.
Common Post-Repair Issues and Fixes
| Problem | Likely Cause | Solution |
|---|---|---|
| Won’t stay cocked | Worn sear or misaligned plunger | Inspect sear and realign piston |
| Trigger feels stiff | Dry pivot points | Apply oil to trigger mechanism |
| Low firing power | Weak spring or air leak | Replace spring and check seals |
| Spring pops out | Wrong size or loose guide | Use correct diameter spring |
| Double-fires | Sear not resetting | Clean or replace sear spring |
If it fails: Disassemble again and recheck spring seating and sear alignment.
Model-Specific Repair Tips
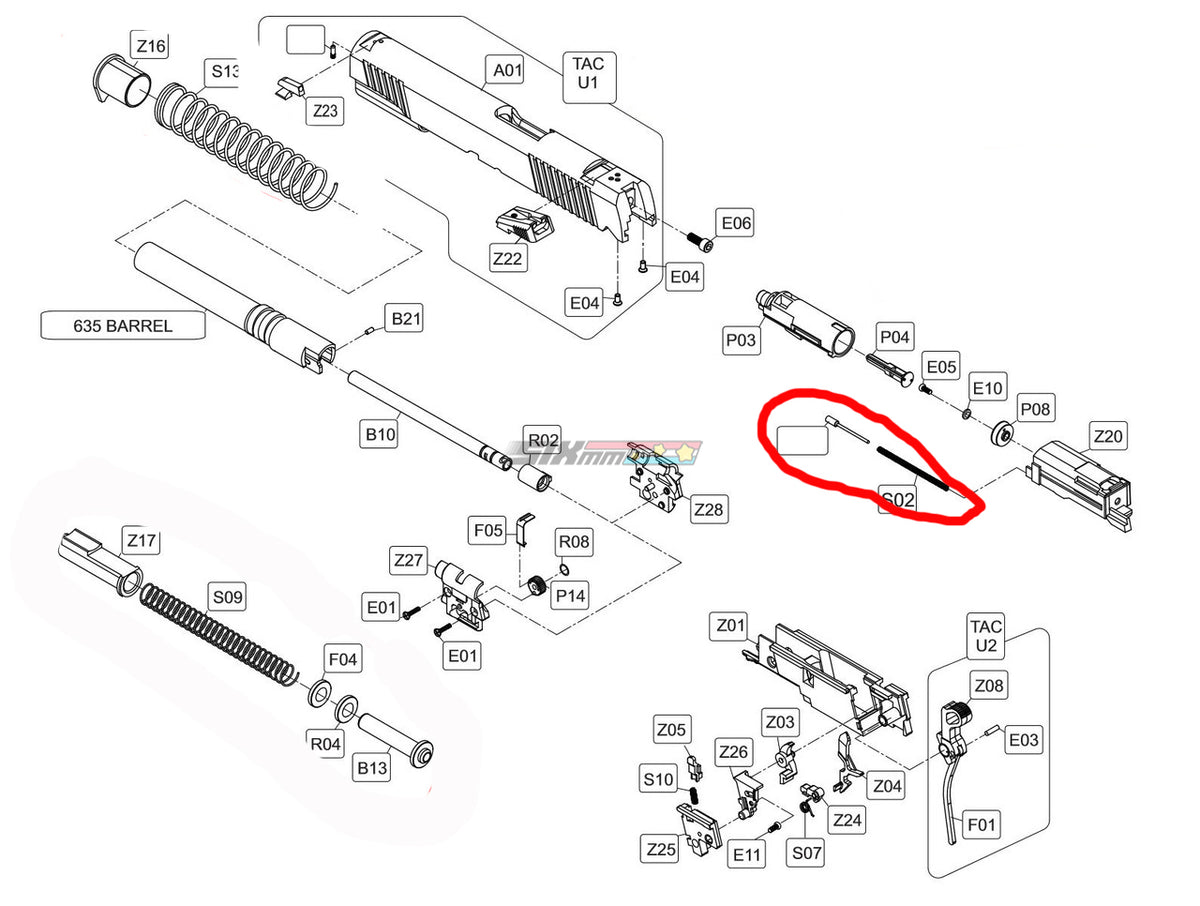
Different toy guns have unique spring setups, so know your model before starting repairs.
Spring Airsoft Pistols
Popular models include WE Tech, Tokyo Marui, and G&G variants.
• These guns use a dual spring system with main power spring plus recoil spring
• Use FPS-rated springs such as 100 to 300 FPS for balanced performance
• Upgrade caution: Stronger springs increase stress and may require piston reinforcement
• Hop-up alignment must be adjusted after spring replacement
Classic Cap Guns
Brands include Mattel and Hubley models.
• Hammer spring failure is common in these vintage guns
• Replacement parts are rare. Try springs from retractable pens or click pencils.
• Use non-conductive lube to prevent accidental cap ignition
• Test outside because cap residue builds up quickly inside the mechanism
Nerf-Style Blasters
• Spring failure directly results in weak dart range
• Common upgrades include 8.5 lb or 12 lb tension springs available online
• Modding tip: Combine spring replacement with air restrictor removal for more power
• Ensure plunger seal integrity because cracked O-rings reduce performance
User Verified: One repairer fixed a vintage cap gun with a pen spring that had the same diameter and tension. It worked perfectly for years.
Prevent Future Spring Failures
Keep your toy gun in top shape with simple maintenance habits.
Longevity Tips
• Store uncocked because leaving the spring compressed causes fatigue
• Clean every three to six months to remove dust and grime from the plunger tube
• Avoid dry-firing because no spring is designed for repeated firing without resistance
• Use correct ammo because oversized darts or BBs strain the mechanism
• Inspect annually for rust, coil gaps, or wear
For collectors: Store vintage spring guns in a dry, temperature-stable environment to prevent metal degradation.
Where to Find Replacement Parts
Do not assume your model is obsolete because parts are often still available.
Best Sources for Parts
• Airsoft retailers such as Evike, Pyramyd Air, and H&K Airsoft
• Amazon and eBay by searching for your model plus “replacement spring”
• Manufacturer parts diagrams available on brand websites for exploded views
• Hardware stores by bringing the old spring for matching
• 3D printing communities that create custom spring guides or retainers
DIY Hack: Use springs from old electronics, retractable tools, or even broken toys if the specifications match.
Frequently Asked Questions About Fixing Toy Gun Springs
How do I know if the spring is the problem and not something else?
If your gun won’t stay cocked, fires weakly, or the plunger does not reset after firing, the spring is likely the culprit. Check for visible damage like kinks or rust, but also inspect the sear and trigger mechanism since those components interact with the spring directly.
Can I repair a toy gun spring without replacing it?
Sometimes. If the spring is slightly weakened but not broken, you can temporarily shorten it by one or two coils to increase tension. However, this is only a stopgap solution and may cause premature wear. Replacement is always the better long-term fix.
What type of lubricant should I use on toy gun springs?
Always use silicone-based lubricant. Petroleum-based oils degrade rubber O-rings and plastic components common in airsoft and Nerf guns. Apply sparingly to spring coils, plunger rod, and trigger pivot points.
Where can I find replacement springs for rare or vintage toy guns?
Check online marketplaces like eBay and Amazon for generic springs that match your specifications. Hardware stores carry basic springs you can measure against your old one. Some users report success using springs from retractable pens, tape measures, or other household items.
How often should I maintain my toy gun to prevent spring failure?
Clean your toy gun every three to six months, especially if it sits unused for long periods. Always store it uncocked to prevent spring fatigue from constant compression. Inspect annually for signs of wear, rust, or coil damage.
Key Takeaways for Fixing Your Toy Gun Spring
Fixing a toy gun spring is a manageable DIY task that saves money and extends the life of your toy. The process starts with accurate diagnosis. Identify failure signs like weak firing power, inability to stay cocked, or visible spring damage before disassembling anything. Using the right tools matters. Precision screwdrivers, needle-nose pliers, and silicone lubricant are essential for a successful repair. Matching replacement specifications is critical. Your new spring must match the original in length, diameter, coil count, and tension to function properly. Finally, proper reassembly and testing ensure your fix holds. Lubricate moving parts, check sear engagement, and test fire multiple times before putting the gun back into regular use.
With this guide, you are now equipped to fix a toy gun spring like a pro. Most repairs succeed with the right spring and careful reassembly, even for rare or vintage models. Always prioritize safety, use proper tools, and test gradually to ensure reliable performance.