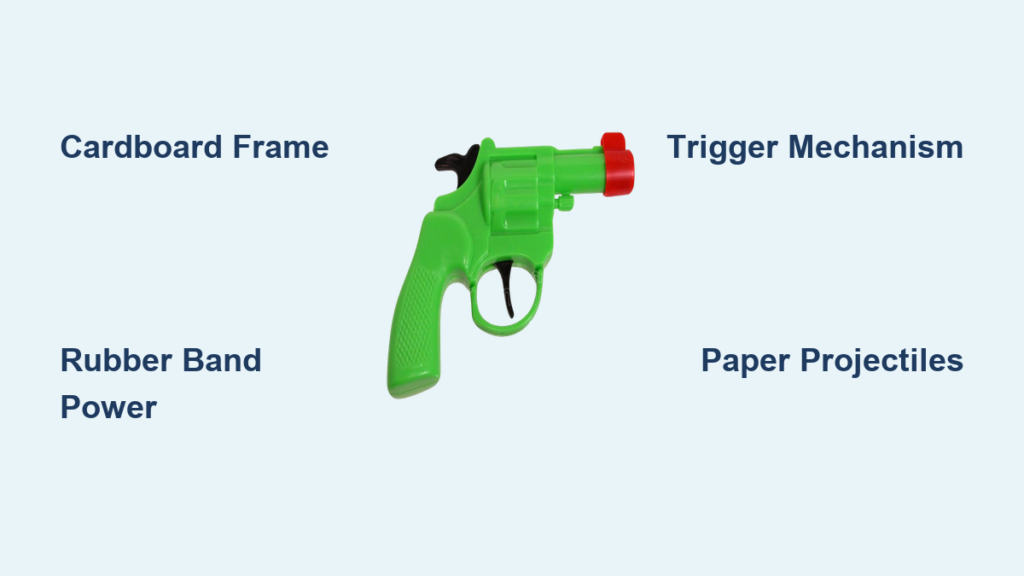
You have seen kids light up when they hold a handmade toy gun they built themselves. No store-bought plastic required. Making a toy gun from cardboard and rubber bands is a simple, low-cost project that sparks creativity and teaches real physics principles like tension, force, and motion. Whether you are a parent helping a child with a craft, a teacher planning a STEM activity, or a hobbyist exploring DIY builds, this guide shows you exactly how to make a toy gun that actually works.
Using only materials found at home, you can build a fully functional rubber band-powered launcher in under 30 minutes. This article walks you through two proven designs: a pivoting trigger model and a sliding trigger version. We will cover step-by-step construction, safety tips, performance tweaks, and customization ideas to make your toy stand out.
Build the Base Frame
The foundation of your toy gun determines how well it performs. A sturdy frame handles repeated rubber band tension without bending or breaking.
Cut and Fold the Main Body
You need one sheet of sturdy cardboard measuring 8 inches long by 3 inches wide. Corrugated cardboard works best because it resists bending.
Follow these steps to form the frame:
- Lay the cardboard horizontally and fold it lengthwise down the middle, like a hot dog bun. Press down firmly to create a sharp crease, then unfold it.
- Make a partial cut along the center crease, stopping about 1 inch from the top edge. This cut allows the folded edge to slide into the slit, forming a 3D structure.
- Refold the cardboard and tuck the folded end into the slit. Secure the joint with strong tape. Packing tape or duct tape works well.
This interlocking design creates a rigid base that serves as both the handle and main body of your toy gun.
Reinforce for Durability
To prevent the frame from splitting under repeated rubber band tension, take these preventive steps:
• Wrap the entire body with tape, especially around the folding seam.
• For long-term use, glue a second layer of cardboard along the sides.
• Avoid thin or flimsy boxes like cereal packaging. Opt for shipping box material instead.
A solid base ensures your toy gun lasts longer and performs consistently shot after shot.
Install the Trigger Mechanism

The trigger controls when the stored energy releases. Choosing the right type affects how smoothly your gun fires.
Choose Your Trigger Type
There are two main functional designs: pivoting trigger and sliding trigger. The pivoting type is easier for beginners. The sliding version offers smoother release and better control.
Pivoting Trigger: Simple and Effective
Cut a small rectangle of cardboard about 1.5 inches by 0.75 inches to serve as the trigger lever. Position it beneath the handle area, near the bottom of the frame.
Attach it using one of two methods:
• Rubber band hinge: Loop a small rubber band around the base of the gun and through a hole or notch in the trigger. This allows the trigger to pivot up and down.
• Tape hinge: Use a strip of packing tape folded over the top edge of the trigger and the frame. Leave a small gap so the trigger can swing freely.
Test the movement. The trigger should snap back easily and not get stuck.
Sliding Trigger: Smooth Action Design
For a rearward-pulling trigger that offers more control:
- Cut a paddle-shaped piece approximately 2 inches by 1 inch.
- Create grooves or rails on the underside of the frame so the trigger can slide backward.
- Attach a small rubber band to return it forward after firing.
- Connect the main launch rubber band to the back of this sliding piece.
When pulled, the trigger stores energy. When released, it propels the projectile forward.
Pro Tip: Sand the contact edges lightly to reduce friction and improve trigger responsiveness.
Attach the Barrel

The barrel guides the projectile and aligns the shot. Accuracy depends on how straight and firm it is.
Roll a Tight Cardboard Tube
Cut a strip of cardboard 6 inches long and 0.5 inch wide. Roll it tightly from one corner to the other, creating a narrow cylinder. Use a pencil or pen as a rolling guide to keep it uniform.
Once rolled, secure the seam with tape along its full length. Remove the pen and check that the inside is smooth. No loose flaps should catch the projectile.
Mount It Straight
Position the barrel at the front end of the gun body, centered and aligned with the frame. Tape it securely on all sides.
Visual cue: Look down the barrel with one eye. Both ends should line up perfectly with the rubber band path.
Misalignment causes shots to veer off target. For added strength, double-layer the barrel with another taped strip or insert a stiff paper tube inside for extra rigidity.
Set Up the Firing Mechanism
This is where the magic happens. The rubber band stores elastic potential energy that converts to kinetic energy when released.
Stretch the Launch Rubber Band
Use a medium-thickness rubber band about 4 to 5 inches long unstretched as your power source. Stretch it over the rear of the gun body so it runs parallel to the barrel.
One end stays fixed. Hook it behind the back edge of the frame or secure it with tape. The other end attaches to the trigger.
For pivoting triggers, make a small notch in the top of the trigger or tape a loop to catch the rubber band. When the trigger is pulled down, the band releases and shoots forward through the barrel.
For sliding triggers, attach the rubber band directly to the back of the sliding piece. Pull it rearward to load. When released, the band flies forward, launching the projectile.
Warning: Never overstretch the rubber band. Test gradually to avoid snapping.
Load and Fire Safely
Now comes the fun part. Loading and firing correctly ensures both performance and safety.
Make Paper Projectiles
No special ammo needed. Use standard printer paper to create darts.
• Cut a 1 inch by 2 inch rectangle.
• Roll it tightly into a cone or cylinder.
• Crumple it into a small ball for a softer option.
Avoid hard objects like pebbles or metal. They turn a safe toy into a hazard.
Loading Steps
- Place the projectile at the front opening of the barrel.
- Pull back the launch rubber band either manually or via trigger.
- Hold tension while aiming.
- Release the trigger or let go if using a sliding system.
The rubber band snaps forward, pushing the paper out like a bullet.
Safety Check: Always point the gun in a safe direction. Never aim at people, pets, or breakables.
Improve Range and Accuracy

Want to get more distance and precision from your build? These tweaks help.
Boost Power Gradually
Want more distance? Try these modifications:
• A thicker rubber band for greater tension.
• Doubling up with two bands attached side by side.
• Lengthening the barrel slightly, up to 7 inches, for better guidance.
Do not go too far. Excessive power increases risk and accelerates wear on components.
Fix Common Accuracy Issues
If shots go wild, check these common problems:
• Barrel wobble: Reinforce with extra tape or internal support.
• Misaligned band path: Ensure the rubber band runs straight down the center.
• Loose trigger connection: Tighten the attachment point with a knot or notch.
Test Tip: Shoot at a paper target 6 feet away. Mark where shots land and adjust until they group tightly together.
Use aerodynamic darts. Pointed cones fly straighter than crumpled balls.
Customize Your Design
Make your toy gun unique. Personalization increases engagement and pride in the build.
Add Style and Personality
Try these decoration ideas:
• Decorate with markers, paint, or stickers.
• Add fake sights, a magazine extension, or grip texture using scrap cardboard.
• Camouflage it with green and brown patterns or go sci-fi with neon colors.
Let kids personalize theirs. It increases investment in the project.
Upgrade Functionality
Once the basic model works, try these advanced modifications:
• Double barrel: Attach two barrels side by side with separate triggers.
• Clip-fed system: Create a stackable paper cartridge that drops darts into the chamber.
• Rotating turret: Use a circular piece that holds multiple darts for rapid fire.
Material hack: Replace weak parts with foam board or plastic packaging for longer life.
Prioritize Safety at All Times
Safety must come first. This is a toy, not a weapon replica.
Supervise Young Builders
Children under 8 should only participate with adult help, especially during cutting and testing.
Keep small parts like rubber bands away from toddlers. They are choking hazards.
Prevent Accidents
Follow these rules always:
• Wear eye protection during testing. Rubber bands can snap back unexpectedly.
• Use only soft, lightweight projectiles.
• Ban use near windows, mirrors, or fragile items.
• Never modify the gun to fire hard objects.
Critical Rule: Never use in public. A handmade toy can be mistaken for a real weapon.
Teach kids the difference between pretend play and real-life safety. Use this project to discuss why real guns are dangerous and never for play.
Optimize Performance Like a Pro
Small tweaks make big differences. Use this reference table to maximize your build.
| Factor | Best Practice |
|---|---|
| Barrel Stability | Double-tape seams or insert paper core |
| Trigger Response | Reduce friction with smooth tape hinges |
| Launch Power | Test various rubber band thicknesses |
| Accuracy | Align barrel, band, and aim line precisely |
| Durability | Reinforce high-stress zones with plastic strips |
Even small improvements like sanding the trigger rail or tightening the barrel mount can double performance.
Real-world builders report 10 to 15 feet of reliable range with standard materials. With upgrades, some reach 20 feet or more.
Know the Educational Benefits
This is not just a toy. It is a hands-on science lesson.
Kids learn these concepts through building:
• Elastic potential energy that becomes kinetic energy when fired.
• How levers and pivots work in the trigger mechanism.
• The role of aerodynamics in projectile flight.
• Problem-solving through trial and error.
This project works great for classrooms, scout projects, or rainy-day STEM activities.
Teacher Tip: Turn it into a challenge. Ask, “Who can build a gun that shoots 10 feet accurately?” Encourage redesigns and improvements.
Final Build Specifications
| Feature | Standard Build |
|---|---|
| Main Material | Cardboard (8 by 3 inches) |
| Propulsion | Rubber band |
| Ammo Type | Paper roll or dart |
| Trigger | Pivoting or sliding |
| Barrel Length | 4 to 6 inches |
| Build Time | 15 to 30 minutes |
| Tools Needed | Scissors, tape, ruler, pen |
| Safety Needs | Adult supervision, eye protection |
| Customization | High |
Most builds last 3 to 5 days with frequent use. Switch to foam board or plastic to extend life significantly.
Frequently Asked Questions About Making a Toy Gun
What materials do I need to make a toy gun?
You need cardboard, rubber bands, tape, scissors, a ruler, and paper for projectiles. The cardboard should be thick enough to hold its shape under tension. Standard corrugated cardboard from shipping boxes works best.
How long does it take to build a toy gun?
Most builds take 15 to 30 minutes from start to finish. Beginners may need extra time for cutting and fitting parts. The pivoting trigger design is faster to assemble than the sliding trigger version.
Can I make a toy gun without rubber bands?
Rubber bands are the standard power source because they store elastic potential energy. Other options include spring mechanisms from pens or tape dispensers, but these are more complex to implement. Rubber bands remain the simplest and most accessible solution.
What is the maximum range of a cardboard toy gun?
With standard materials and medium rubber bands, expect 10 to 15 feet of reliable range. Upgrades like thicker bands, longer barrels, or plastic reinforcements can push this to 20 feet or more.
Is it safe for children to make and use toy guns?
Children over 8 can build and use these toys with adult supervision. Always use soft paper projectiles, wear eye protection during testing, and never aim at people or pets. Emphasize that this is a creative engineering project, not a weapon replica.
Key Takeaways for Making a Toy Gun
Building a toy gun from cardboard and rubber bands combines creativity with basic engineering principles. Start with a sturdy 8 by 3 inch cardboard frame, choose your preferred trigger mechanism, and mount a tightly rolled barrel for accuracy. Use medium-thickness rubber bands as your power source, and always load with soft paper projectiles.
Safety matters most. Supervise young builders, use eye protection, and never modify the design to fire hard objects. Emphasize responsible use and educate children about the difference between safe creative play and real weapons.
The educational value is significant. Builders learn about elastic potential energy, lever mechanics, aerodynamics, and iterative problem-solving. This project works perfectly for classrooms, scout groups, or family craft sessions.
Now grab some cardboard and start building. Your next great invention is just one rubber band away.