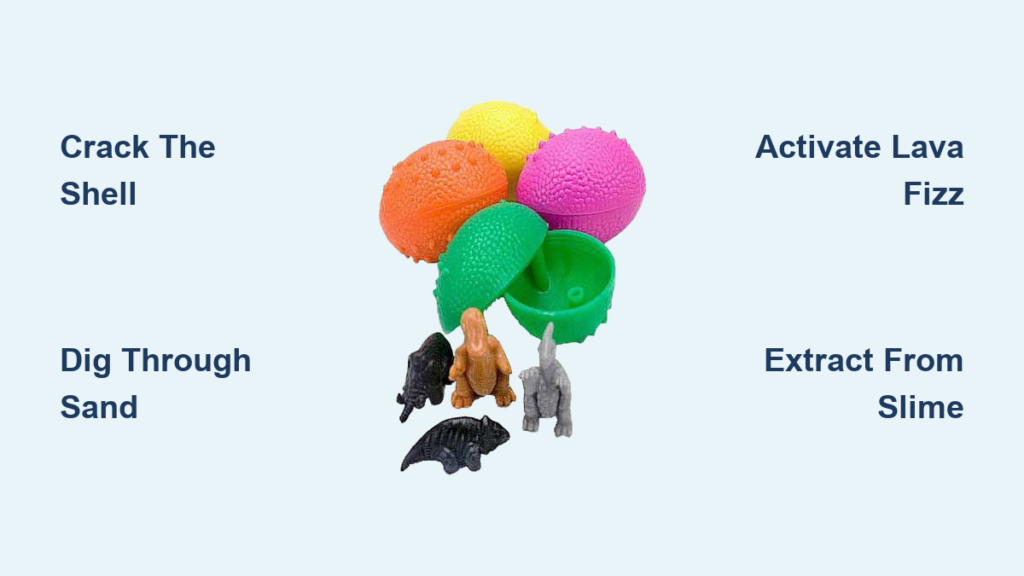
You’ve got a dinosaur egg toy in your hands, and that mysterious shell is waiting to be cracked open. Whether you have a Zuru Smashers set, Mega Smashers, or an Epic Giant Dino Egg, the process involves excavation, discovery, and assembly. These layered surprise kits hide dinosaur parts inside sand, slime, putty, and fossil rock, along with tools and collectibles. This guide walks you through exactly how to open any dinosaur egg toy, extract every hidden piece, and assemble your dinosaur from start to finish.
Prepare Your Workspace for Dinosaur Egg Excavation
Before you crack open that egg, set yourself up for success with a clean, contained workspace.
Gather Essential Tools
Most kits include basic digging tools, but having extras makes the process smoother. You’ll need scissors or a box cutter for opening sealed bags, a small digging tool or plastic pick for excavating materials, paper towels for cleanup, a tray or bin to catch sand and slime, and a bowl of water for rinsing parts. Optional items include a black light for glow-in-the-dark versions and a pocket knife for cracking fossil rock (use with adult supervision).
Lay down a disposable tablecloth or old towel before starting. These toys can get surprisingly messy with slime, sand, and putty spreading across your work area.
Remove Outer Packaging Safely
Start by checking your egg’s packaging for specific opening instructions. Look for a tear strip along the seam, which is common in Zuru Smashers sets. Some packaging displays a scissors icon indicating where to cut. Other versions, like the Zuru Epic Dino Egg, require you to smash the egg against a hard surface to fracture the shell into four pieces.
If no tear strip exists, cut along the seam with scissors and pull open carefully. Place the egg over your tray or bin to avoid losing any small parts that might fall out during this step.
Break Open the Dino Egg Shell

Now comes the moment you’ve been waiting for: cracking open the main egg.
Smash or Peel: Know Your Model
Different dinosaur egg toys require different opening methods. The Mega Smashers Giant Dino Egg has a hard plastic shell designed to be peeled open after cutting, not smashed. The Zuru Epic Dino Egg (Series 3) is meant to be smashed on a hard surface and breaks into four large pieces. The Red Rex vs Aliens dual-egg format requires cutting the outer wrap first, then smashing the inner egg.
Never use excessive force when opening an egg. Some versions contain fragile slime bags or small fossil rocks inside that could burst or break if handled too roughly.
What’s Inside the Cracked Egg
After opening the main egg shell, you’ll typically find three to six sealed plastic bags containing different materials, a collector’s guide or scratch map, digging tools and a water cup, and sometimes mini smash eggs or bonus figures. Lay everything out on your workspace but do not open the inner bags yet. Following the clue order from the instruction guide maximizes the play value and makes the experience feel like a real archaeological dig.
Excavate Hidden Parts from Dino Dirt
The first tactile medium you’ll encounter is dino dirt, a kinetic sand-like substance that buries small dinosaur parts.
How to Dig Through Kinetic Sand
Tear open the dino dirt bag and pour the contents onto your tray. Use your fingers or the included digging tool to search through the sand. Look for small plastic joints or colored edges poking through the material. Parts like arms, legs, or weapons are buried randomly throughout the sand.
The sand is completely reusable. After extracting all parts, simply mold it back together and store it in the included ziplock bag for later play.
Activate Fizzy Lava and Volcano Features
Many dinosaur egg toys include a fizzy lava block that reacts to water.
Steps to Activate Lava Fizz
Place the fizzy lava block into the volcano base if your kit includes one. Add exactly 160 ml (approximately two-thirds cup) of water. Wait one to two minutes for the mild fizzing reaction to occur. The block will bubble slightly, and you can then peel away the outer layer to reveal a hidden dinosaur part inside.
Keep your expectations in check. Despite marketing visuals, the volcano does not erupt dramatically. The reaction is a slow bubble effect that reveals the hidden piece rather than an explosive demonstration.
Extract Parts from Flowing Slime
Slime bags contain thick, sticky goo with dinosaur or alien parts embedded inside.
Handling Sticky Slime
Open the slime bag over your tray to catch any drips. Slowly stretch and pull apart the slime to expose the parts hidden within. Common finds include alien brains, dinosaur legs, or small weapons. The slime is typically thick and highly viscous, so work slowly to avoid tearing it.
Wipe your hands with paper towels during the process, and wash with soap afterward to remove residue. Neon-green slime often hides the purple-brain alien in Dinosaurs vs Aliens sets.
Crack Open Fossil Rock for Hidden Bones
Fossil rock is a hard, chalky block that mimics real fossil excavation.
Tools and Technique for Fossil Excavation
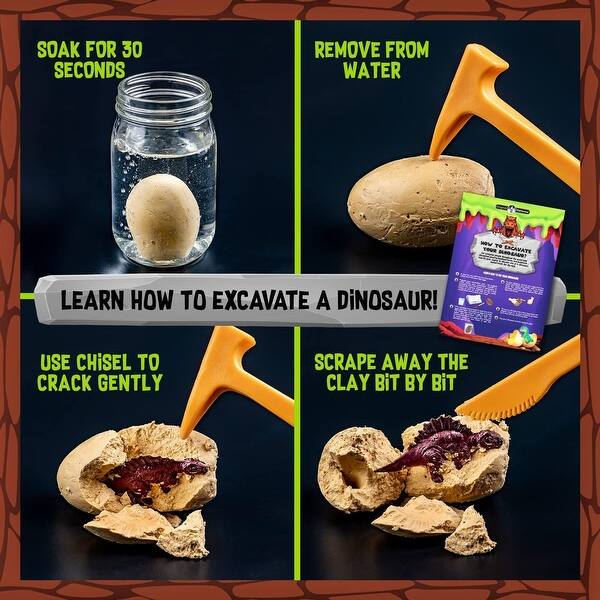
You’ll need the included digging tool or a pocket knife (with adult supervision). Moisten the rock slightly with water to soften it slightly. Gently chip away at the layers using your tool, working over the tray to catch debris. Retrieve any fossilized bones or joints as they become exposed.
Work slowly and carefully. Parts can snap or break if you force the tool too hard or pry in the wrong direction. Brush off any remaining debris with your fingers before moving to the next piece.
Assemble Your Dinosaur Figure Step by Step
With all parts excavated, it’s time to build your dinosaur.
Clean and Dry All Pieces First
Rinse any parts that are coated in slime, sand, or putty residue. Dry thoroughly with a towel, paying special attention to joints and connectors. Residual moisture can weaken the build and cause pieces to slip apart.
Follow the Instruction Sheet
Most kits include a labeled guide with parts marked by letters (A, B, C) and step-by-step assembly visuals. The general build order starts with attaching legs to the torso, then adding arms, inserting the tail, and finally snapping on the head. Press firmly until you hear a click to ensure joints are secure.
Activate Light-Up Features
Some dinosaur models, like the Mega Smashers Light-Up T-Rex, include LED tails with sound effects. To activate the light-up tail, locate the small indentation on the dinosaur’s rear, insert the tail, and rotate it left or right. Rotation triggers the LED lights and a roar or growl sound. Remove any rubber bands from the tail before attaching.
Unlock Bonus Features and Mini Eggs
Don’t overlook the extra surprises packed into your kit.
Smash Mini Eggs for Additional Figures
Most sets include two mini eggs that can be smashed open on a hard surface. Inside, you’ll find tiny dinosaur figures like a red T-Rex or Stegosaurus. These mini figures can be used as pencil toppers, added to your collection, or used in battle scenarios with the main dinosaur.
Build UFO and Alien Figures
Dinosaurs vs Aliens sets include alien figures and a UFO. The green alien features tentacles, a brain-like head, and a ray gun. The two-gun alien may warp over time but can be restored by soaking in boiling water for 10 to 15 seconds, then reshaping while warm and cooling under cold water. The UFO features a rotating control panel and snap-shut canopy.
Avoid Common Dinosaur Egg Mistakes
Learn from common errors to ensure your unboxing goes smoothly.
Using too much force can break small joints or crack fossil rock beyond repair. Always work slowly, especially when excavating fossil rock. Opening bags out of order spoils the clue game if your kit includes a scratch-and-find map. Follow the instruction sequence for maximum play value. Skipping the water step means fizzy lava won’t activate. Always add exactly 160 ml of water as specified. Not drying parts before assembly leads to weak connections. Take time to dry everything thoroughly.
Choose the Right Dinosaur Egg Toy for Your Needs
Different versions offer different features. For lights and sounds, the Mega Smashers line includes a light-up tail with sound and color-changing sand. For puzzle lovers, Zuru Series 3 features a scratch-and-find map and multiple tactile materials with high replay value. For battle play, Red Rex vs Aliens offers a mechanical T-Rex, UFO, and alien weapons ideal for action scenarios. For glow effects, Epic Giant Smashers includes glowing slime and bones that shine under black light, perfect for night play.
Frequently Asked Questions About Opening Dinosaur Egg Toys
Can you reuse the materials inside a dinosaur egg toy?
Yes, most materials are reusable. Kinetic sand can be reshaped and stored in the included ziplock bag. Slime can be kept in a sealed container. Putty remains moldable. Only the fossil rock and outer shell are single-use.
Do dinosaur egg toys require water to open?
Only if your kit includes fizzy lava. The fizzy lava block requires exactly 160 ml of water to activate and reveal hidden parts. Other materials like dino dirt, slime, and fossil rock do not require water.
Are dinosaur egg toys safe for children?
Most are designed for ages 5 and up, but adult supervision is recommended when using sharp tools like pocket knives for cracking fossil rock. Always wash hands after handling slime and sand.
How long does it take to open and assemble a dinosaur egg toy?
The full process takes approximately 30 to 60 minutes, depending on the complexity of the kit and whether you follow the clue-based discovery sequence.
What should I do if an alien figure warps over time?
Soak warped alien figures in boiling water for 10 to 15 seconds to soften the plastic. Reshape while warm, then cool under cold water to set the new shape.
Key Takeaways for Opening Your Dinosaur Egg Toy
Dinosaur egg toys deliver a multi-sensory adventure from cracking the shell to assembling your dinosaur. The key to success lies in proper workspace preparation, following the clue sequence for maximum play value, and handling each material (sand, slime, putty, fossil rock) according to its specific requirements. Take your time during excavation to avoid breaking small parts, and always dry components before assembly.
Now that you know how to open a dinosaur egg toy the right way, grab your tools, set up your tray, and start digging. The real treasure isn’t just the dinosaur you find, it’s the entire archaeological discovery experience.