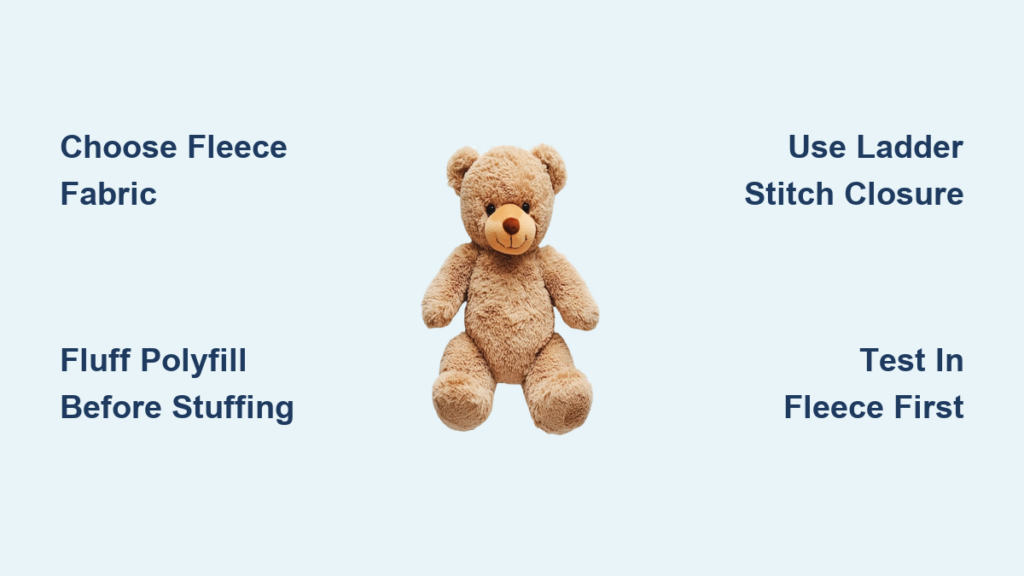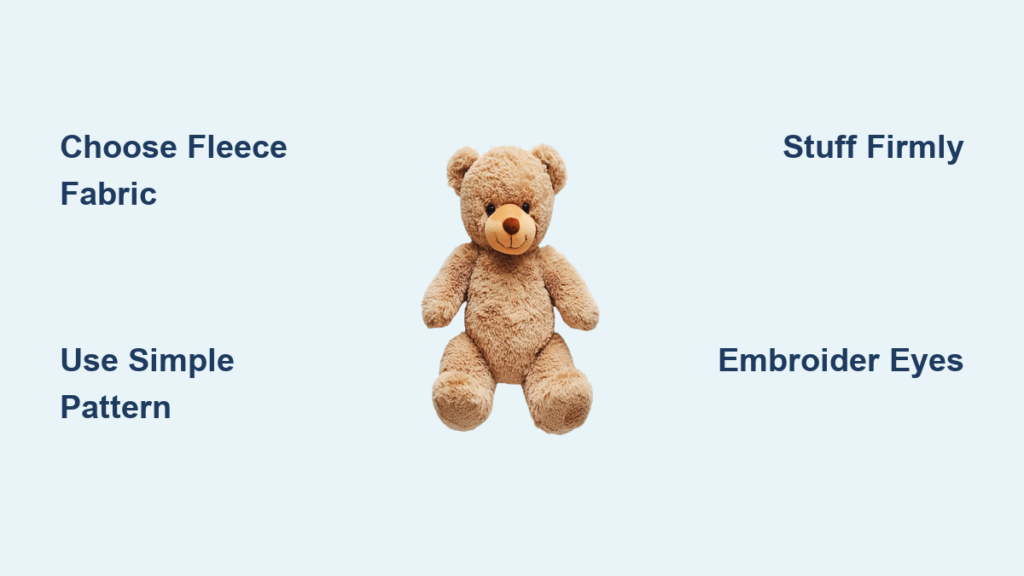
You’ve seen adorable handmade plushies online, soft and full of charm, and now you want to create your own. Whether you’re crafting a cuddly teddy bear, a quirky robot, or a whimsical fox, sewing a plush toy is a rewarding project that blends creativity with practical skills. With the right materials, pattern, and techniques, even beginners can create professional-looking stuffed animals.
This guide walks you through every step, from choosing fabric to adding final stitches. You’ll learn how to cut, sew, stuff, and assemble with precision, avoid common mistakes, and customize your design for a unique result.
Choose the Right Fabric for Your Plush Toy
Pick Beginner-Friendly Materials
Start with fleece or Minky Dot Fleece. Both are soft, easy to sew, and do not fray. These fabrics glide smoothly under the needle and hold their shape well, making them ideal for first-time plush makers. Corduroy is another excellent option, especially for ears and paws, offering durability and a vintage look. You can even upcycle old corduroy pants into a charming stuffed pup or bunny doll.
Avoid thin craft squares for final projects. They feel rough and make the finished toy look less polished. Save them for practice sessions instead.
Use Contrasting Fabrics for Details
Accent pieces like inner ears, paw pads, and gussets should be cut from contrasting fabric. Use purple fleece inside pink bunny ears or black felt for cat nose details. These pops of color add dimension and character to your plushie. Always pre-wash fabrics that are not pre-shrunk to prevent distortion after sewing.
Select and Prepare Your Pattern
Start with Simple, Free Patterns
Beginners should choose two-piece body patterns like the Easy Teddy Bear or Plush Polar Bear. These require minimal cutting and assembly, often taking under an hour to complete. Over 30 free plush patterns are available online, including Ferdinand the Frog made from fleece with Velcro hands, the Carefree Scrap Fabric Cat that uses eco-friendly scraps, the Stuffed Bunny Doll in corduroy, and the Circle Bird made from fleece with poly pellets for weight.
Download and print your chosen pattern, ensuring the test square matches the correct size. Enlarge patterns if needed, as the Stuffed Sheep pattern can double as a cushion when scaled up.
Cut and Mark All Pieces Accurately
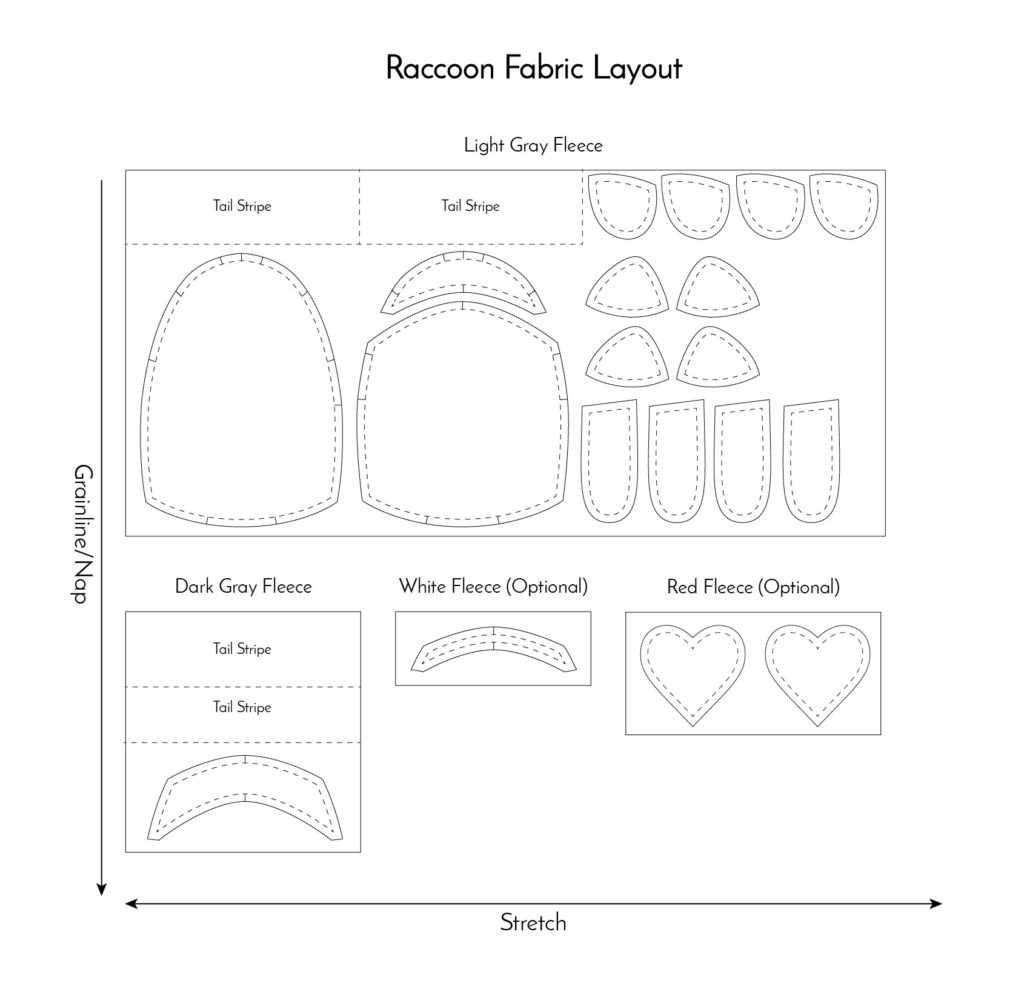
Pin the paper template to your fabric and cut two of each main piece: head, body, arms, and legs. For limbs, cut four pieces total to ensure symmetry between pairs. Also cut accent pieces including inner ears, foot pads, head gusset, and facial markings.
Transfer alignment marks using a washable fabric pen or tailor’s chalk. These guides, marked as A to A and B to B, are essential for 3D assembly, especially when attaching gussets and shaping the head.
Cut and Sew Body Parts
Sew Right Sides Together
Place fabric pieces with right sides facing each other, pin the edges, and sew with a quarter-inch seam allowance. Use a short stitch length between 2.0 and 2.5 for durability. Always backstitch at the start and end to lock the threads in place.
For curved areas like arms and legs, use kidney-bean-shaped templates. Clip curves gently with scissors to reduce bulk, and leave a small opening just big enough for a pinky finger for turning and stuffing.
Turn and Prep for Stuffing
Use a chopstick, knitting needle, or stuffing tool to push out corners and curves. Turn pieces right side out carefully, avoiding excessive pulling on delicate fabrics. For small openings, a fine-pointed tool works best.
Never skip clipping curves. This step ensures smooth, rounded shapes instead of puckered edges that detract from your finished plushie.
Stuff Firmly and Evenly
Use Polyfill in Small Batches
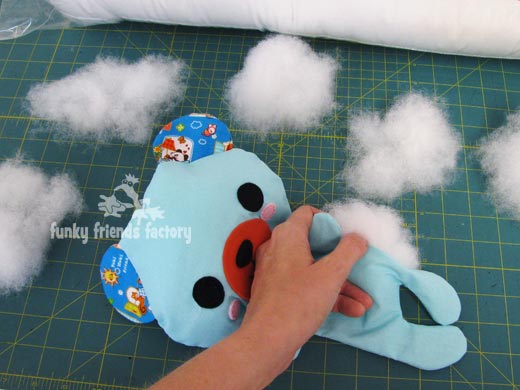
Polyester fiberfill, commonly called polyfill, is the most common stuffing material. Insert it in small handfuls, pushing into snouts, ears, and limbs first. Thin fabrics absorb more stuffing than expected, so what looks full may still feel flat. Keep adding until the piece feels firm but not rigid.
Avoid overstuffing as it can distort the shape and strain the seams.
Shape as You Fill
Use your stuffing tool to direct fill into specific areas. Push extra polyfill into the tip of a fox’s tail to create a pointed shape. Round out the forehead and cheeks of a bear for a cuddlier look. Flatten slightly in seated areas like a bunny’s bottom.
For sensory appeal, consider mixing in poly pellets. Place them in the base or body for weight, which is ideal for pillow-style plushies like the Lochness Monster.
Assemble the Head and Body
Attach the Head Gusset
A gusset adds dimension to the head, creating a 3D shape with a neck opening. Match point A to A and B to B on the head and gusset pieces. Sew one side, then the other, leaving the top and bottom open.
Using contrasting fabric for the gusset, such as purple on a pink head, works as a deliberate design feature. After sewing, turn right side out and stuff the head firmly before closing the opening.
Close Openings with Invisible Stitch
Fold the raw edge inward and close neck or limb openings using a ladder stitch, also called an invisible stitch. This creates a seamless finish. Pull tight after each stitch to hide the thread completely.
For hand-stitched closures, use doubled thread and knot securely at the start and end. Hide knots within the stuffing to maintain a clean appearance.
Attach Limbs and Ears
Position and Secure Limbs
Pin arms and legs to the body, aligning center seams. Sew through both layers of the body and limb for strength. Use backstitching or multiple passes with strong thread like polyester or upholstery grade.
Arms often float in space, so align them carefully before stitching. Legs attach more easily due to their wider contact points with the body.
Center and Align Ears
Ears are the most challenging part to place evenly. To ensure symmetry, pin ears between head pieces before sewing. Match the top center and side edges precisely. Alternatively, sew after head assembly using the center seam as your guide.
Hand-stitch for better control, especially on thick seams where the machine may struggle.
Add Facial Features Safely

Choose Toddler-Safe Eyes
For toys meant for young children, avoid safety eyes that can loosen and become choking hazards. Instead, embroider eyes using French knots or backstitch. Use felt circles sewn securely with close stitches for a safer alternative.
Older children’s plushies can use screw-on safety eyes, but ensure the backing is tight and inaccessible.
Embroider Expressive Details
Use embroidery thread for precision on facial features. Create a triangular nose with satin or backstitch. Form a mouth using curved running stitch or chain stitch. Add eyebrows with short angled lines above the eyes. Apply cheek blush using pink fabric paint or small felt circles.
A contrasting thread color can highlight hand-stitched features as a deliberate design choice. Embrace the handmade aesthetic rather than hiding every stitch.
Finish with Design Touches
Embrace Visible Seams and Texture
Do not hide every stitch. Contrasting thread along seams adds charm and showcases craftsmanship. Rough-textured fabrics can be styled as rustic, folk-art plushies rather than flaws.
Use rick-rack for fun details like teeth on a crocodile, or incorporate Velcro for interactive play elements like Ferdinand the Frog’s hands.
Customize for Personality
Make each plush one-of-a-kind by swapping fabric colors. Create a blue bunny or a spotted dog. Change facial expressions to convey smiling, sleepy, or surprised moods. Scale patterns up or down for mini keychain versions or giant pillows.
Try patterned fabric for foxes or use upcycled scraps for an eco-friendly approach like Bernie the Cat.
Ensure Safety and Durability
Reinforce High-Stress Areas
Limbs, ears, and head attachments endure the most pulling during play. Strengthen them by using strong thread, backstitching on machine seams, and hand-stitching with double thread and secure knots.
For donated toys like Warren the Charity Bear, double-check all seams thoroughly before gifting.
Follow Toddler-Safe Guidelines
If making plushies for babies or toddlers, use non-toxic and washable materials. Avoid small, detachable parts that could pose choking risks. Secure all embroidery with tight knots that cannot come loose.
Wash test fabrics first to prevent dye bleed that could irritate sensitive skin.
Troubleshoot Common Issues
Fix Disappearing Stuffing
If polyfill sinks into fabric, especially with thin weaves, use more stuffing than expected. Layer it gradually rather than adding large amounts at once. Consider combining with a firmer inner layer like cotton batting for better structure.
Smooth Out Lumps
Lumpy stuffing results from clumping. Prevent this by pulling apart polyfill before inserting it. Use small amounts at a time and push into corners with a tool for even distribution.
Prevent Misaligned Pieces
Pin everything before sewing. Match center seams, notch marks labeled A to A, and top and side edges of ears precisely. Use clips instead of pins on stretchy or thick fabrics to avoid shifting during sewing.
Upgrade Your Skills and Tools
Gather Essential Tools
You will need fabric scissors, pins or clips, a sewing machine with adjustable stitch length, hand-sewing needles both sharp and embroidery varieties, a stuffing tool like a dowel or chopstick, a fabric marker, and a ruler or tape measure.
Having quality tools makes a significant difference in your finished plushie’s appearance.
Master Key Techniques
Practice fundamental skills including right sides together sewing, clipping curves, ladder stitching, backstitching, embroidery using backstitch and French knots, and appliqué for patches or markings. Watching garment construction videos helps improve precision, as these skills translate well to plush sewing.
Frequently Asked Questions About Sewing Plush Toys
What fabric is best for beginners making stuffed animals?
Fleece and Minky Dot Fleece are the most beginner-friendly options. Both are soft, easy to sew, and do not fray, making them ideal for your first plushie project. Corduroy is another good choice offering durability and a vintage look.
How do I close the opening after stuffing my plush toy?
Use a ladder stitch, also called an invisible stitch. Fold the raw edge inward, then weave the needle back and forth through the folded fabric on both sides. Pull tight after each stitch to create a seamless closure that hides the thread completely.
What type of eyes should I use for a toddler-safe plush toy?
Avoid button eyes and safety eyes for young children. Instead, embroider eyes using French knots or backstitch, or use felt circles sewn securely with tight, close stitches. These alternatives cannot come loose and pose no choking hazard.
How do I prevent my stuffing from becoming lumpy?
Pull apart polyfill into small pieces before inserting. Add stuffing in small handfuls rather than large clumps. Use a stuffing tool like a chopstick or knitting needle to push fill into corners and distribute evenly throughout the piece.
Can I use a regular sewing machine for making plush toys?
Yes, a standard sewing machine works well for plush making. Use a short stitch length between 2.0 and 2.5 for durability. A quarter-inch seam allowance is standard. Ensure your machine can handle multiple layers of fabric, especially when attaching limbs.
How do I make my plush toy poseable?
Use yo-yo joints for poseable limbs. Sew two fabric circles right sides together, turn, stuff slightly, then thread elastic or cord through the edge. Knot the ends and attach to the body. This technique allows legs and arms to swivel for different poses.
Key Takeaways for Sewing Your First Plush Toy
Sewing a plush toy is more than a craft project. It is an act of love that produces a lasting keepsake or gift. Start with simple patterns like the Easy Teddy Bear using beginner-friendly fabrics like fleece. Take time to cut accurately, stuff firmly but not overly tight, and secure all attachments with strong stitches.
Pay special attention to safety if the toy will be used by young children. Use embroidered or felt eyes instead of safety eyes, reinforce high-stress areas like limb attachments, and use non-toxic materials throughout. With each project, your confidence and skill will grow, and your handmade plushies will become treasured items that carry warmth and intention for years to come.