Is your vintage Lionel locomotive stuck on the siding? Does your American Flyer set sputter and stall mid-loop? You’re not alone. Toy train repair is a vital skill for collectors, hobbyists, and families passing down heirloom sets. Whether it is a 1930s prewar tinplate engine or a modern O gauge set, most toy trains can be revived with the right knowledge.
This guide cuts through the noise, offering clear, step-by-step repair techniques, restoration insights, and expert tips from top U.S. repair shops like Toy Train Repair and Restorations, The Train Doctor, and JLM Trains. You will learn how to diagnose common failures, fix gear issues, restore value, and keep your layout running smoothly for years.
Diagnose Power and Movement Problems
When a toy train powers up but will not move, the problem lies in the drive system, not the power source. Lights or sound confirm electricity is reaching the locomotive, but if wheels stay still, the motor is not engaging the gears.
No Movement Despite Power
The first step is checking battery condition. Use two fresh AA cells (3V total) before assuming internal failure. Weak cells mimic internal faults, so always test batteries with a multimeter.
Next, inspect for gear slippage. Open the base and see if the small plastic gear has slipped off the motor shaft. If the gear is loose or missing, the motor will spin freely without turning the wheels.
Test motor function by disconnecting the gear and powering the motor directly. If it spins, the motor works and the problem is mechanical. Look for obstructions like worn gears, debris, or misaligned trucks that can block rotation.
Intermittent Operation or No Power
Several issues can cause power problems in toy trains. Loose or corroded wiring often creates intermittent operation. Broken solder joints, especially in Lionel O-gauge switches, break contact when heated. Dirty electrical contacts and failed transformers are also common culprits.
Use a multimeter to check voltage at the track and locomotive pickup wheels. Inspect wire connections for fraying or disconnection. Examine solder points under magnification, looking for cracked joints that fail when heated.
Reattach Detached Motor Gears
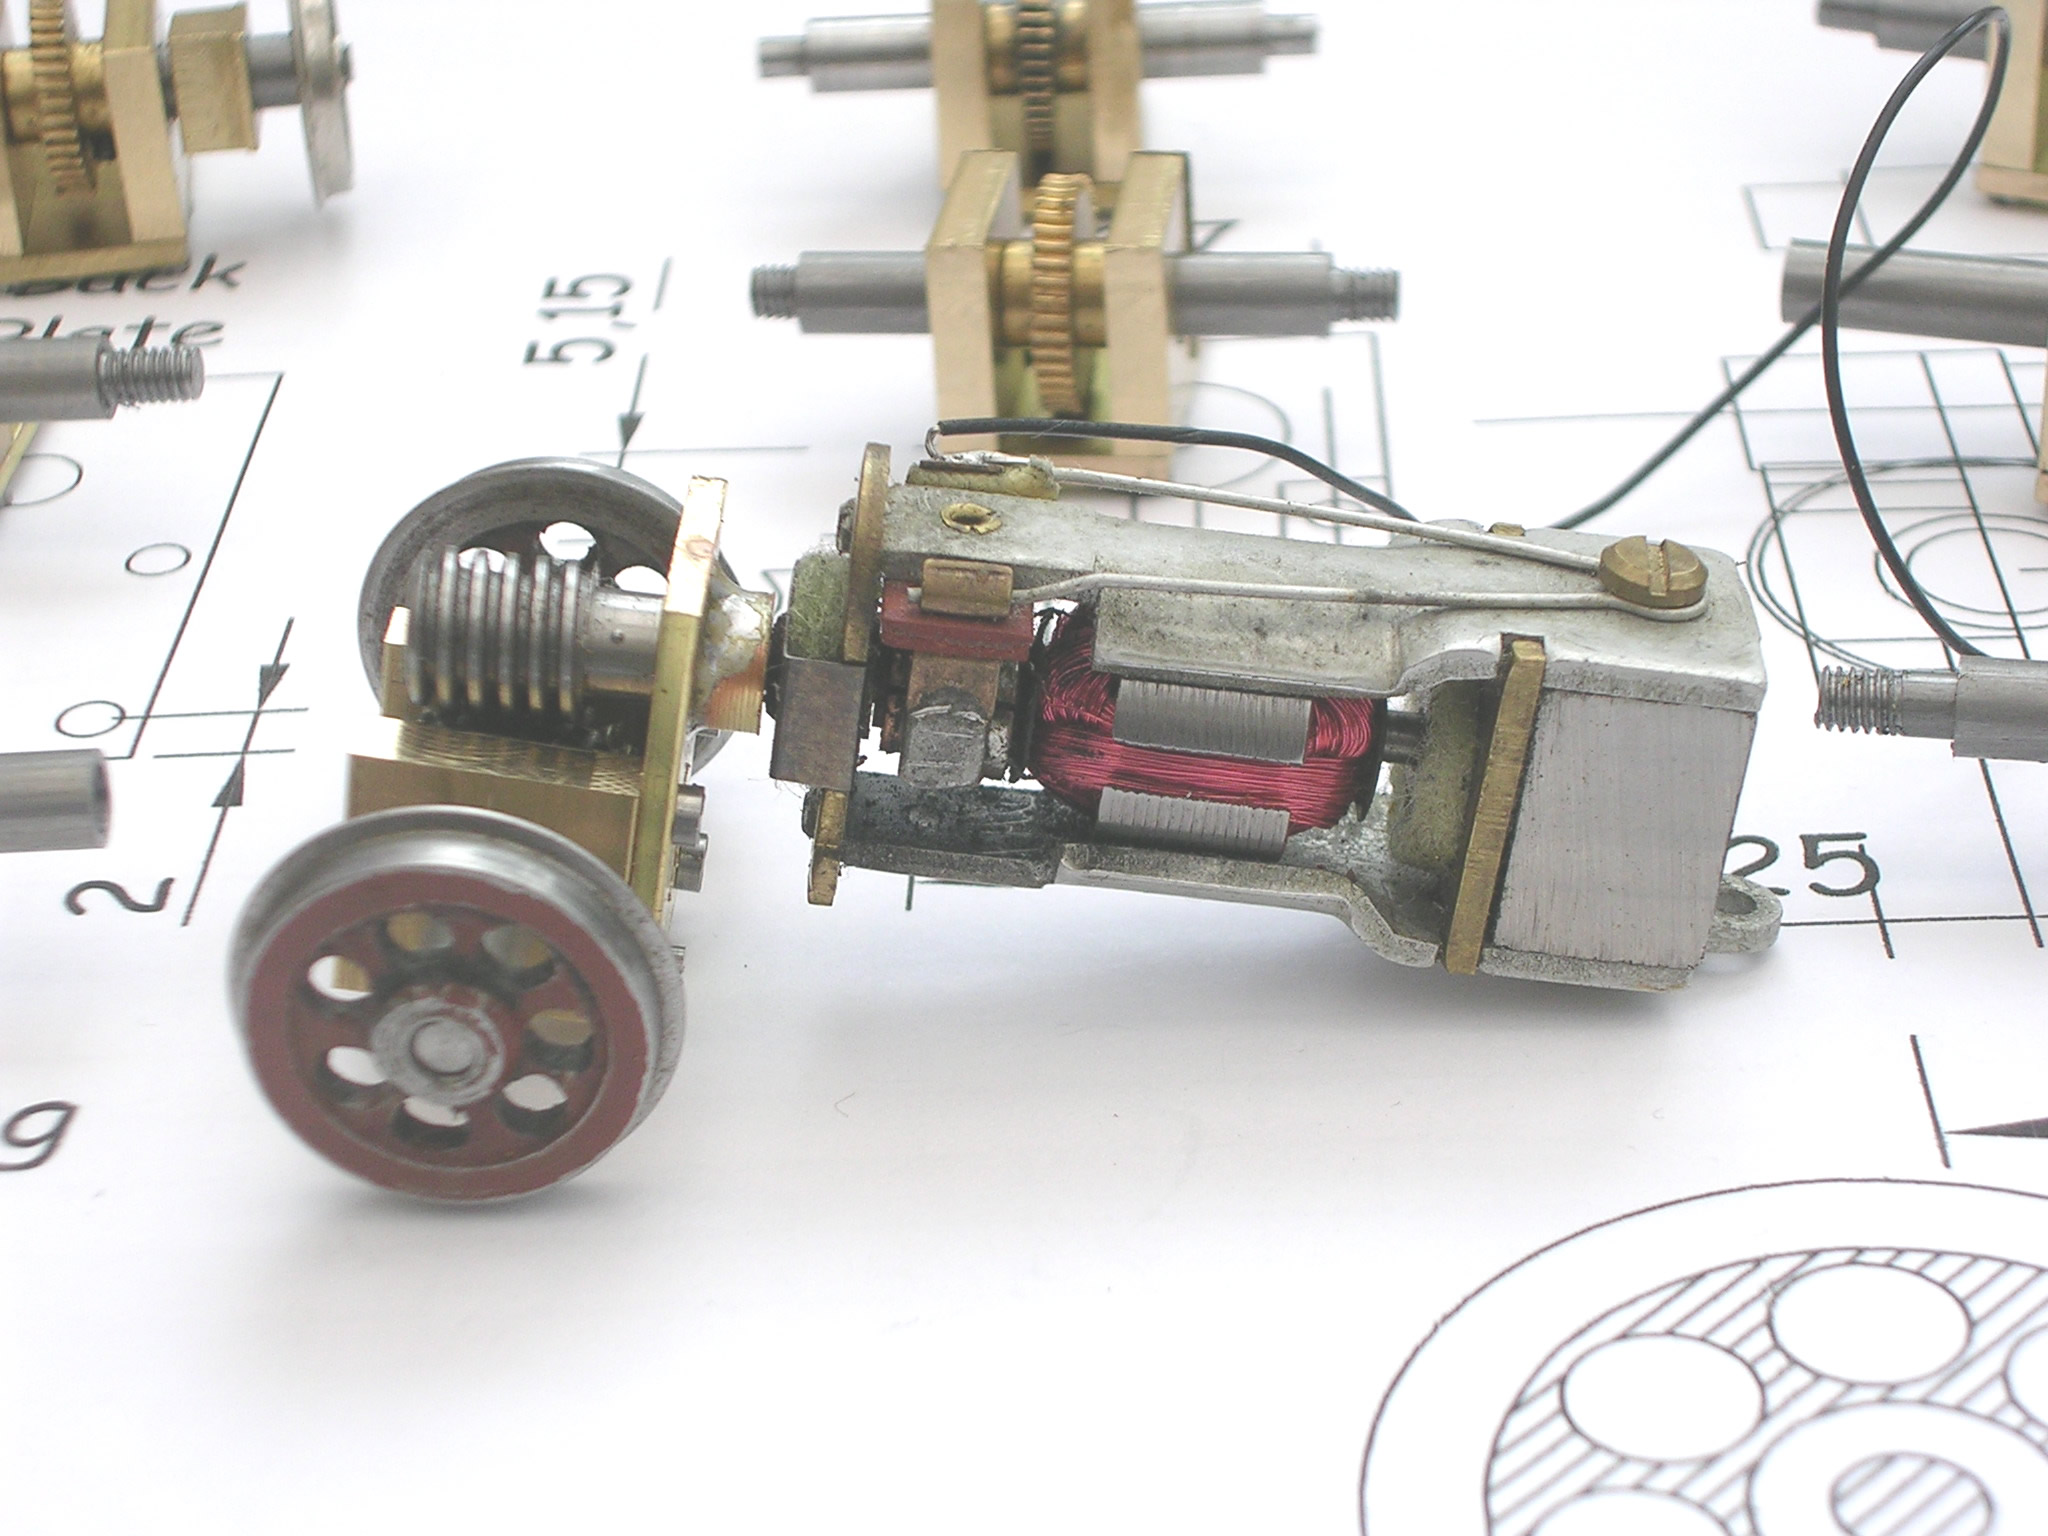
One of the most frequent failures in plastic-bodied locomotives is a gear slipping off the motor shaft. This stops all motion, even if the motor runs. The fix is straightforward with the right approach.
Reattach Gear With Super Glue
Remove the baseplate by turning the locomotive upside down. Unscrew three bottom screws, typically Phillips #0 or #1. Gently lift the panel and avoid pinching wires.
Locate the loose gear. It may be rattling inside or still partially on the shaft. Clean both the shaft and gear bore with isopropyl alcohol to remove debris and old adhesive.
Apply one drop of fast-setting super glue on the motor pulley. Do not flood the area, as excess glue causes binding. Slide the gear straight onto the shaft and hold for 10 to 30 seconds until set. Ensure it is concentric with no wobble.
Verify alignment by checking that the gear meshes smoothly with the next drive gear. Spin by hand to confirm no resistance or grinding. Success is confirmed when wheels rotate freely when the motor is powered.
Fix Lionel O-Gauge Switch Problems
Lionel classic tubular O-gauge switches like the 0-22 often fail due to broken solder joints, causing non-derailing behavior or track-switching malfunctions. These repairs require basic soldering skills.
Repair Broken Solder Joints
Disassemble the switch by removing screws from the underside. Lift the housing to expose internal contacts. Look for darkened or cracked solder near terminal posts.
Inspect all solder points for cracks, discoloration, or loose wires. Test continuity with a multimeter to identify failed connections.
Resolder by heating the joint with a 40W soldering iron. Apply rosin-core solder to reflow and bridge gaps. Use 20-gauge wire to reinforce weak leads.
Reassemble and test operation. Confirm track rails move and maintain electrical contact. The switch should function reliably after repair.
Restore Smoke Unit Performance
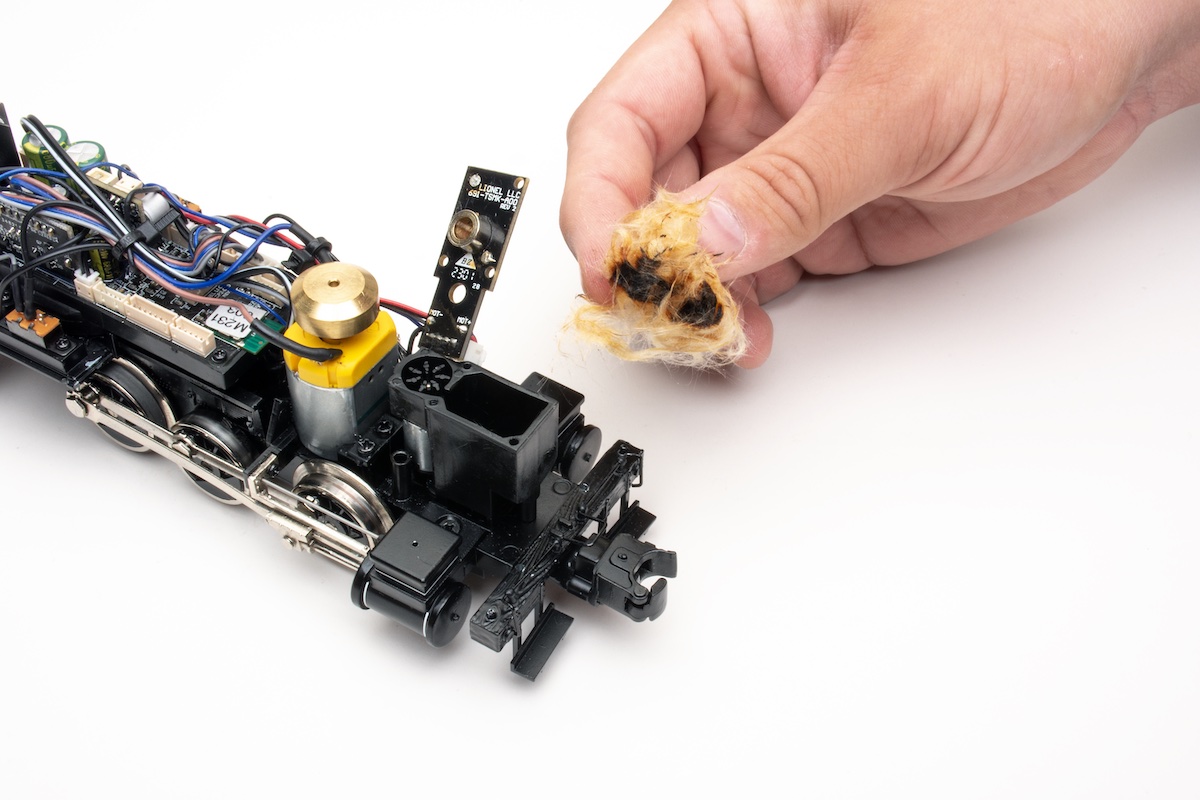
Modern locomotives with fan-driven smoke units often suffer from weak or no smoke output, even with full fluid. The wick degrades over time, losing capillary action.
Replace the Wick
Open the smoke unit, usually two screws on the boiler or tender. Remove the old wick, often a cotton or felt strip near the fan. Insert a new wick available from Lionel or MTH parts suppliers.
Refill with manufacturer-recommended, low-residue oil. Never use household oils, as they gum up and damage pumps. A fresh wick restores full smoke output.
Lubricate for Smooth Rolling
Even well-repaired trains run poorly if trucks and axles are dry or dirty. Regular lubrication extends component life and improves performance.
Lubrication Schedule
Apply lubricant to wheel bearings, truck pivot points, and coupler hinges. Use Labelle 107 or equivalent synthetic oil. For dusty environments, use PTFE-based dry lube.
High-use trains need lubrication once per year. Display models benefit from lubrication every 2 to 3 years. Avoid over-lubrication, as excess oil attracts dust and grime.
Clean Wheels and Track for Better Electrical Pickup
Poor electrical pickup is the number one cause of stalling. Oxidation on wheels or track breaks the circuit and disrupts operation.
Cleaning Protocol
Clean locomotive wheels by dipping a cotton swab in rubbing alcohol. Rotate wheels while cleaning. For heavy buildup, use a fiberglass pen gently.
Clean track surfaces using track-cleaning pads or alcohol wipes. For curved sections, wrap cloth around a popsicle stick to reach all areas.
Test conductivity with a multimeter to confirm continuity between rail and locomotive pickup. Clean after every 4 to 6 weeks of use, especially in humid climates.
Repair or Restore: Making the Right Choice
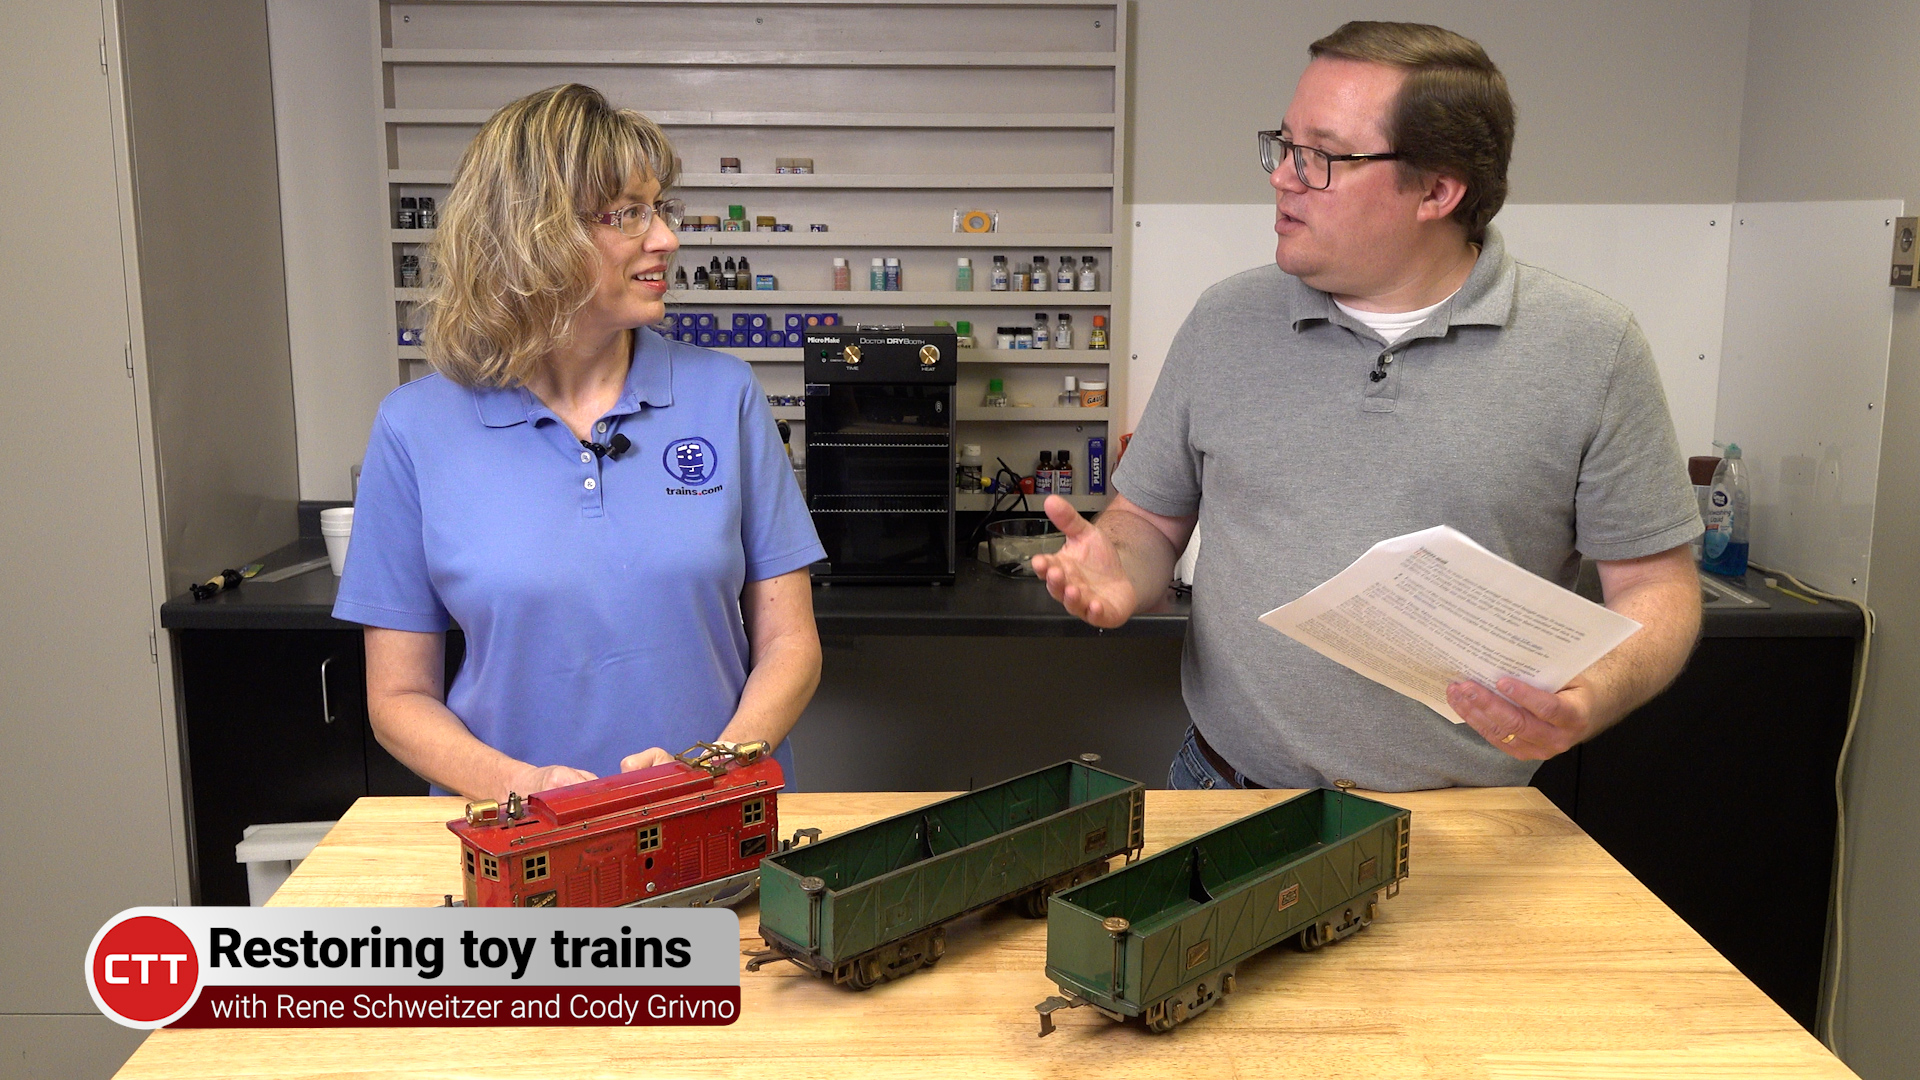
Know the difference between repair and restoration before committing time and money. Each approach serves different purposes and budgets.
When to Choose Repair
Repair fixes mechanical or electrical faults. The scope includes cleaning, lubrication, gear replacement, and wiring repair. This approach works best for trains in fair to good condition. Cost is lower with turnaround in days or weeks.
A Lionel 2026 locomotive with a slipping gear is a perfect repair candidate. Clean, reglue, and test.
When to Choose Restoration
Restoration returns a train to like-new appearance and function. The scope includes complete disassembly, repainting using original factory colors, re-lettering, plating, black oxide coating, and custom part fabrication.
This approach suits basket case trains or rare models. Cost is high due to labor-intensive work with premium materials. JLM Trains uses DuPont Professional Refinishing Products, color-matched from interior body panels to avoid faded tones.
Evaluate Whether Restoration Is Worth It
Restoration is not always worth the investment, especially for common models. Evaluate the train’s value before proceeding.
Impact on Collectible Value
Mint or near-mint trains should never be restored. Originality commands higher value. Poor or deteriorated trains benefit from restoration, as it increases value. For marginal condition with scratches or minor rust, preserve the original and repair mechanically only.
Think of it like a 1969 Dodge Dart. Restoration labor costs more than the car is worth. A 1969 Corvette, however, justifies restoration due to rarity and demand.
Material Suitability for Restoration
Metal-bodied trains like Lionel and Ives are ideal for restoration. Brass plates and rubber-stamped lettering survive stripping. Plastic-bodied trains like Marx are hard to restore. Lettering is often molded or fragile, making cosmetic work impractical.
Choose a Professional Repair Service
Top U.S. shops offer warranties, expertise, and authentic finishes. Knowing what each provider offers helps you make the right choice.
Toy Train Repair and Restorations
This shop offers a lifetime guarantee, unmatched in the industry. Specialties include Lionel prewar and postwar trains, accessories, and transformers. They maintain a full inventory of parts, so there are no long waits for components.
The Train Doctor
Located at 1 Meridian Rd in Eatontown, NJ, The Train Doctor charges a $40 non-refundable evaluation fee covering inspection and return shipping. All repairs include a 90-day warranty. Use uppercase letters and numbers only when checking repair status. Enter NONE if there is no serial number.
JLM Trains, L.L.C.
With over 39 years of experience, JLM Trains offers a one-year warranty on all work. They use computer-matched DuPont paints and clear coats for museum-grade restoration. Custom fabrication services include reproducing reverse brackets for Lionel No. 706 (1915) and recasting pilots for Ives No. 5 clockwork engines.
Fabricate Missing Parts When No Replacements Exist
When no replacement part exists, skilled technicians can rebuild from scratch using several methods.
Custom Part Creation Methods
Reverse engineering involves measuring existing components or photos. Recasting creates molds from original parts. Machining uses lathes or milling tools for metal pieces.
JLM Trains successfully recast a broken pilot for a cast iron Ives engine, restoring it seamlessly.
Upgrade Older Trains for Better Performance
Modernizing older sets with reliable components improves reliability and enjoyment.
LED Lighting Upgrades
LED lighting offers brighter illumination, lower power draw, and longer life than incandescent bulbs. Installation involves using flexible LED tape, soldering leads, and insulating with heat-shrink tubing. Conceal wiring inside the car body.
Modern Smoke Units
Replace outdated smoke units with MTH or Lionel Premier models. Ensure the wick is fresh and oil is low-residue. This simple upgrade dramatically improves smoke output.
Fix Problem Accessories
The Lionel Milk Car (No. 2028310) often needs weight added for better tracking, platform mount reinforcement, and coupler alignment. These simple modifications improve reliability significantly.
Maintain to Prevent Future Issues
Prevention beats repair every time. A regular maintenance schedule keeps trains running smoothly for generations.
Maintenance Schedule by Usage
Regular operation requires cleaning wheels and lubricating trucks every 6 to 12 months. Seasonal display needs a full inspection and test run before and after storage. Long-term storage requires removing batteries and covering the unit. Check annually for pests and mold.
Use PTFE spray in dusty areas, as oil attracts dirt.
Build Budget Track Sections
Expand your layout affordably by building track sections yourself.
DIY Standard Gauge Track
Materials needed include brass or steel rail strips, wood or plastic ties, and small nails or adhesive. Tools required are a saw, ruler, glue gun, and clamps.
Two 36-inch straight sections can often be built for the same or lower cost than buying one new section. This approach works well for temporary holiday layouts or practice runs.
Final Toy Train Repair Checklist
Use this checklist before and after every repair session. Confirm power source, whether batteries or transformer. Remove three bottom screws to open the locomotive. Inspect motor shaft and gear alignment. Reattach a detached gear with one drop of super glue. Ensure smooth gear meshing. Reassemble without pinching wires. Test operation for motion, noise, and smoke. Lubricate rolling stock axles. Clean wheels and track. Check for loose solder joints in switches.
Frequently Asked Questions About Toy Train Repair
How Much Does Professional Toy Train Repair Cost?
Costs vary widely based on the issue. Basic repairs like gear reattachment or cleaning range from $50 to $150. Full restoration runs several hundred to thousands of dollars depending on the train’s value and complexity.
Can I Repair a Toy Train Myself, or Do I Need a Professional?
Many basic repairs like gear reattachment, lubrication, and cleaning are suitable for DIY. Complex electrical issues, motor rebuilds, and cosmetic restoration benefit from professional expertise. Start with simple repairs and progress to professionals as needed.
How Do I Know If My Toy Train Needs Repair or Restoration?
Evaluate the condition first. Mechanical issues like non-moving wheels or strange noises need repair. Cosmetic damage like faded paint or missing lettering on valuable trains may warrant restoration. Common trains in poor condition often benefit more from repair than restoration.
Where Can I Find Replacement Parts for My Toy Train?
Source parts from manufacturer catalogs like Lionel and MTH service manuals. Collector magazines like Classic Toy Trains list suppliers. Online forums like TrainBoard and OGR offer parts exchanges. Reproduction suppliers provide quality parts for discontinued models.
How Often Should I Maintain My Toy Train Collection?
High-use trains need cleaning and lubrication once per year. Display models benefit from maintenance every 2 to 3 years. Clean track and wheels every 4 to 6 weeks during active use, especially in humid climates.
Does Restoration Increase or Decrease My Train’s Value?
Restoration decreases value for mint or near-mint rare trains. Originality commands premium prices. Restoration increases value for trains in poor or deteriorated condition. Marginal condition trains should be preserved in original state unless mechanical issues require repair.
Key Takeaways for Successful Toy Train Repair
Whether you are fixing a childhood treasure or restoring a rare prewar set, proper toy train repair combines technical skill with historical respect. Focus on diagnostics first, choosing repair over restoration when possible. Always use quality parts from reputable suppliers.
Regular maintenance prevents most major problems. Clean wheels and track every few weeks during use. Lubricate moving parts annually. Address issues promptly to prevent further damage.
With proper care, your trains can run for generations, just like they did when first unwrapped on Christmas morning. Start with basic repairs, build your skills, and enjoy the satisfaction of bringing classic toy trains back to life.