Every creak of a wind-up mechanism, every chipped detail on a porcelain doll, tells a story spanning generations. When these cherished toys break, the emotional weight can feel heavier than their physical form. Whether it is a childs first rocking horse, a hand-built model ship, or a tin robot from the 1950s, vintage and antique toy repair is about more than fixing parts. This guide delivers a step-by-step roadmap for diagnosing, restoring, and protecting classic toys using professional techniques and the right tools.
You will learn how to assess damage across multiple toy categories, choose between DIY fixes and expert restoration, and avoid costly mistakes that devalue collectibles. From soft teddy bears to mechanical tin wind-ups, these methods preserve history while honoring craftsmanship.
Rocking Horse Restoration Techniques

Rocking horses are timeless heirlooms, but decades of use and storage take their toll. Structural cracks, flaking paint, and missing manes are common, especially in pieces stored in damp garages or lofts. The goal is not to make them look new but to stabilize damage while preserving original finishes and sentimental value.
Repair Broken Legs or Necks
Start with structural integrity. If a leg or neck is cracked or detached, reinforce it with hardwood dowels and epoxy resin. Clean the fracture first, then drill a pilot hole, insert the dowel with wood glue, and clamp until set. For missing sections, carve a replacement from beech or oak, matching the original profile. Avoid over-sanding. Retain as much of the original wood as possible.
Restore Gesso and Paint Accurately
Flaking white undercoat, known as gesso, is a telltale sign of age. Gently remove loose material, then apply a chalk-based gesso primer to damaged areas. Sand smooth and match the original paint using water-based historic pigments. Apply in thin layers to mimic natural aging. Never use a flat, modern finish. Use a magnifier to study surviving paint layers for color accuracy.
Replace Missing Manes and Tails
Horsehair is ideal for replacements. Harvest from a donor tail or use synthetic alternatives that mimic texture. Insert strands into original mounting holes using a fine awl, securing with PVA glue. For ears broken off from wall contact, carve new ones from hardwood, bond in place, and paint to match.
Recreate Leather Tack Authentically
Brittle harnesses or missing saddles require reproduction using vegetable-tanned leather. Stitch with waxed thread in period-correct patterns. Reproduce stirrups and reins to scale. Document all replacements. Serious collectors value transparency over perfection.
Dollhouse Damage Assessment and Repair
Dollhouses often suffer unseen damage. Woodworm, flood exposure, or past overpainting can compromise structural and historical value. A thorough inspection prevents irreversible errors.
Identify Active Woodworm Infestation
Look for small, round exit holes, typically 1 to 2 millimeters, and fine sawdust known as frass. If beetles are seen near windows between May and June, the infestation is active. Plywood is especially vulnerable due to animal-based glues in pre-1970s models. Inject woodworm killer into holes only if timber is not crumbling. If structural integrity is lost, replace sections with matching hardwood.
Handle Flood and Fire Damage Safely
Clean water damage requires drying slowly in a ventilated area. Prevent warping by laying flat and avoiding heat sources. Sewage contamination should be treated as a biohazard. Destruction is often safer than restoration. Smoke residue cleans with mild detergent and cotton swabs. Replace fragile interiors if soot has penetrated. Burnt wood requires sanding for shallow burns and replacement for deeply charred sections.
Preserve Original Finishes
Never strip or repaint unless necessary. Original wallpapers, flooring, and varnishes hold significant value. Replace missing elements only with historically accurate reproductions. Use archival pattern books or museum references. Over-restoration reduces authenticity and collector value.
Soft Toy Repair Strategies
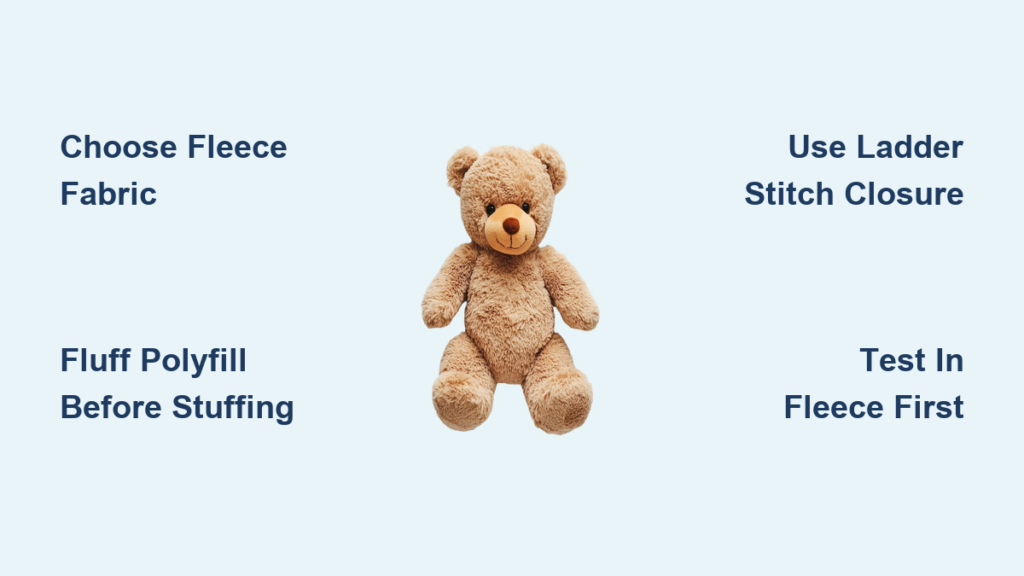
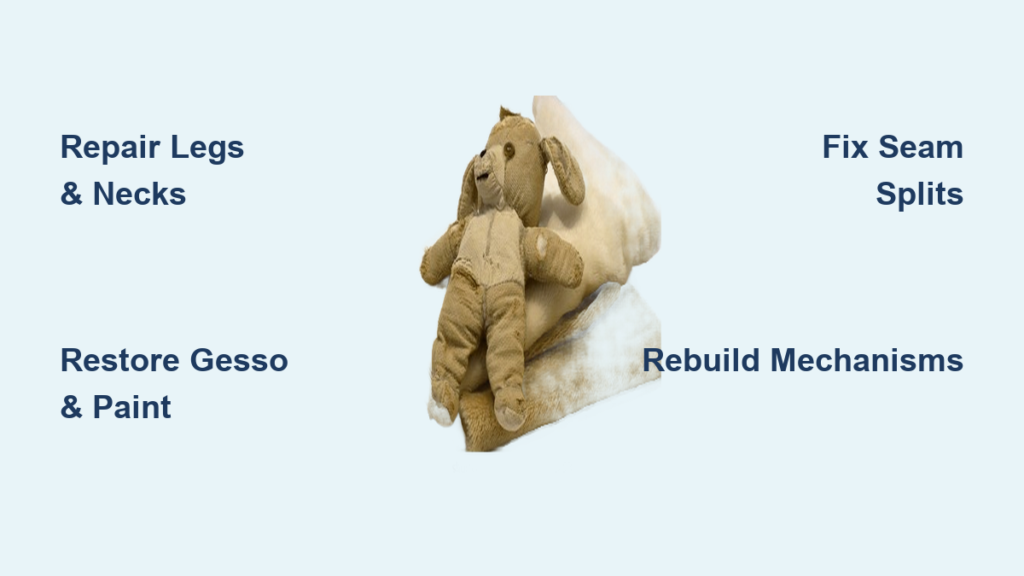
Stuffed animals carry deep emotional value. Whether it is a seam split or missing eye, repair should be invisible and gentle on vintage materials.
Fix Seam Splits and Reattach Limbs
Use a ladder stitch for invisible seam repair. Match thread to original stitching color and tension. For detached limbs, reinforce the joint with internal fabric backing before resewing. If elastic stringing has snapped, common in jointed dolls, replace it with UV-resistant rubber bands or synthetic cord.
Deep Clean Without Damage
Never machine-wash vintage plush. Spot-clean stains with mild detergent and a soft brush. For full cleaning, vacuum gently with a brush attachment, sponge with distilled water and a drop of mild soap, air-dry away from sunlight, and use a slicker brush to restore matted fur.
Replace Missing Features
Glass or plastic eyes can be matched from vintage suppliers. Reattach with conservation-grade adhesive. For lost noses or embroidery, replicate using original patterns visible on the opposite side. Avoid plastic replacements on pre-1960s toys. They break authenticity and reduce collector value.
Doll Restoration Techniques
Porcelain, composition, and vinyl dolls require delicate handling. Cracked heads, failed eye mechanisms, and loose limbs are frequent issues that need professional attention.
Repair Cracked Porcelain Heads
Clean the break with isopropyl alcohol. Use a conservation-grade epoxy for invisible mending. Avoid super glue, which yellows over time. Apply with a fine needle, clamp gently, and let cure for 24 hours. Fill hairline cracks with reversible putty if needed.
Restring Loose Limbs
Replace deteriorated elastic in Madame Alexander or Terri Lee dolls using a stringing needle and waxed thread. Work through internal holes, tie secure knots, and test joint tension. Kits for 16-inch dolls cost around $11.99 and include correct gauge elastic.
Reface or Repaint Faces Carefully
Only reface if damage impairs display. Use watercolor pencils or fine brushes to match factory-applied features. Study original catalogs or museum examples for accuracy. Document the process. Refacing can reduce value if overdone, so proceed with caution.
Tin Toy and Wind-Up Mechanism Repair

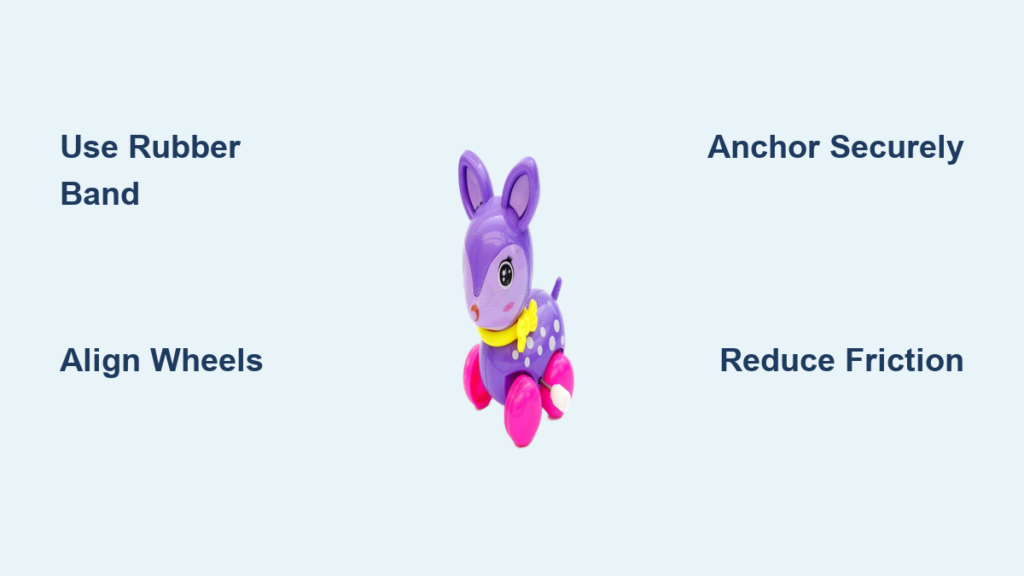
Tinplate toys with wind-up mechanisms are prized for their engineering. Rust, gear wear, and spring failure are the main enemies of these mechanical treasures.
Diagnose Engine Failure
Remove the wheel with lock-ring pliers to access internal components. Check for stripped gears, broken rivets, fatigued or detached springs, and corroded contacts in battery-operated models. Document the condition of each component before reassembly.
Clean and Pollish Metal Parts
Use vibratory polishing with aluminum oxide media for 1 to 3 hours to remove rust. For heavier oxidation, sandblast at 85 PSI while wearing goggles and a respirator. Follow with 4 hours of tumbling in crushed corn and liquid metal polish for a high-luster finish.
Reassemble with Tension Control
Wind the spring to maximum tension and secure it with strong steel wire while installing gears. Release tension only after the engine is fully seated. Lock the housing with original or replicated flaps. This ensures proper function and prevents damage to the mechanism.
Model Ship Restoration Methods
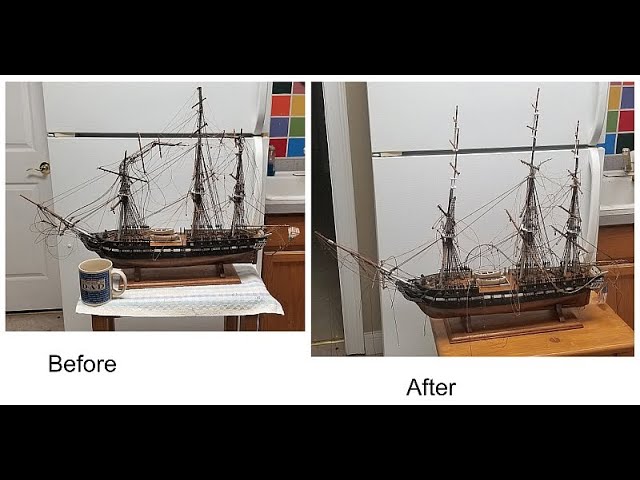
These intricate builds demand precision. Brittle sails, broken masts, and tangled rigging are common after decades in storage.
Recreate Historical Sails
Use remnants as templates. Trace the design onto lampshade-grade silk or cotton. Paint with acrylics, replicating faded colors and seam lines using dotted patterns. Drill small holes along the top edge to reattach to yardarms.
Repair Rigging with Nautical Accuracy
Replace broken lines with braided polyester thread matching original thickness. Retie knots using sailing techniques. Avoid glue. Label each line during disassembly to prevent confusion during reassembly.
Build Protective Display Cases
Prevent future dust buildup with a custom glass case. For dramatic effect, mount the ship on a themed base. Use plaster of Paris and cotton scrim for wave texture, paint sea surface with acrylics for realism, and seal with UV-resistant varnish.
Action Figure and Figurine Repair
Vintage action figures suffer from peg warmers, broken limbs, and paint wear. Stability and authenticity are key considerations during repair.
Bond Broken Parts Safely
Use cyanoacrylate, commonly called super glue, for small breaks or epoxy putty for larger gaps. For missing hands or weapons, sculpt replacements using two-part epoxy, then paint with an airbrush for seamless finish.
Reinforce Loose Joints
Insert a thin brass rod or wire armature into the joint cavity before reattaching. This prevents future peg wear. Avoid glue-only fixes. They fail under stress and cause repeated damage.
When to Hire a Professional Restorer
DIY works for seams and cleaning, but certain repairs require expert intervention. For structural repairs, mechanical reassembly, porcelain or wood restoration, and insurance documentation, go professional. Providers like The Toy Works, Leith Toy Hospital, and Uncle Al’s Toys offer expert restoration with photographic documentation for insurance claims.
Professional restorers provide formal quotations with before-and-after photography. This documentation supports insurance reimbursement for flood, fire, theft, or burglary-related damage. The investment protects both the toys value and your sentimental return.
Ethical Restoration Principles
Follow these rules to protect value. Practice minimal intervention by keeping original parts whenever possible. Use reversible methods that future conservators can undo. Document every repair with photographs and written notes. Avoid over-polishing because original patina has significant value. Match factory specs rather than upgrading finishes.
A fully restored toy may sell for more, but a well-preserved original often wins at auction. Serious collectors appreciate authenticity over perfection.
Final Restoration Workflow
Follow this systematic approach for successful restoration. First, inspect for cracks, corrosion, and functional issues. Second, document with before photos. Third, disassemble carefully, addressing axles, flaps, and rivets. Fourth, clean using polishing, blasting, and degreasing. Fifth, repair surfaces, joints, and mechanisms. Sixth, paint using authentic colors and methods. Seventh, reassemble with tension and alignment control. Eighth, lubricate and test for smooth operation. Ninth, display in protective casing.
Frequently Asked Questions About Vintage and Antique Toy Repair
How do I assess if a vintage toy is worth repairing?
Evaluate the toys condition, rarity, and sentimental value. Check for structural damage, missing parts, and mechanical function. Research comparable items in the collector market. Professional appraisals help determine if restoration costs align with potential value.
Can I repair a vintage rocking horse myself?
Minor repairs like reattaching small parts or cleaning work for DIY. Structural repairs requiring timber replacement, gesso restoration, or leather tack recreation benefit from professional expertise. Poorly executed repairs can reduce collector value significantly.
What causes woodworm in dollhouses and how serious is it?
Woodworm comes from beetles laying eggs in timber. Larvae feed inside for up to 5 years before emerging as adult beetles, typically between May and June. Exit holes and fine sawdust indicate infestation. Plywood is especially vulnerable due to animal-based glues in older models. Active infestations require treatment, but severely damaged sections may need replacement.
How do I clean a vintage stuffed toy without damaging it?
Never machine-wash vintage plush. Spot-clean stains with mild detergent and a soft brush. Vacuum gently with a brush attachment. Sponge with distilled water and mild soap, air-dry away from sunlight, and use a slicker brush to restore matted fur.
What is the best way to restore tin toy mechanisms?
Diagnose engine failure by accessing internal components. Clean rust with vibratory polishing or sandblasting. Replace stripped gears, broken rivets, and fatigued springs. Reassemble with proper spring tension using steel wire to secure the wound spring during installation.
Are replacement parts available for vintage dolls?
Yes. Elastic stringing kits for 16-inch Terri Lee dolls cost around $11.99. Glass and plastic eyes are available from vintage suppliers. For rare components, vintage dolls sold for parts or repair provide harvesting opportunities.
Key Takeaways for Vintage and Antique Toy Repair

Vintage and antique toy repair blends craftsmanship with emotional intelligence. Whether you are fixing a family treasure or restoring a collector item, respect for the object and its history is paramount. Use appropriate tools and materials, follow systematic workflows, and document every step.
Prioritize minimal intervention and authenticity over完美appearance. Original patina, even with signs of age, often holds more value than a fully restored piece. When in doubt, consult professional restorers who understand collector standards and ethical preservation practices.
Your restored toy carries more than mechanical function. It carries stories, memories, and connections across generations. Treat each piece as a piece of history worth preserving.