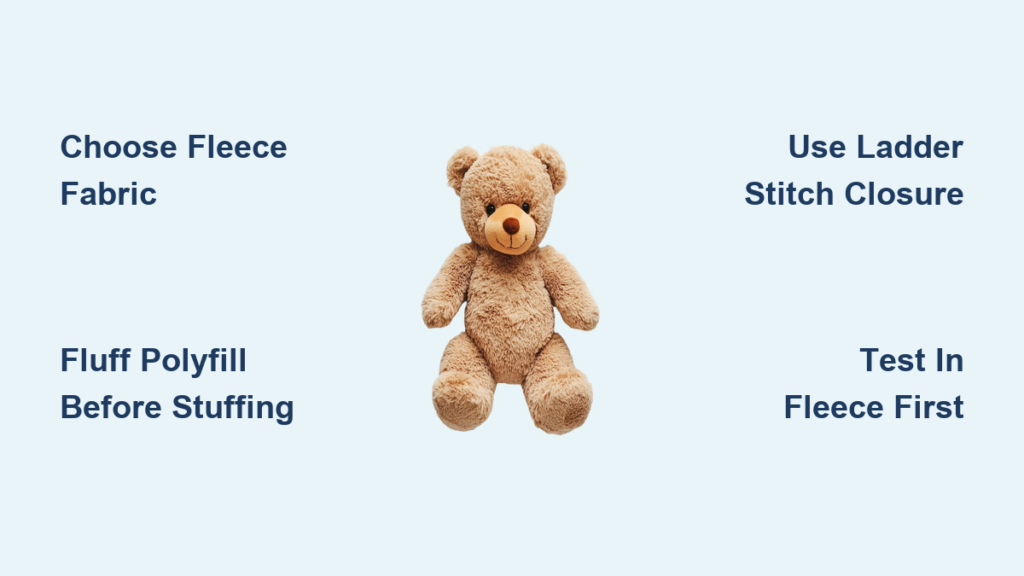
You have picked the perfect plush toy as a gift. It is soft, cuddly, and full of charm. But now comes the tricky part: how do you wrap it neatly without a box? Unlike rigid items, plush toys bend, squash, and resist traditional wrapping methods. Yet with the right technique, you can create a beautifully wrapped present that holds its shape, looks festive, and surprises the recipient with a delightful reveal.
Wrapping a plush toy without a box might seem like a minor challenge, but it is one that many gift-givers face, especially during holidays, birthdays, or baby showers. The good news is that you do not need special tools or expensive materials. With just wrapping paper, tape, scissors, and a few clever techniques, you can wrap any stuffed animal securely and stylishly. This guide will show you step-by-step methods to wrap plush toys of all sizes, avoid common mistakes, and add charming finishing touches that elevate your gift-giving game.
Secure the Toy’s Shape Before Wrapping

Before you touch wrapping paper, it is essential to stabilize the plush toy is form. A loose, floppy toy will make clean wrapping nearly impossible and can lead to lopsided, messy results.
Start by gently fluffing the plush to restore its fullness. Push stuffing into limbs and press out any wrinkles in the fabric. If the toy has long arms or legs, consider bending them slightly into a compact pose, like crossing the arms or tucking the legs, to reduce overall size and create a more manageable shape.
For extra support, use a soft layer of tissue paper or bubble wrap as a wrap liner. Wrap it loosely around the toy, not tightly. This is not about compression but about creating a slight buffer that helps the outer paper cling evenly. Avoid rubber bands or tight ties, which can leave marks or distort the fabric.
This prep step ensures your wrapping sits smoothly and gives a polished look from the start.
Fluff Before You Wrap
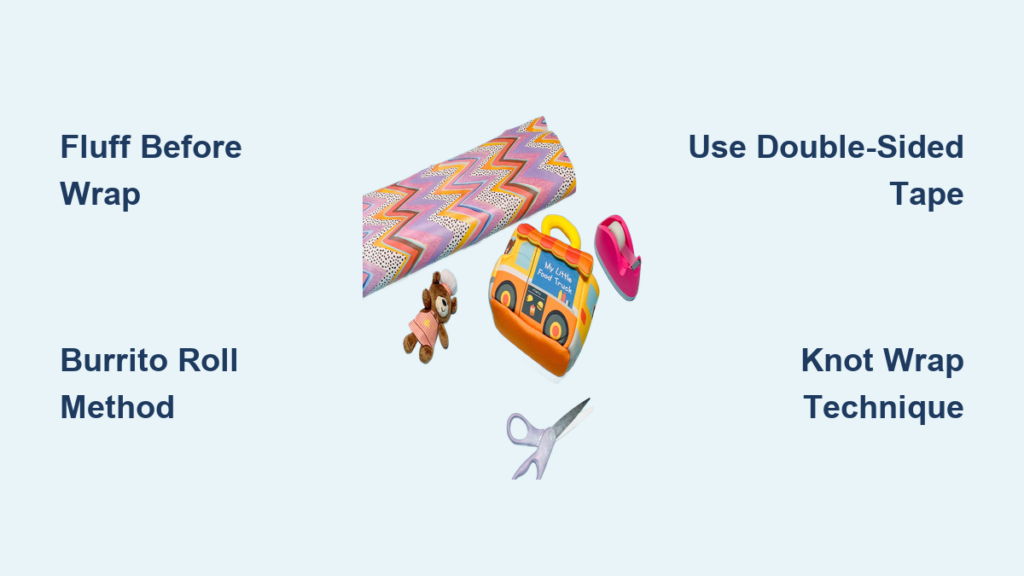
A flat or squished plush will not wrap well. Take a moment to revive its volume by gently pulling and shaking the limbs. Focus on areas like the chest, head, and paws, where stuffing often settles over time. A full, plump shape makes all the difference in how the paper lays.
Use Tissue Paper for Structure
Lightweight tissue paper adds just enough support without adding bulk. Wrap it around the toy like a loose cloak, especially helpful for large or lanky animals. Choose a color that complements your wrapping paper for a coordinated look when folded edges peek out.
Avoid Overhandling
The more you squeeze or fold the plush, the harder it becomes to maintain a natural shape. Work efficiently and handle the toy as little as possible once it is prepped. If needed, place it on the paper rather than trying to roll it.
Choose the Right Wrapping Method
Not all wrapping techniques work for soft items. Standard box-style wrapping leads to bulges and gaps when applied to plush toys. Instead, use methods designed for irregular or flexible shapes.
Two effective approaches stand out: the burrito roll method and the knot wrap technique. Each works best depending on the toy is size, shape, and how snug you want the wrap to be.
The burrito method mimics rolling a soft taco and is ideal for medium to large plush. The knot wrap works like tying a furoshiki-style cloth gift and is perfect for small to mid-sized animals and eco-friendly paper wraps.
Both keep the toy secure, minimize loose ends, and create a clean, intentional look.
Burrito Roll for Large Plush
Lay your wrapping paper flat, pattern side down. Place the plush near one end, about 6 to 8 inches from the edge. Lift the far edge of the paper and roll the toy forward, wrapping it snugly like a burrito.
As you roll, tuck in the sides slightly to keep the roll tight. Once fully rolled, seal the seam with double-sided tape for a seamless finish. Fold the open ends like a present, first the outer flaps, then the inner triangles, and tape closed.
This method hides seams, prevents unraveling, and gives a clean, cylindrical gift shape.
Knot Wrap With Fabric or Paper
Use a square piece of wrapping paper, reusable fabric, or even a gift scarf. Place the plush in the center. Pull opposite corners up and tie them in a knot on top. Repeat with the other two corners.
The result is a charming, crisscross-tied gift that is easy to unwrap and visually unique. This method works especially well for slim or tall plush toys like giraffes or bunnies.
Use decorative knots or ribbons for extra flair. Just ensure the knot is tight enough to hold but not so tight it squishes the toy.
Pick Suitable Wrapping Materials
The right materials make or break a box-free wrap. Standard gift wrap can tear easily when stretched over soft shapes, while overly thick paper will not conform well.
Opt for flexible, lightweight wrapping paper with some give, such as matte or tissue-based wraps. Avoid foil-coated or heavily laminated papers, which crack when bent and resist smooth folding.
For durability and eco-friendliness, consider reusable fabric wraps or kraft paper with fabric ribbons. These materials drape well over plush toys and allow for creative tying techniques.
Always match the paper size to the toy. A large bear needs a full roll width, typically 30 inches, while a small kitten might only need a half-sheet.
Use Double-Sided Tape
Visible tape ruins the look of a wrapped plush. Double-sided tape keeps seams clean and prevents the paper from peeling open. Use it along the roll seam and on folded end flaps.
Apply small pieces every 4 to 6 inches to secure without over-taping. Regular clear tape is acceptable if hidden under ribbons or bows.
Avoid Wrinkled or Thin Paper
Cheap, ultra-thin paper tears easily when wrapped around 3D shapes. It also shows every lump and bulge. Choose mid-weight paper that resists tearing but still folds cleanly.
If using patterned paper, align the design so the toy is face or key features are not covered by seams.
Decorative Touches That Work
Since the plush may peek out slightly, coordinate your ribbon, tag, or bow with the toy is colors. A simple satin ribbon around the middle or a gift tag shaped like a bone for a dog plush adds personality.
Avoid heavy embellishments like large bows or wired ribbons that can crush the toy is shape when stored or transported.
Handle Awkward Shapes Creatively

Some plush toys defy standard wrapping, long necks, floppy ears, or oversized heads. Instead of fighting the shape, work with it.
For long-necked animals like giraffes or dinosaurs, wrap the body first using the burrito method, then leave the neck and head exposed. Wrap the neck separately with a coordinating paper or cover it with a decorative scarf.
Ears, tails, or horns can be folded gently and wrapped in place, or intentionally left out as a fun surprise. For example, wrap the body and let the ears stick out the top. Add a bow to the head for a whimsical touch.
For very large plush, consider partial wrapping. Cover just the torso or back with a beautifully designed paper panel, then secure it with a ribbon. Attach the gift tag to the ribbon for a polished look.
Expose Features Strategically
Letting part of the plush show can turn a wrapping limitation into a creative highlight. Wrap only the lower half and tie a ribbon at the waist. Or cover the back and leave the face visible, ideal for photo-ready gifts.
Just make sure exposed areas are clean and presentable.
Use Ribbons as Structural Support
A wide ribbon can act as both decoration and support. Wrap the plush loosely, then tie a ribbon around the middle to hold the paper in place. This works well for soft rolls that might otherwise loosen.
Choose elastic or stretchable ribbon for extra grip without pressure.
Try the Surprise Peek Method
Fold a rectangle of wrapping paper around the back of the toy and secure it with tape or a ribbon. The front remains uncovered, revealing the plush is face. Attach a gift tag that says “I could not wait to say hello!” for a playful touch.
This method is fast, effective, and perfect for last-minute gifts.
Prevent Common Wrapping Mistakes
Even small errors can turn a neat wrap into a lopsided mess. Avoid these frequent pitfalls to ensure your plush gift looks professional and stays intact.
Overstretching the paper is a top issue. Pulling too hard causes thin spots or tears, especially around limbs. Let the paper drape naturally instead of forcing it tight.
Using too much tape can damage the plush or leave sticky residue. Limit tape to seams and closures, and always test on a small paper edge first.
Ignoring the toy is seams, wrapping over stitching or zippers, can create bumps and pressure points. Position the plush so high-relief areas are on the sides or bottom.
Also, never wrap a plush that is dirty or has loose threads. Clean it first and mend any small tears to maintain gift quality.
Do Not Wrap a Wet or Dirty Toy
Moisture can transfer through paper and cause stains or mildew. If the plush has been washed, ensure it is fully dry before wrapping. Spot-clean any visible marks to keep the gift looking fresh.
Avoid Bulky Knots Under Wraps
If using the knot method, make sure knots are on the outside, not tucked underneath. Hidden knots create lumps that distort the paper is surface and make folding difficult.
Skip the Cellophane Overwrap
Plastic cellophane is often used to protect gifts, but on plush wraps it can slide off or create static cling that lifts fibers. If protection is needed, use a loose tissue paper cover instead.
Add Finishing Touches That Impress
A well-wrapped plush stands out with thoughtful details. The right finishing touches turn a simple gift into a memorable one.
Attach a custom gift tag that names the plush or includes a sweet message like “Hugs included!” Tie a mini ribbon bow around a paw or ear. For baby gifts, add a tiny pacifier or rattle tucked into the wrap.
Use coordinated colors. Match the ribbon to the plush is outfit or the wrapping paper to the occasion, pastels for baby showers, red and green for Christmas.
For extra whimsy, tuck a note inside the wrapping, not the tag, so the recipient finds it during unwrapping. Something like “This bear has been practicing his hug technique just for you.”
These small details create delight and show extra care.
Personalize With a Name Tag
Sew or tape a small fabric name tag to the plush before wrapping. “This is Benny. He loves adventures and warm hugs.” It adds character and makes the gift feel alive.
Use Scented Tissue Paper
Lightly scented tissue, like lavender or vanilla, adds a sensory surprise. Just do not overdo it. Strong smells can linger or irritate.
Pair With a Themed Accessory
Tape a tiny hat, pair of shoes, or plush pet to the wrapped gift. For a cat plush, add a mini yarn ball. For a unicorn, include a glittery horn. These extras enhance the theme without complicating the wrap.
Store and Transport Safely
Once wrapped, protect your handiwork until gift-giving time. A poorly stored plush wrap can unravel, crease, or get crushed.
Place the wrapped toy in a gift bag with tissue paper for support. Avoid stacking heavy items on top. If using a ribbon closure, ensure it is tied snugly but not so tight it compresses the plush.
For car transport, keep the gift on the floor behind the front seat. Never in the trunk where temperature and motion can damage it.
If the gift will not be opened immediately, store it in a cool, dry place away from pets or children who might play with it.
Use a Gift Box for Storage Only
You do not need a box to wrap, but one can help during storage. Place the wrapped plush in a large open-top box just to keep it dust-free and prevent flattening. Remove the box before presenting.
Avoid Humidity and Heat
Moisture warps paper and can mildew plush stuffing. Do not store wrapped gifts in basements or attics. Keep them indoors at room temperature.
Present With Confidence
When handing over the gift, hold it securely. If using a knot wrap, make sure the knot will not come undone with movement. A quick check before delivery ensures your hard work stays intact.
Key Takeaways for Wrapping Plush Toys Without a Box
Wrapping a plush toy without a box is easier than it seems once you know the right techniques. By preparing the toy is shape, choosing flexible materials, and using smart wrapping methods like the burrito roll or knot wrap, you can create a beautiful, secure gift every time.
Avoid common mistakes like over-tightening or using the wrong paper, and elevate your presentation with personalized touches like ribbons, tags, and scented tissue. Whether it is for a child, a partner, or a friend, a well-wrapped plush shows thoughtfulness and care.
With these practical tips, you will never need a box to make a stuffed animal gift look amazing. Happy wrapping.
Frequently Asked Questions About Wrapping Plush Toys Without a Box
What is the best way to wrap a large plush toy?
The burrito roll method works best for large plush toys. Lay wrapping paper flat, place the toy near one edge, roll it forward like a burrito, tuck in the sides, and seal with double-sided tape. Fold the ends like a present for a clean, cylindrical look.
Can I use regular gift wrap for plush toys?
Regular gift wrap can work, but it must be flexible and lightweight. Avoid foil-coated or heavily laminated papers that crack when bent. Mid-weight matte or tissue-based wraps conform better to soft, irregular shapes.
How do I wrap a plush toy with long limbs or a long neck?
For long-necked animals like giraffes, wrap the body first using the burrito method and leave the neck exposed. Wrap the neck separately with coordinating paper or use a decorative scarf. Alternatively, use the knot wrap technique which accommodates unusual shapes well.
What can I use instead of tape to secure the wrap?
You can use ribbon ties instead of tape for a decorative hold. The knot wrap method uses fabric or paper knots to secure the toy without any tape. Wide ribbons can also act as both decoration and structural support.
How do I keep the wrapped plush from getting crushed during storage?
Store the wrapped plush in a gift bag with tissue paper for cushioning. Keep it in a cool, dry place away from heavy items that could flatten it. Avoid the trunk of a car during transport, and do not stack other gifts on top of the plush.
Can I wrap a dirty or recently washed plush toy?
No. Always clean and fully dry a plush toy before wrapping. Moisture can transfer through paper, causing stains or mildew. Spot-clean any visible marks and ensure the toy is completely dry for a fresh-looking gift.