Imagine a magical stage where dragons soar, heroes battle, and fairy tales come to life, all built from cardboard, paper, and imagination. Making a toy theatre is a timeless craft that turns simple materials into a world of storytelling. Whether you’re helping a child explore creativity or rediscovering the joy of hands-on play, a toy theatre blends art, drama, and engineering in one engaging project.
This guide walks you through every step, from choosing materials to staging your first performance. You’ll learn how to build a sturdy stage, create interchangeable backdrops, design characters, and even write short plays. With options for recycled boxes, printable templates, or custom designs, anyone can make a toy theatre in under a few hours. No fancy tools required, just scissors, glue, and a spark of imagination.
Choose Your Theatre Base
The foundation of any toy theatre is its stage structure. You can build one from scratch or repurpose what you already have.
Use a Cardboard Box (Fast and Easy)
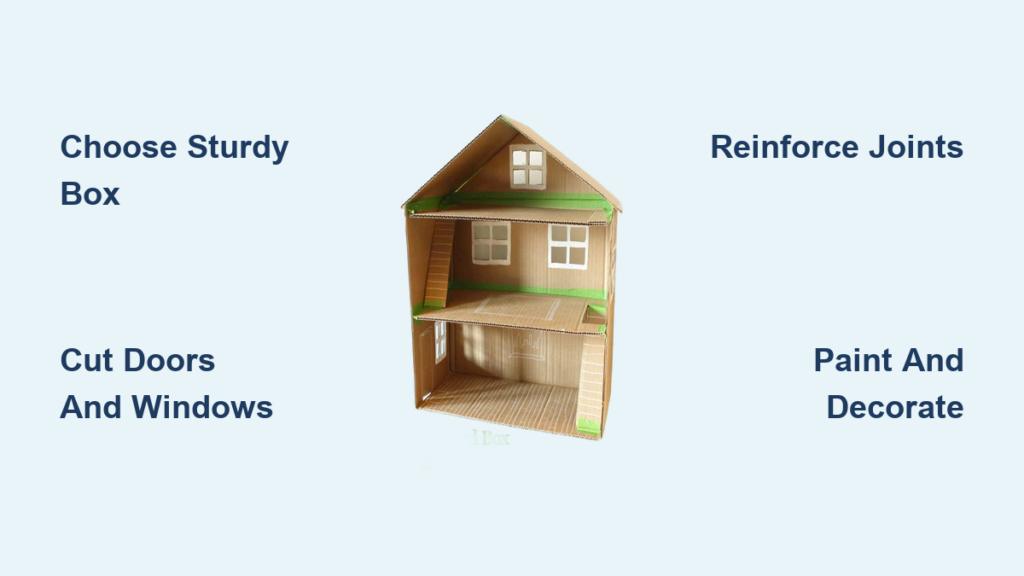
A medium to large cardboard box with one open end makes the perfect ready-made theatre. Shipping boxes, appliance boxes, or even sturdy delivery containers work well.
• Size tip: Aim for at least 18 inches wide and 12 inches tall for ample stage space.
• Orientation: Place the box so the open side faces you. This becomes the stage opening.
• Stability: Flatten and tape the bottom flaps securely to prevent tipping during play.
This method is ideal for beginners and kids, requiring minimal cutting and assembly.
Build from Cardboard Sheets (Custom Design)
For full creative control, cut and assemble your own frame using thick cardboard sheets.
• Cut five panels: front with stage cutout, back, two sides, and a base.
• Score and fold edges for clean corners, then glue or tape them together.
• Reinforce joints with extra cardboard strips for durability.
This option suits educators or crafters wanting unique shapes, like a Gothic arch or circus tent design.
Cut and Frame the Stage Opening
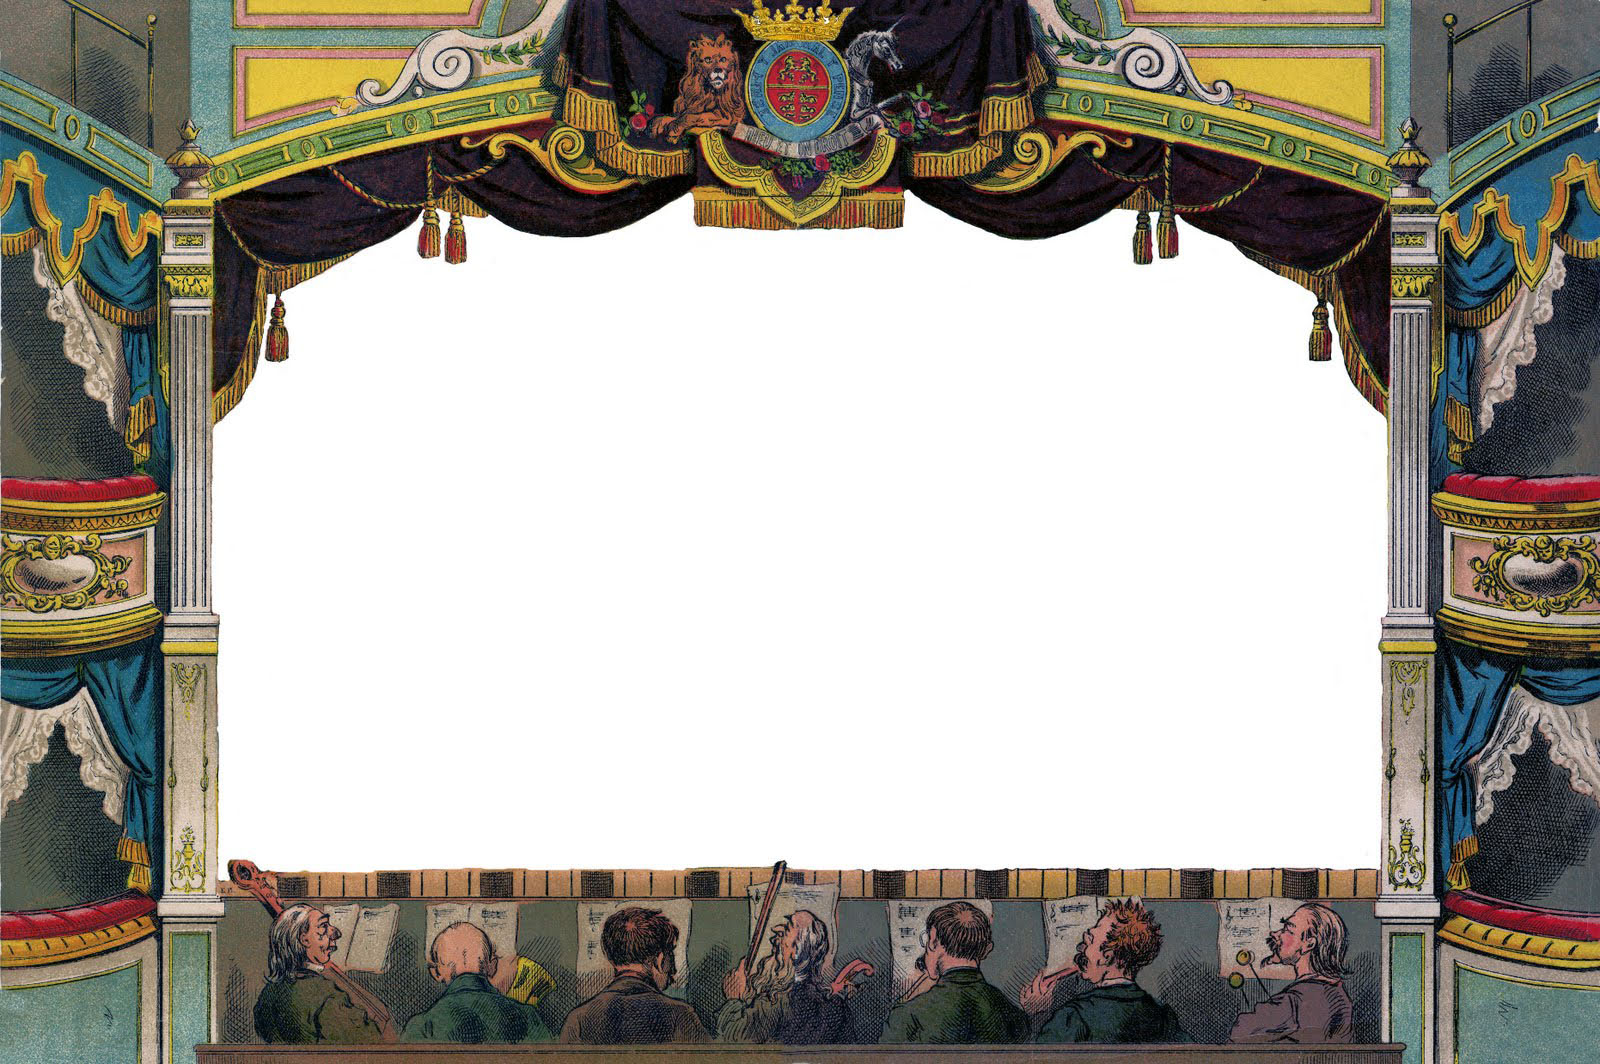
The proscenium arch defines your theatre’s look and focuses attention on the action.
Mark the Stage Shape
• Lay a sheet of paper over the box’s open face and trace the outline.
• Use a ruler to refine the shape. Most choose a rectangle with rounded top corners.
• Transfer the traced shape onto the box with a pencil, leaving a 1-inch border around the edges.
Cut the Opening
• Carefully cut along the traced lines using sharp scissors or a craft knife. Adults should handle this step.
• Smooth rough edges with sandpaper or by applying a thin strip of tape.
Reinforce the Frame
• Glue the original paper template to the inside of the box around the opening.
• Press flat under a heavy book while drying to prevent warping.
• Optional: Add a decorative border using colored paper, glitter, or painted details.
Now you have a clean, strong stage frame ready for performance.
Strengthen the Structure
A wobbly theatre ruins the magic. Reinforce it for smooth puppet movement and long-term use.
Fold and Secure Flaps
• Fold down the side and top flaps of the box inward.
• Glue or tape them to the inner walls for added rigidity.
• These flaps also create wings, hidden side areas where characters wait offstage.
Extend the Stage Floor
• Cut a piece of cardboard to match the width of the stage.
• Attach it to the back of the existing floor, extending it into the box.
• This hidden extension gives performers space to prepare entrances without being seen.
Your theatre now has better stability and more functional performance space.
Install a Backdrop Support System
Interchangeable scenes make your toy theatre versatile. A simple batten system lets you switch backdrops in seconds.
Cut the Batten Slots
• Measure 1 inch down from the top inside edge on both side walls.
• Draw a 2-inch vertical line from each mark.
• Cut a 1 cm wide slit along each line. These hold the batten rod.
Safety note: Use scissors at an angle or a craft knife. Supervise children closely.
Make the Batten Rod
• Cut a sturdy cardboard strip about 1 to 2 inches wide and slightly wider than the theatre’s interior.
• Slide it into the slots to test fit. It should rest securely without falling.
Hang the Backdrop
• Create a backdrop on paper: draw a forest, castle, cityscape, or download a printable scene.
• Punch holes in the top two corners.
• Attach to the batten using paper clips, staples, or tape.
• Insert the batten into the side slots. The backdrop now hangs behind the stage.
Swap scenes between acts or plays for endless storytelling possibilities.
Paint and Decorate the Theatre

Turn a plain box into a grand stage with color, texture, and personality.
Paint the Interior Black
• Use black paint or construction paper to line the inside walls and ceiling.
• This mimics a real theatre’s dark interior, making characters and props stand out.
• Avoid painting the stage floor unless using light-colored figures.
Design the Proscenium Arch
• Leave the front frame unpainted or cover it with gold foil, red paper, or fabric for a classic look.
• Add curtains using ribbon, fabric scraps, or paper strips glued to a mini rod above the stage.
• Punch holes in curtain tops and thread a string through for opening and closing.
Personalize the Exterior
• Name your theatre: “Starlight Puppet Stage,” “Adventure Arena,” or “Grandpa’s Theatre.”
• Write the name on a sign above the arch using bold markers or stickers.
• Decorate sides with themed elements: stars for space, flowers for fairy tales, or bricks for a city stage.
Let creativity lead. Every detail adds charm.
Create Characters and Props

No show runs without players and scenery. Make them durable and fun to manipulate.
Design Paper Figures
• Draw characters on cardstock or heavy paper: heroes, animals, monsters, or original creations.
• Color with crayons, markers, or paints for vivid detail.
• Cut them out carefully, leaving a small stand at the bottom if needed.
Mount for Movement
• Glue each figure to a wooden skewer, straw, or craft stick.
• Hold the stick from below or behind the stage to move characters across the set.
• For flying effects, attach strings and pull from above.
Build Simple Props
• Furniture: Use toilet paper rolls for towers, matchboxes for cars, or folded paper for tables.
• Trees and rocks: Crumple green or gray paper and shape into 3D forms.
• Lighting effects: Shine a flashlight through colored cellophane for mood lighting.
Keep a prop box nearby for quick changes and spontaneous storytelling.
Write or Choose a Story to Perform
A great theatre needs a great story. Start simple, then expand as skills grow.
Use a Ready-Made Script
• Download free Cinderella or Nutcracker scripts from printable toy theatre kits.
• Print and adapt lines for your characters.
• Assign roles and rehearse with family or friends.
Create an Original Tale
Try this starter idea: “Clara and the Shadow.”
• Characters: Clara (brave child), The Shadow (silent, shape-shifting figure).
• Setting: A bedroom backdrop with paper bed, lamp, and window.
• Plot: The shadow won’t leave Clara alone. She tries hiding, shouting, then finally shines a flashlight. The shadow disappears. She learns light conquers fear.
• Lesson: Courage and problem-solving, plus a fun science tie-in about shadows.
Encourage kids to change the ending or add new characters.
Stage Your First Performance
It is showtime. Follow these tips for a smooth and joyful performance.
Prepare Before the Show
• Set the backdrop and check that it hangs straight.
• Arrange props and characters offstage in the wings.
• Test lighting: place a flashlight behind the stage or shine it from below.
Perform with Confidence
• Use different voices for each character.
• Move slowly. Sudden motions break the illusion.
• Invite an audience: siblings, parents, or stuffed animals.
Record and Replay
• Film the show with a phone or tablet mounted on books.
• Watch together afterward. Celebrate effort over perfection.
Even a 2-minute skit builds confidence and creativity.
Explore Design Variations
Once you have built one theatre, try new styles and themes.
Try a Printable Template
• Download free PDF toy theatre kits online.
• Print on cardstock, cut out pieces, and assemble like a puzzle.
• Many include full-color scenes, characters, and scripts. Perfect for quick builds.
Build a Historical Replica
• Use Pollock’s Toy Museum kits to recreate 19th-century theatres.
• These vintage-style sheets feature hand-colored engravings of operas and pantomimes.
• Great for history buffs or classroom projects.
Upgrade to a Permanent Model
• Use wood or foam board for a long-lasting theatre.
• Add LED tea lights or battery-powered string lights for professional lighting.
• Install a curtain pulley system with string and dowels.
Let each version reflect growing skills and interests.
Support Learning Through Play
Toy theatres are not just fun. They are powerful learning tools.
Boost Developmental Skills
• Fine motor skills: Cutting, gluing, manipulating puppets.
• Language growth: Writing scripts, narrating stories, using new vocabulary.
• STEM connections: Explore light and shadow science, structural balance, and spatial reasoning.
Use in Classrooms or Homeschool
• Retell fairy tales, historical events, or book chapters.
• Collaborate on group performances to build teamwork.
• Link to units on theatre history, Victorian culture, or printing arts.
One teacher reported students who rarely spoke volunteering lines after building their own theatres. Proof of its emotional and social impact.
Safety and Accessibility Tips
Make the project safe and inclusive for all ages.
For Younger Children (Ages 5-7)
• Pre-cut the stage opening and batten slots.
• Use safety scissors and glue sticks.
• Let them focus on coloring characters and acting out stories.
For Group or Family Projects
• Assign roles: one person cuts, another decorates, a third writes the story.
• Work in stages. Build one day, perform the next.
• Celebrate every creation, no matter how simple.
The goal is not perfection. It is participation and imagination.
Frequently Asked Questions About Making a Toy Theatre
What materials do I need to make a toy theatre?
You will need a cardboard box, scissors, glue, ruler, pencil, paper, and optional materials like paint, markers, skewers for character movement, and decorative items. A medium to large box works best as the theatre base.
How long does it take to build a toy theatre?
With a cardboard box method, you can complete a basic toy theatre in 1 to 2 hours. Custom designs or detailed decorations may take longer, but the process is flexible and can be spread across multiple sessions.
Can young children build a toy theatre independently?
Children aged 8 and up can handle most steps with supervision. Younger children (ages 5-7) can participate by coloring characters, acting out stories, and helping with simple assembly, while adults handle cutting and gluing.
How do I create interchangeable backdrops?
Install a batten system by cutting slits in the side walls, inserting a horizontal cardboard rod, and hanging paper backdrops from it using paper clips or staples. This allows you to swap scenes quickly between performances.
What stories work best for toy theatre performances?
Simple stories with clear characters and settings work best. You can use fairy tales like Cinderella, original tales about everyday adventures, or educational narratives about topics like shadows and light. Keep plots straightforward for young performers.
How do I make characters move on stage?
Mount cut-out figures on wooden skewers, straws, or craft sticks. Hold these from below or behind the stage to move characters across the set. You can also attach strings for flying effects.
Key Takeaways for Building Your Own Toy Theatre
Making a toy theatre is more than a craft project. It creates a doorway to storytelling, learning, and connection with family. The process teaches fine motor skills through cutting and assembly, encourages creative writing through script development, and builds confidence through performance. Start with a simple cardboard box method if you are new to crafting, then expand to custom designs or historical replicas as skills grow.
The key components include a sturdy stage base, a framed proscenium opening, a batten system for interchangeable backdrops, and mounted characters for manipulation. Remember to personalize your theatre with decorations, a unique name, and themed backdrops that match your stories. Most importantly, keep the magic alive by rotating themes, writing new stories, and sharing performances with loved ones.
Grab a cardboard box, gather your supplies, and bring the curtain up on creativity. Your imagination takes center stage.